
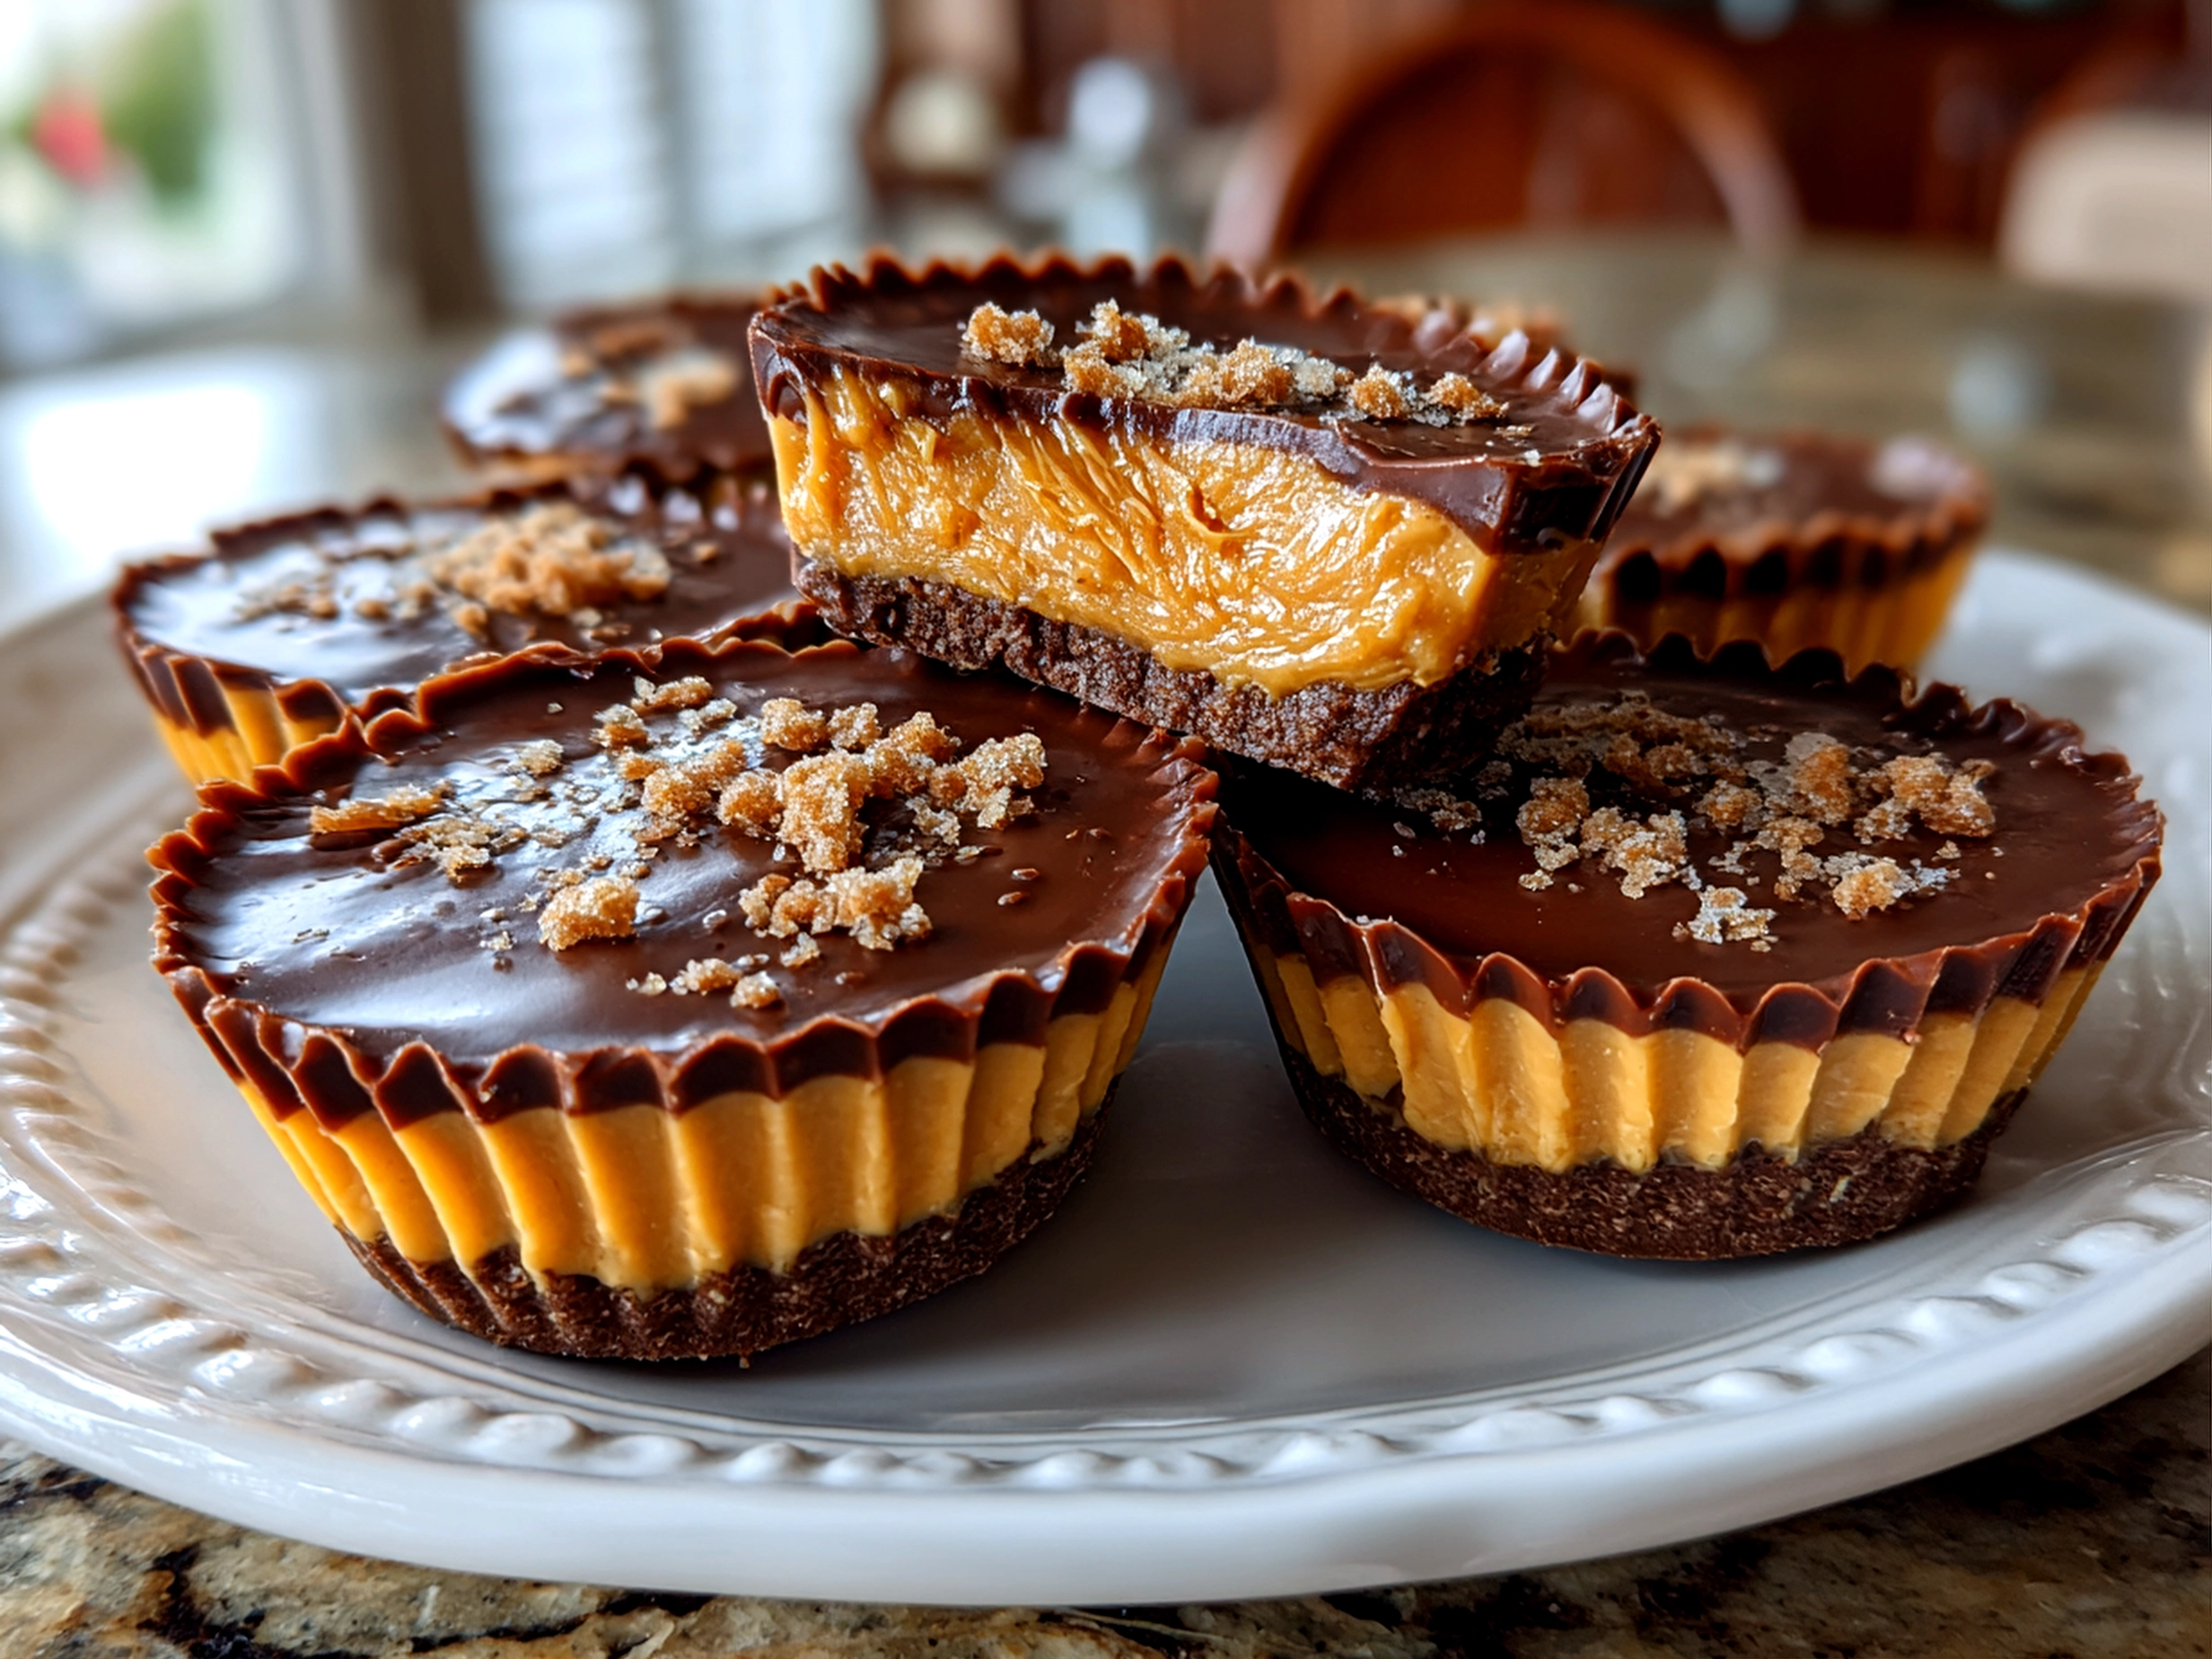
You know, there’s something truly magical about Reeses Peanut Butter Cups that takes me right back to my childhood kitchen. The first time I fell in love with this peanut butter candy was during a rainy afternoon when my mom surprised me with a little stash of these chocolate peanut butter treats. The way the chocolate melted in my mouth and gave way to that salty, creamy peanut butter center? Pure bliss. That sensory moment is exactly why my homemade Reeses Peanut Butter Cups recipe became a family favorite. I’ve always believed in bringing that warm, indulgent comfort into our home cooking, especially when life gets hectic and you need a sweet escape.
Maybe my biggest aha moment with Reeses Peanut Butter Cups came the first time I tried to make them myself—oh, the kitchen mess! I was too impatient and didn’t let the chocolate set properly, turning what should have been neat little cups into a gooey, chocolate-peanut butter blob. But that mishap taught me a lot about patience and the importance of using good quality Reese’s brand chocolate and fresh peanut butter for that perfect balance. Now, I make these treats often enough that they fit snugly into our family’s busy rhythms—quick enough for a weekday treat, but special enough for celebrations.
I discovered this Reeses Peanut Butter Cups recipe on one of my favorite food forums. Since then, it’s morphed and grown with little tweaks here and there, always aiming to nail that classic chocolate peanut butter treat experience that’s hard to resist. My philosophy in the kitchen? Keep it simple, embrace the occasional mess, and always cook from the heart. If you’re a fan of Reeses snack varieties or love uncovering a bit of peanut butter cup history, you’ll find this recipe not only satisfying but also a sweet trip down memory lane. Want to join me in making Reeses Peanut Butter Cups that bring smiles and happy belly moments? Let’s dive in, girlfriend! And if you’re curious about other delicious ways to enjoy this chocolate peanut butter treat, check out my Reeses Peanut Butter Cup Cookies right here for a fun spin.
What You’ll Need for This Reeses Peanut Butter Cups
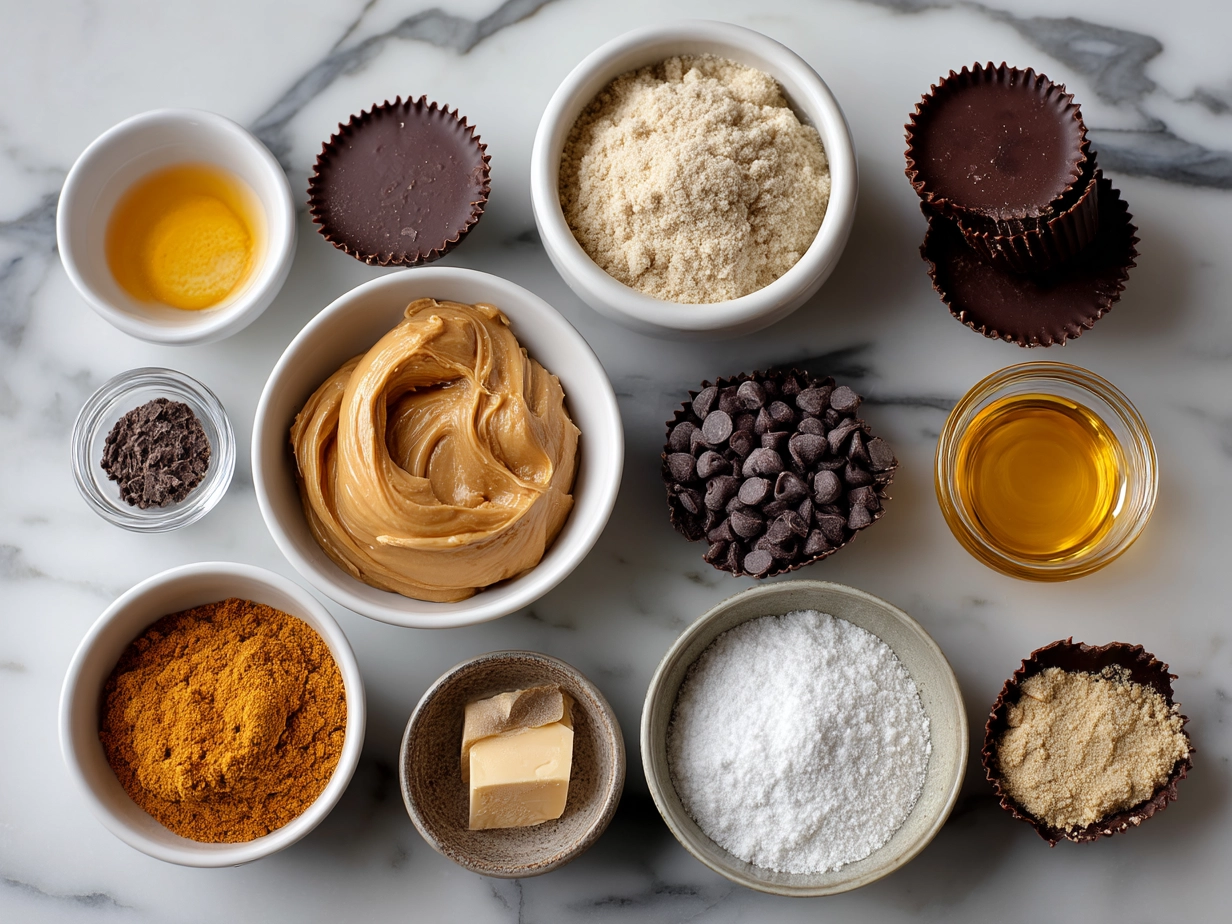
Alright, let’s talk ingredients because the magic of Reeses Peanut Butter Cups starts right here. I always use top-notch peanut butter—smooth, unsalted, and creamy—that perfectly complements the sweet, melty chocolate from Reese’s brand. When shopping, you can find quality chocolate and peanut butter candy staples pretty easily at your local grocery store or online if you’re looking for specific Reeses snack varieties. A little tip I learned early on: always have a few extra chocolate bars on hand because dipping the peanut butter filling requires enough chocolate to coat each cup generously.
Here’s what you’ll need, precisely measured out:
- 1 cup creamy peanut butter (I pick natural for that fresh flavor, but you can’t go wrong with classic)
- 2 cups semisweet Reese’s brand chocolate chips or melting chocolate – using the official Reese’s brand chocolate truly lifts the flavor to that iconic taste
- 1/4 cup unsalted butter – helps to smooth out the peanut butter candy texture
- 1/4 cup powdered sugar – just enough sweetness to balance the peanut butter
- 1 teaspoon vanilla extract – a little secret to deepen that chocolate peanut butter treat taste
Speaking from experience, prepping your peanut butter ahead saves a ton of time, especially if you’re midweek and making Reeses Peanut Butter Cups for the kids after school. Just mix the peanut butter, butter, powdered sugar, and vanilla, then refrigerate while you melt the chocolate. Also, if cost-saving is your jam (trust me, I get it!), buying in bulk or looking for deals on chocolate chips can help keep this recipe wallet-friendly. Leftover chocolate can be stored in a cool, dry place for months, which means next time you’re craving Reeses Peanut Butter Cups, you’re ready to go.
Want to read more about ingredient choices and shopping tips for your peanut butter candy journey? I found this helpful guide on the official HERSHEY’S site pretty insightful!
Let’s Make This Reeses Peanut Butter Cups Together
Step into my kitchen, girlfriend, because making these Reeses Peanut Butter Cups is a joy! Don’t worry if your first batch isn’t perfect—the secret is in the practice and a bit of patience. Here’s how I do it, step by step:
- Prepare your peanut butter filling. In a mixing bowl, combine the creamy peanut butter, softened unsalted butter, powdered sugar, and vanilla extract. Mix until smooth and well blended. This blend is the heart of your chocolate peanut butter treat, and I always taste a little here—shhh, it’s part of quality control!
- Melt the chocolate. I do this gently using a double boiler method or microwave in short bursts, stirring frequently. It prevents overheating that can ruin your Reeses Peanut Butter Cups’ signature chocolate coating. This step usually takes about 5 to 7 minutes in my kitchen.
- Create the chocolate base layer. Spoon a tablespoon of melted chocolate into each cup cavity of a mini muffin tin lined with papers or silicone molds. Spread it evenly and pop it into the fridge for about 10 minutes until firm.
- Add the peanut butter filling. Scoop about a tablespoon of your prepared peanut butter mixture on top of the chilled chocolate base in each cup. Don’t press too hard! You want that smooth layer for your chocolate peanut butter treat to seal over nicely.
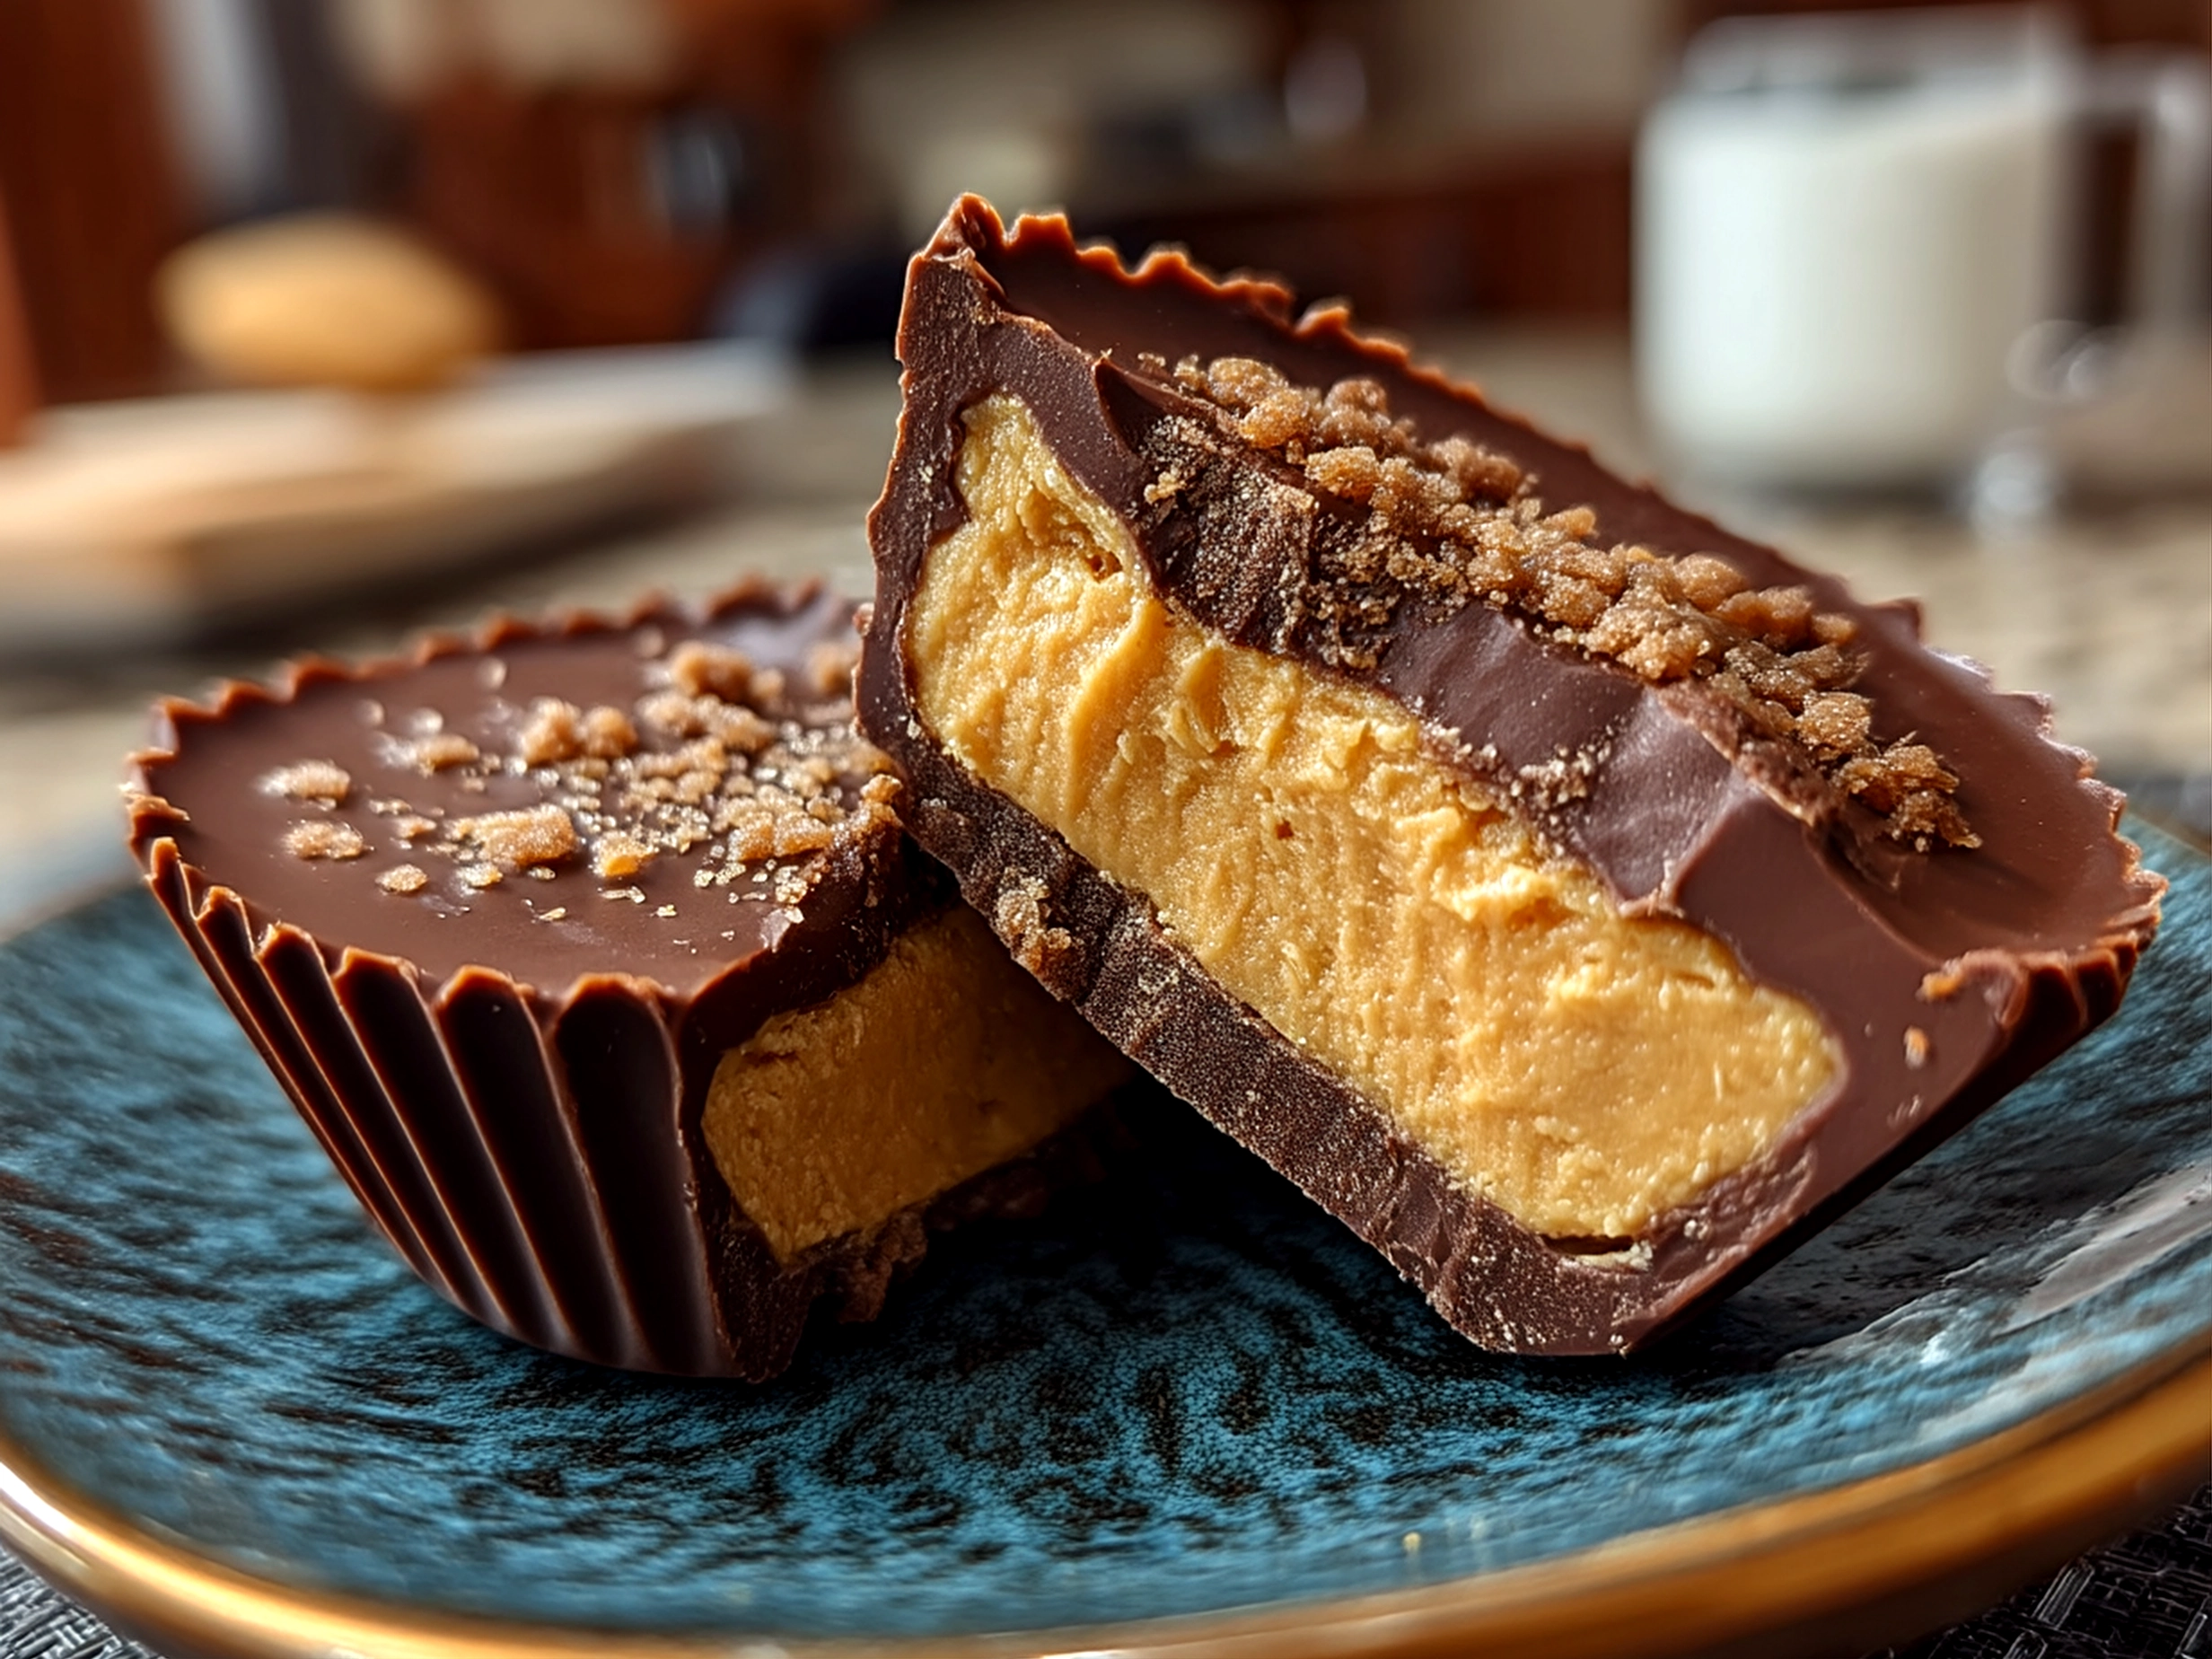
- Top with more chocolate. Cover the peanut butter filling entirely with melted chocolate, smoothing the tops with a spoon or spatula. If you’re like me, this is the most satisfying part—seeing the cups look that glossy, ready-to-set magic!
- Chill. Place your Reeses Peanut Butter Cups in the refrigerator for at least an hour, ideally longer. Patience is key here—just like good things in life, these treats need time to set properly.
While your Reeses Peanut Butter Cups are setting, I usually clean up or prep my next batch if I’ve got hungry little helpers around. And if you want some troubleshooting or tips on perfect texture, I highly recommend checking out my Reeses Peanut Butter Cup Cookies recipe for a tasty twist on this chocolate peanut butter treat.
One kitchen wisdom I picked up early—you can cover the peanut butter filling with a quick layer of wax paper before topping with chocolate to keep things neat. But if you’re short on time, it’s totally okay to skip—that’s what I do on busy school nights!
For more on peanut butter cup history and the wonderful evolution of this classic treat, this Wikipedia article is a great read.
How I Love to Serve This Reeses Peanut Butter Cups
Serving Reeses Peanut Butter Cups in my home is always a joy. My family loves these chocolate peanut butter treats chilled on a warm afternoon, but they truly shine when paired with a scoop of vanilla ice cream or alongside a big cup of cold milk. For a quick party or kids’ lunchbox surprise, these cups bring instant smiles all around.
When hosting, I arrange the Reeses Peanut Butter Cups on a pretty tray with fresh berries or a sprinkle of crushed nuts for contrast—it adds a little festive flair without complicating things. These cups also make a fantastic homemade gift around the holidays, especially when paired with other Reeses snack varieties like peanut butter-filled pretzels or chocolate bars. If you have extra Reeses Peanut Butter Cups left over, crumble them over cupcakes or mix bits into brownies for an indulgent twist I call “dessert overload!”
Seasonally, I’ve tried variations like drizzling with white chocolate or adding a pinch of sea salt—both rave-worthy with my kids and friends. It’s so fun when guests ask, “Hey Liliana, how do you make these Reeses Peanut Butter Cups so irresistible?” That’s when I smile and share the heart behind the homemade touch—because nothing beats that homemade magic.
For serving inspiration and pairing ideas, you might enjoy my article on White Chocolate Peanut Butter Cups for a lovely variation.
Your Reeses Peanut Butter Cups Questions Answered
Okay, let’s tackle some of the most common Reeses Peanut Butter Cups questions I’ve heard from friends and blog readers over the years:
- Can I use crunchy peanut butter instead of smooth?
You sure can! I experimented with crunchy peanut butter once, and while the texture adds a little surprise bite, it can be harder to spread evenly. What I do is blitz it slightly in a food processor to break down some bits. This keeps the classic silky texture of Reeses Peanut Butter Cups but with a fun twist. - Why did my chocolate peel or get a whitish coating?
This is called “bloom” and happens when chocolate is exposed to moisture or rapid temperature changes. For Reeses Peanut Butter Cups, always store them in a cool, dry place and avoid the fridge’s humidity unless necessary. I’ve found avoiding condensation on the chocolate after fridge chilling is crucial—it took me a couple of tries to get that right! - Can I make these without Reese’s brand chocolate?
Absolutely! Using Reese’s brand chocolate keeps that authentic Reeses snack varieties flavor, but good quality semisweet chocolate chips work too. In fact, I sometimes mix milk and dark chocolate chips for a richer peanut butter candy profile. - How long do homemade Reeses Peanut Butter Cups keep?
Stored in an airtight container in the fridge, they last about a week, but let’s be honest—mine usually disappear in two days! If you have leftovers, freeze them for up to two months. - Is it okay to double the recipe?
Yes, I do it all the time, especially during holiday baking marathons. Just be mindful of chocolate melting times and keep batches small enough to handle easily. - What’s the secret to that smooth peanut butter filling?
It’s the butter and powdered sugar combo, along with vanilla. Don’t skip the butter; it adds richness and helps the filling set without being too dense. - Can kids help make Reeses Peanut Butter Cups?
Oh, definitely! Kids love scooping peanut butter and pouring chocolate. Just supervise closely around the melted chocolate. It’s a fantastic family activity and adds to the joy of Reeses Peanut Butter Cups.
For more answers and experiences, this friendly Facebook discussion on favorite peanut butter cups has some gems.
My Final Thoughts on This Reeses Peanut Butter Cups
This Reeses Peanut Butter Cups recipe holds such a warm spot in my heart because it connects generations—from my childhood memories to my kids’ happy, chocolate-sticky hands. I love how adaptable this chocolate peanut butter treat is, fitting effortlessly into everyday moments or special occasions alike.
My Reeses Peanut Butter Cups Pro Tips:
- Always temper or carefully melt your chocolate for the best texture and shine.
- Refrigerate the peanut butter filling for 10-15 minutes before assembling to make it easier to handle.
- Experiment with seasonal flavors—try pumpkin spice in fall or peppermint extract during winter holidays for festive twists!
My family loves the classic Reeses Peanut Butter Cups, but I’ve also made white chocolate versions and peanut butter cup cookies, all of which brought smiles around the kitchen table. My youngest swears by adding a little sea salt on top, while my husband prefers extra chocolate layers (he’s my official taste tester!).
I hope you’ll feel inspired to make this Reeses Peanut Butter Cups recipe your own. It’s more than a treat—it’s a reminder of cozy moments, laughter, and little homemade celebrations. If you want more delicious inspiration, swing by my other posts on Reeses Peanut Butter Cup Cookies or these cute Peanut Butter Spider Cookies perfect for Halloween.
Keep your chocolate melty, your peanut butter creamy, and your heart full. Cooking this chocolate peanut butter treat with love makes everything taste better, don’t you think? Sending you cozy kitchen vibes and happy cooking adventures with Reeses Peanut Butter Cups!
Reeses Peanut Butter Cups
Delicious homemade Reeses Peanut Butter Cups combine creamy peanut butter filling with rich milk chocolate, perfect for a quick dessert or snack.
- Prep Time: 15 minutes
- Cook Time: 5 minutes
- Total Time: 40 minutes
- Yield: 12 servings
- Category: Dessert
- Method: No-Cook
- Cuisine: American
Ingredients
- 1 cup creamy peanut butter
- 1/4 cup unsalted butter, softened
- 1/4 cup powdered sugar
- 1 1/2 cups milk chocolate chips
- 1 tablespoon vegetable oil
Instructions
- Line a mini muffin tin with paper liners.
- In a bowl, mix the peanut butter, softened butter, and powdered sugar until smooth.
- Melt the chocolate chips with vegetable oil in a microwave-safe bowl in 30-second intervals, stirring until smooth.
- Pour about one teaspoon of melted chocolate into each paper liner and spread evenly.
- Place in the freezer for 10 minutes to set the chocolate layer.
- Add about one teaspoon of the peanut butter mixture on top of the chocolate layer in each cup.
- Cover the peanut butter layer with another teaspoon of melted chocolate, ensuring it is fully sealed.
- Freeze again for at least 20 minutes until firm.
- Remove from the muffin tin and enjoy or store in an airtight container.
Notes
For a crunchier texture, add a pinch of crushed peanuts into the peanut butter filling before assembling.