
I’m so glad you’re here! Let me tell you about these Red Velvet Bear Cookies that have become such a warm, cozy favorite in my kitchen. The very first time I baked these bear shaped cookies, I was chasing a little baking mishap that turned into pure magic. You see, I originally set out to make a classic red velvet cake, but a last-minute change in plans and a pinch of creativity led me to try a red velvet cookie version — but with a fun twist: bear shapes. I still remember pulling those velvety red cookie dough cutouts from the fridge and thinking, “These look like little holiday themed cookies fit for a forest party!”
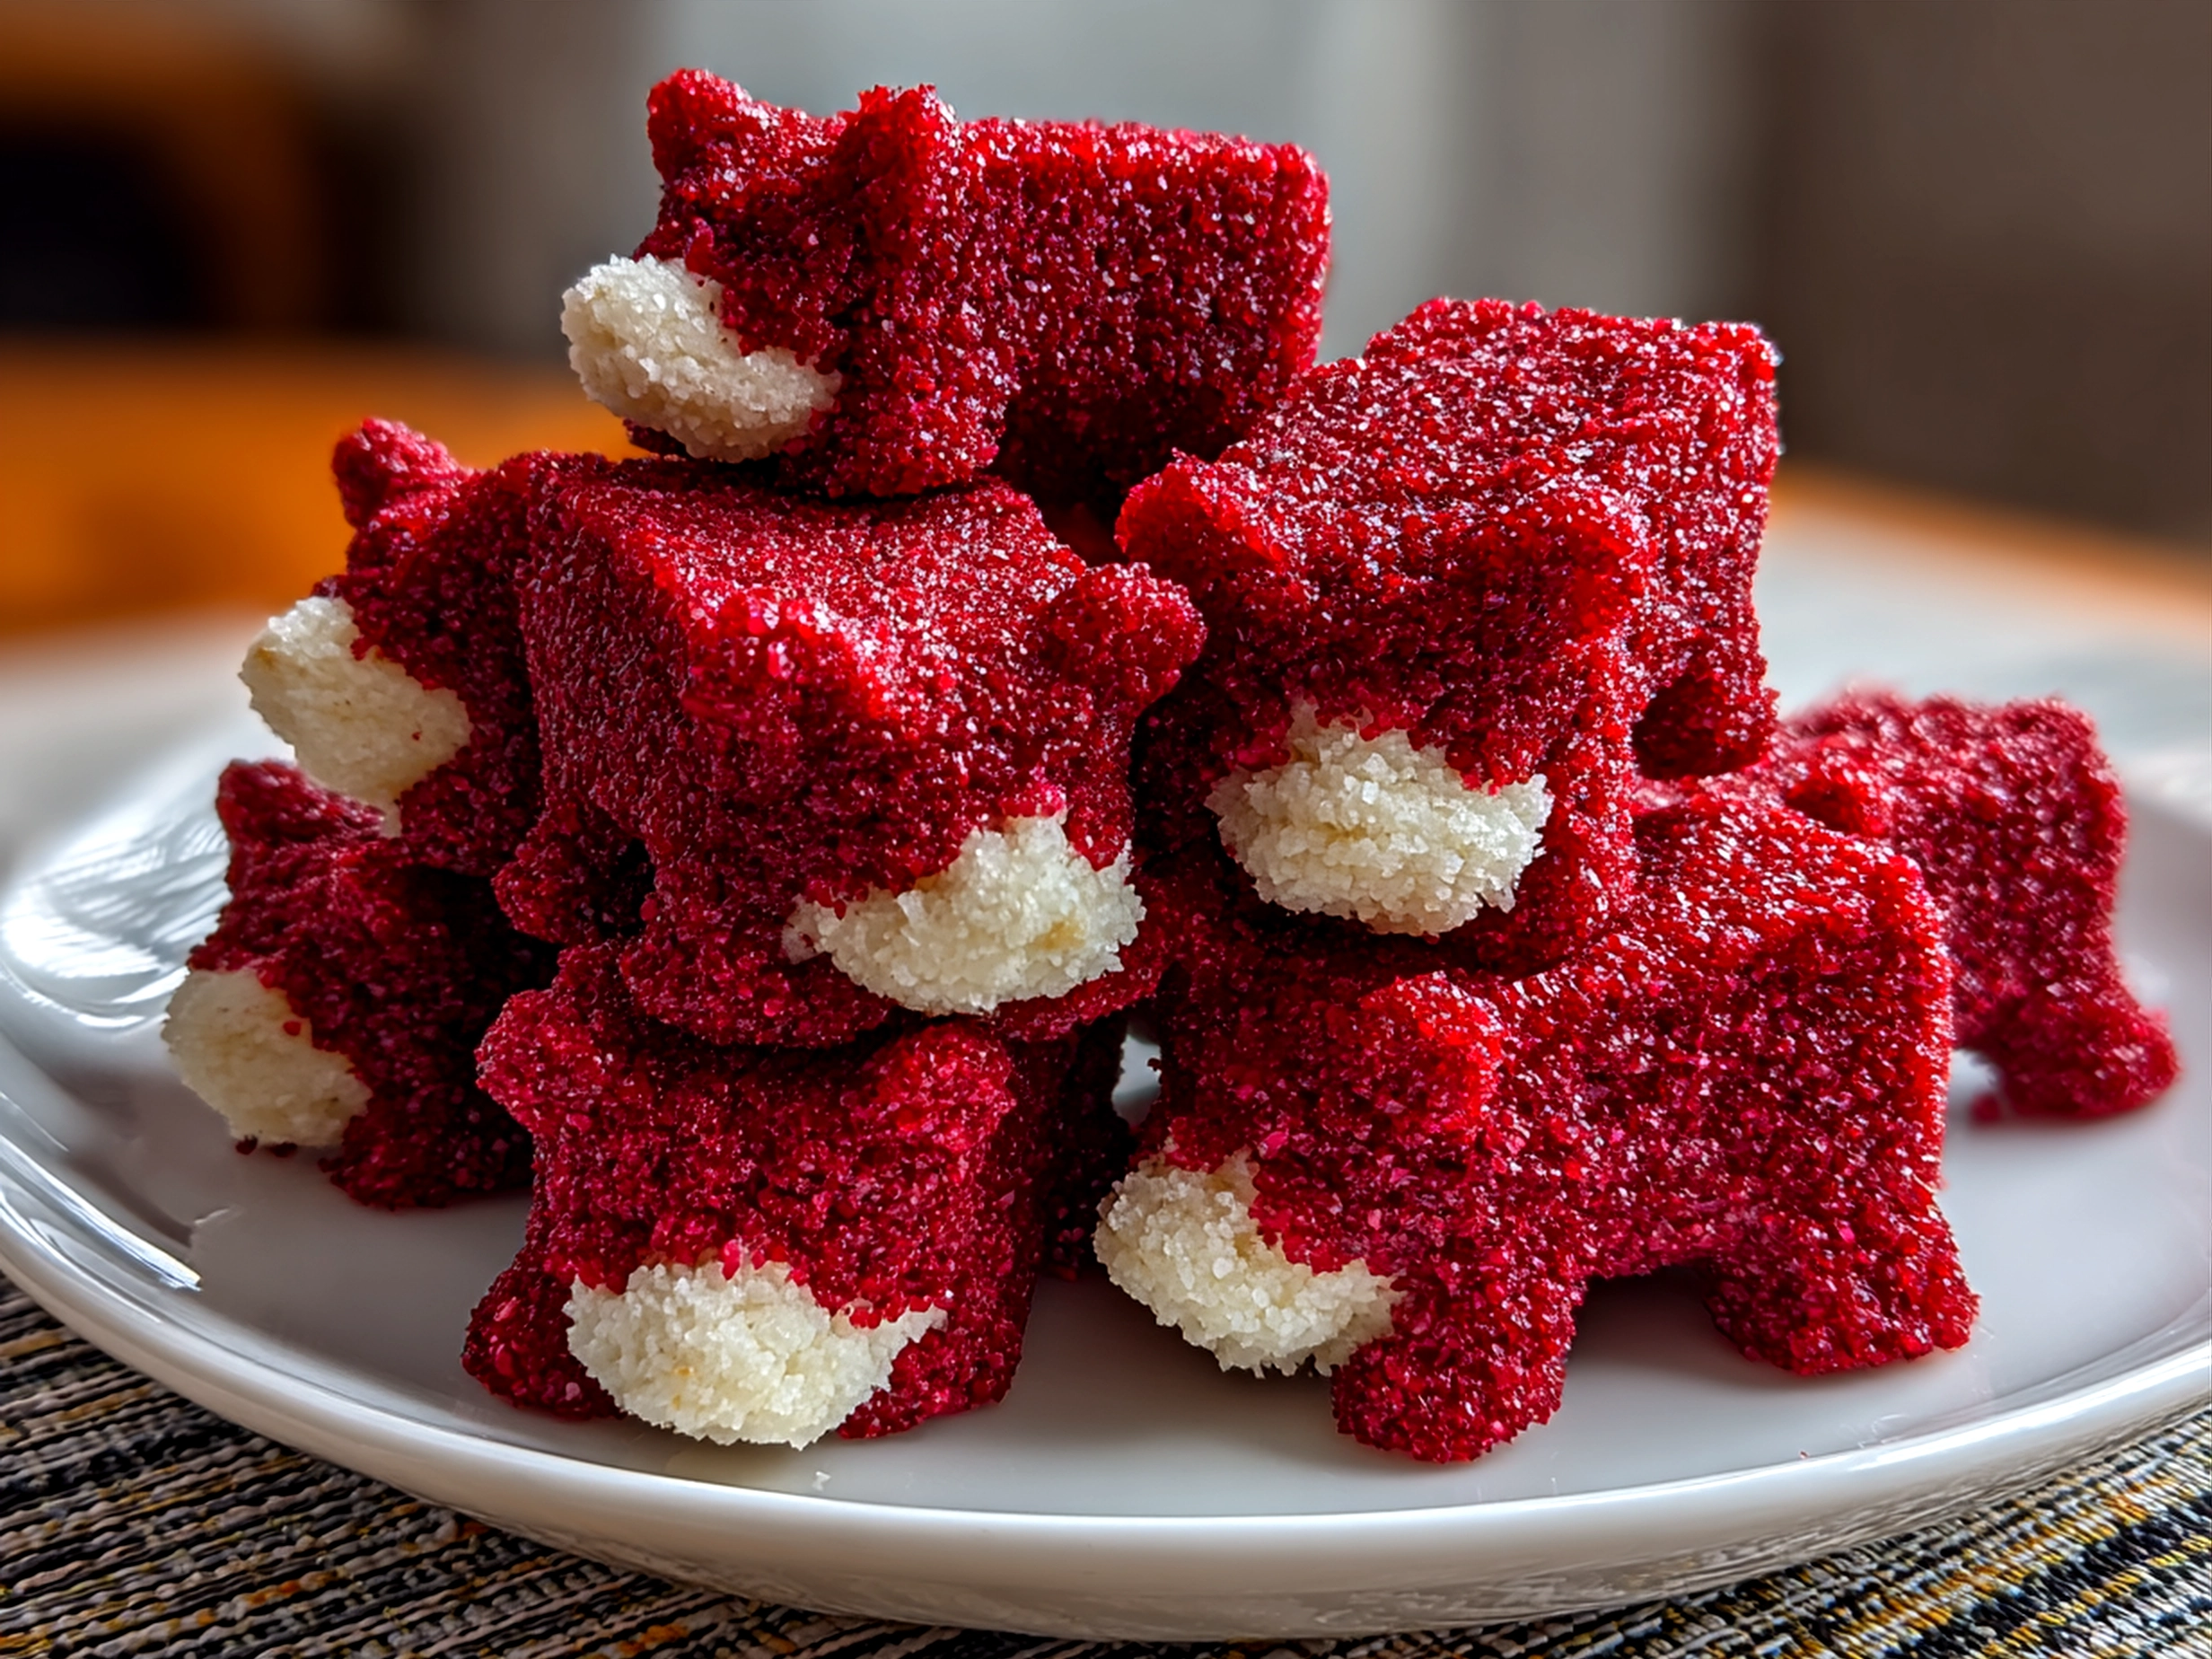
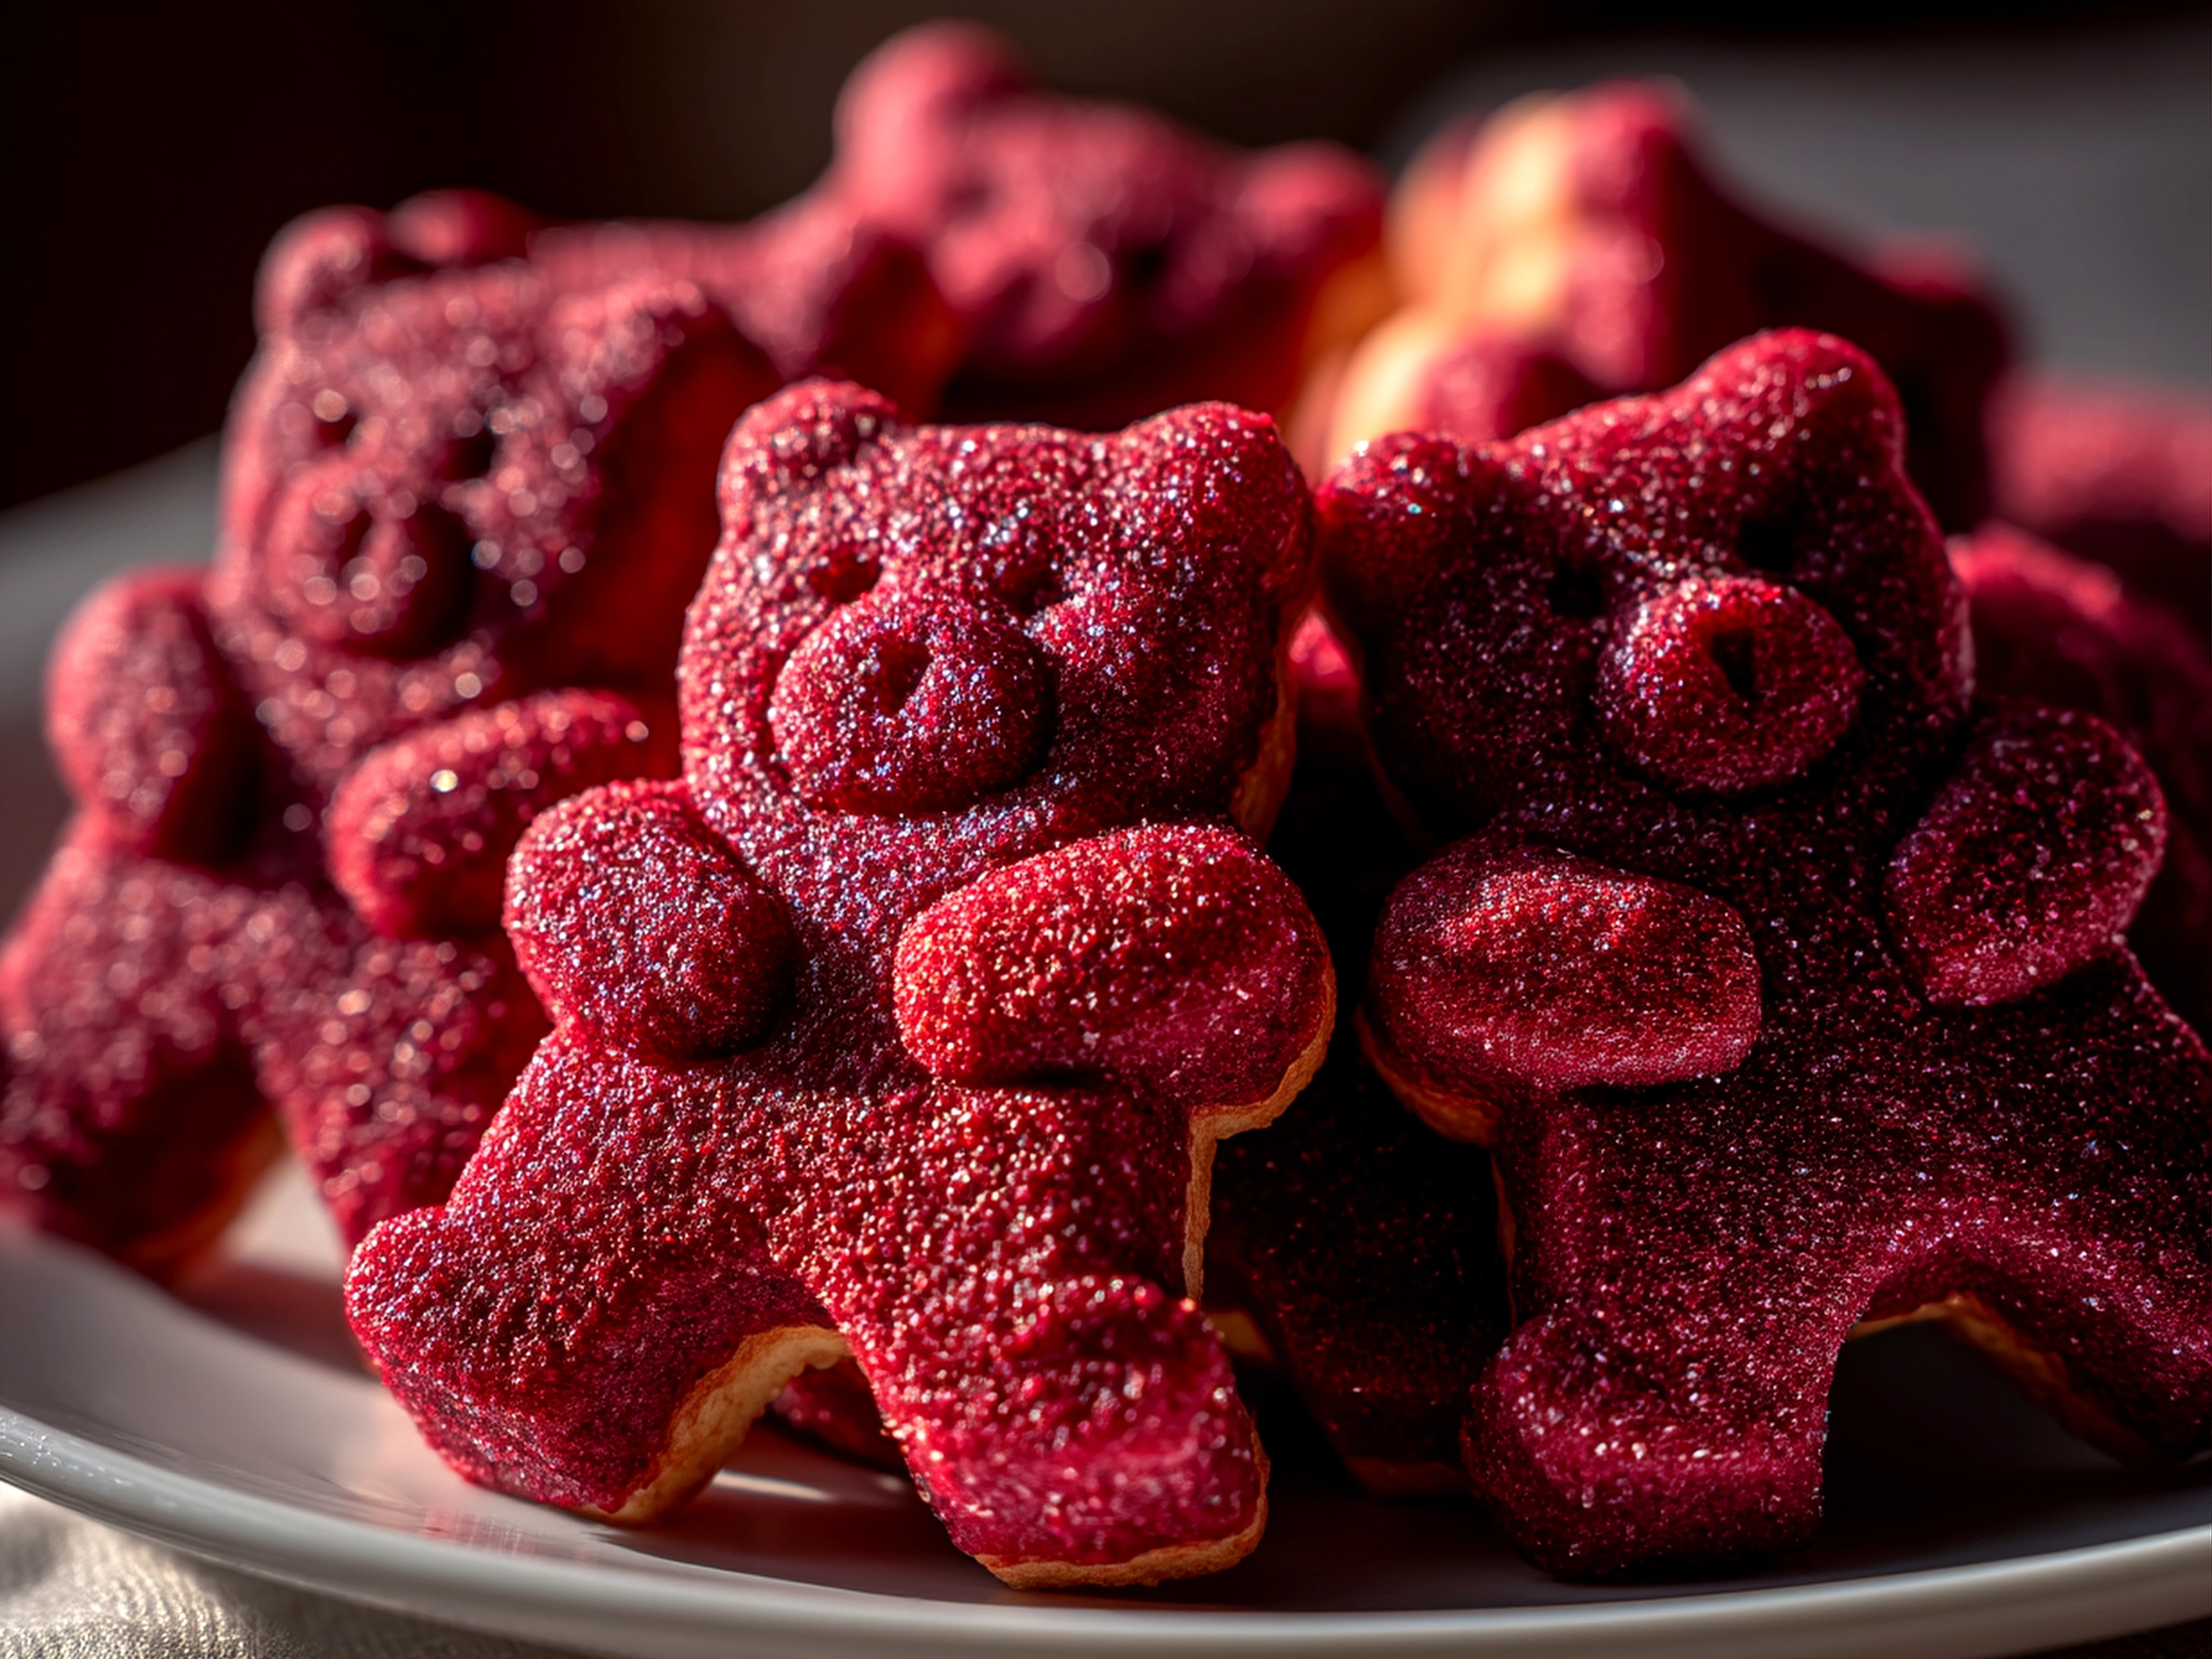
The rich red color of the dough — a glorious, velvety red — just makes these cookies so inviting, almost like you can feel the warmth before they’re even out of the oven. Baking those Red Velvet Bear Cookies quickly became a family tradition because it wasn’t just the taste; it was the whole experience — rolling out the dough, cutting out the cuddly bear shapes (my youngest always picked the biggest bears), and then the sweet ritual of topping them with cream cheese frosting cookies that melt just right.
I’ll be honest, I had my share of “aha” moments and even a few mini disasters with this red velvet cookie recipe. I used to overbake the cookies, which made them lose their softness, or get the frosting too runny. But after a bit of trial and error, these Red Velvet Bear Cookies hit that perfect balance of soft yet sturdy, with flavors that remind me so much of cozy holiday mornings. I love how they fit seamlessly into our busy lives—stashing a few in lunchboxes, sharing with friends, or popping them out for an easy, festive dessert. They’re truly my little act of homemade joy that I’m excited to share with you today.
If you’re ready for a simple, approachable red velvet cookie recipe that brings a little whimsy and lots of flavor to your kitchen, grab your apron and bear cookie cutters. And if you love this kind of festive baking, you might enjoy my other holiday themed cookies like the Peanut Butter Spider Cookies or Halloween Crinkle Cookies. I promise this Red Velvet Bear Cookies recipe will give you that same warm feeling I get every time I bake them.
What You’ll Need for This Red Velvet Bear Cookies
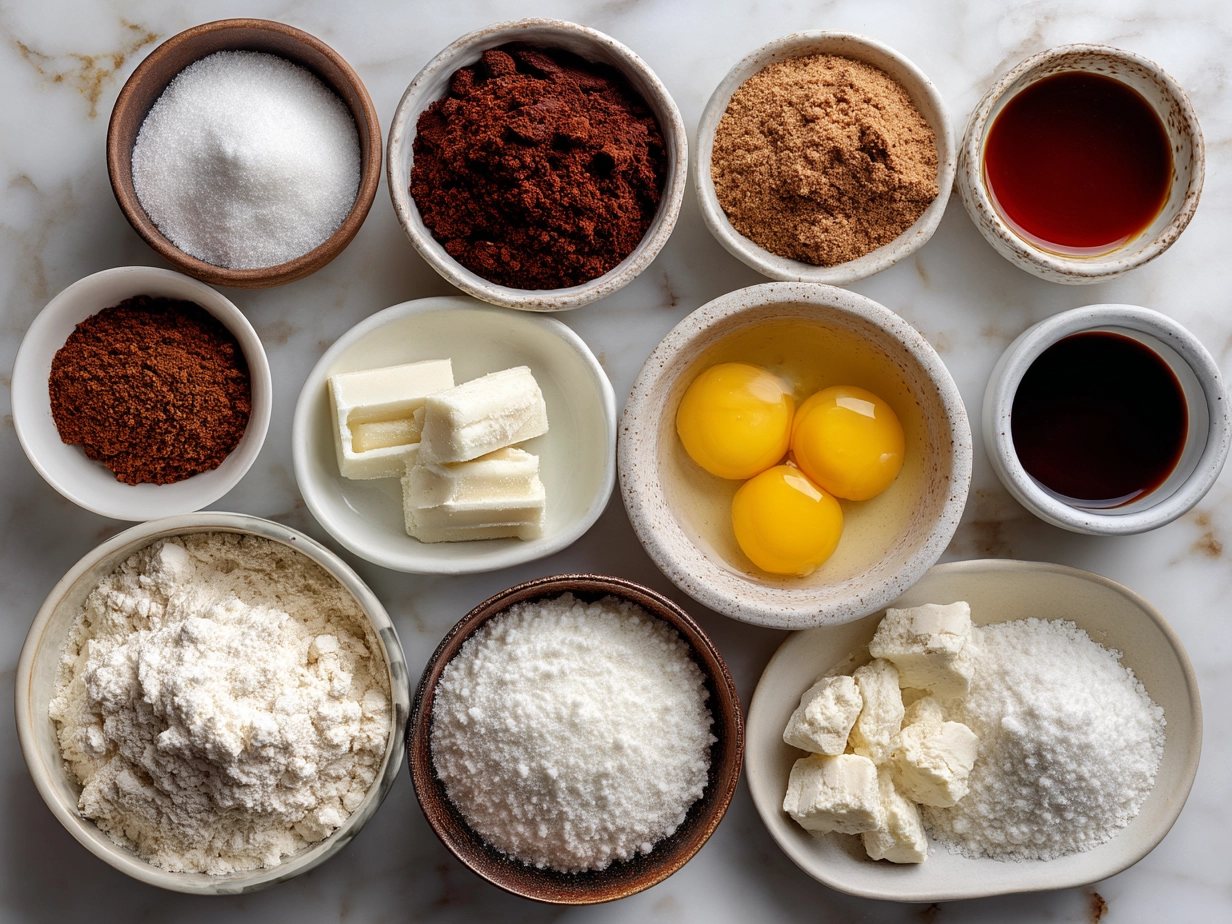
Alright, let’s talk ingredients for these Red Velvet Bear Cookies. To get the perfect velvety red cookie dough just right, here’s my go-to list — bolded so you won’t miss a thing:
- 1 1/4 cups all-purpose flour — I always use a good quality unbleached flour for the best texture.
- 1/4 cup unsweetened cocoa powder — This is the secret for that subtle cocoa flavor that makes red velvet special.
- 1/2 teaspoon baking soda
- 1/4 teaspoon salt
- 1/2 cup (1 stick) unsalted butter, softened — I love using real butter for that rich, chewy bite in the Red Velvet Bear Cookies.
- 3/4 cup granulated sugar
- 1 large egg
- 1 tablespoon red food coloring — Gel works better than liquid for that velvety red color without watering down the dough.
- 1 teaspoon vanilla extract
- 1/2 teaspoon white vinegar — This keeps that classic red velvet tang going.
- For the cream cheese frosting:
– 4 oz cream cheese, softened
– 1/4 cup unsalted butter, softened
– 1 cup powdered sugar
– 1/2 teaspoon vanilla extract
When you’re out shopping for these ingredients, look for high-quality cocoa powder and fresh cream cheese (I find the best at my local grocery’s dairy section). If you want to tweak or save some time, here’s a Red Velvet Bear Cookies trick I’ve picked up: you can make your cream cheese frosting ahead and keep it in the fridge for up to three days, so frosting is a quick finish after baking.
Also, don’t stress if you don’t have bear shaped cookie cutters on hand — any holiday themed cookies cutter will still bring the festive spirit, or you can try using something like my Red Velvet Sugar Cookies cutouts for a similar feel.
One more tip: before you start mixing, have all your ingredients prepped and ready. I often weigh out the flour and cocoa beforehand — it saves last-minute scrambling, especially with excited kids around!
Let’s Make This Red Velvet Bear Cookies Together
Now, it’s time to roll up our sleeves and bake these lovely Red Velvet Bear Cookies! Don’t worry if your dough looks extra red or your bear shapes aren’t perfect — that’s all part of the charm and fun.
- Preheat your oven to 350°F (175°C). I always do this first because it takes a bit to heat up—perfect time to whip out your ingredients.
- In a medium bowl, whisk together flour, cocoa powder, baking soda, and salt. This dry mix is what gives your velvety red cookie dough that perfect texture.
- Cream butter and sugar together in a separate large bowl until light and fluffy. Pro tip: I learned the hard way with Red Velvet Bear Cookies that not creaming the butter and sugar long enough results in dense cookies. So go slow and let that mix shine!
- Add the egg, vanilla extract, vinegar, and red food coloring to the butter mixture — mix just until combined. Your kitchen should start to smell like a cozy bakery here.
- Slowly add the dry ingredients to the wet ingredients, mixing on low speed until just combined. You want a cohesive dough, but don’t overmix, or those cookies get tough.
- Roll the dough out between two sheets of parchment paper to about 1/4-inch thickness. This is where the fun with bear shaped cookies begins—grab your cutters and press out the shapes.
- Place your bears on a baking sheet lined with parchment paper, leaving about an inch between each cookie. If you don’t have enough space, bake in batches.
- Bake for 8-10 minutes, keeping a close eye. In my kitchen, these Red Velvet Bear Cookies usually take about 9 minutes—just until edges are set but centers stay soft.
- Let them cool on the baking sheet for 5 minutes, then transfer to a wire rack to cool completely. This step is crucial because cream cheese frosting cookies slide right off if the base is warm!
While the cookies are cooling, let’s make the cream cheese frosting:
- Beat the softened cream cheese and butter together until smooth.
- Gradually add powdered sugar and vanilla, beating until creamy and spreadable.
Once your Red Velvet Bear Cookies are cool, pipe or spread the frosting on each bear. You can get creative here with little eyes, noses, or even scarves using colored sugar or sprinkles.
If you want extra insight or similar tips on horning in on cream cheese frosting cookies, check out this Red velvet cookie recipe with cream cheese frosting that’s packed with great technique advice.
And if you’re looking for cookie inspiration from passionate bakers, here’s a fun read on Every Crumbl Cookie flavor… ever!, which occasionally includes red velvet versions!
How I Love to Serve This Red Velvet Bear Cookies
Sharing is caring, especially when it comes to my Red Velvet Bear Cookies. My family loves these bear shaped cookies as little gifts tucked into lunchboxes or served at holiday tea time. Nothing beats their smiles when they spot those vibrant velvety red cookie dough shapes peeking out from the fridge.
I like pairing the Red Velvet Bear Cookies with light fruity teas or a glass of cold milk—the cream cheese frosting cookies on top have just enough tang to balance the sweetness without overpowering everything. For a festive twist, these cookies shine at winter holiday gatherings or even Valentine’s Day, when holiday themed cookies feel right at home.
Presentation-wise, here’s a little secret from my cookies-loving cousins: sprinkle some edible glitter or finely chopped nuts around the bears on a platter to add sparkle and texture. It makes the cookies feel extra special and gift-ready. And if you find yourself with leftover Red Velvet Bear Cookies, we love crumbling them up and using them as toppings for ice cream or mixing into yogurt parfaits.
For different seasons, I sometimes swap in peppermint extract to turn these into wintery holiday themed cookies or add little edible flower pieces for a spring touch. My friends always ask for this Red Velvet Bear Cookies recipe, especially after tasting it at our last family party!
Of course, if you’re someone who adores classic red velvet cookies, these Red Velvet Sugar Cookies also make wonderful companions to this recipe.
Your Red Velvet Bear Cookies Questions Answered
You know, over time, I’ve answered a bunch of questions from readers and friends about these Red Velvet Bear Cookies, and I thought it’d be helpful to share those here:
Q: My Red Velvet Bear Cookies spread too much in the oven. What am I doing wrong?
A: This happens if the dough is too warm or you didn’t chill it long enough. I always refrigerate the velvety red cookie dough for at least an hour before cutting to keep those sharp bear shapes intact.Q: Can I make these Red Velvet Bear Cookies eggless?
A: Yes! I found a fantastic eggless version shared by a community baking group, perfect for those avoiding eggs or baking with kids. Check out this eggless red velvet cookies recipe which I’ve tried with success.Q: How should I store leftover Red Velvet Bear Cookies?
A: Store them in an airtight container at room temp for up to 5 days or in the fridge if it’s hot. The cream cheese frosting cookies get creamier chilled but best served at room temperature.Q: Can I freeze the dough or the baked cookies?
A: Absolutely. I freeze the rolled and cut shapes on a baking sheet, then transfer to bags to bake fresh later. Or freeze the baked cookies — just thaw and refrost when ready.Q: How do I get the cream cheese frosting cookies just right?
A: Don’t skip softening the cream cheese and butter together well before adding powdered sugar. If it’s too thin, add more powdered sugar. Too thick, add a tiny splash of milk.Q: What’s the best substitute for red food coloring?
A: Gel food coloring is best but beet juice or powdered beet would add natural color subtly. Just remember, natural alternatives may change the flavor slightly.Q: My kids want to decorate the Red Velvet Bear Cookies — any tips?
A: I love this! Let them use small bowls with different frosting colors and candies. It’s a mess, yes, but also a joyful mess.
If you’re curious about similar fun cookie ideas, I’d point you to my Peanut Butter Spider Cookies for a spooky-themed twist, or check out my take on Halloween Crinkle Cookies for extra holiday inspiration!
My Final Thoughts on This Red Velvet Bear Cookies
These Red Velvet Bear Cookies really hold a special place in my heart. Beyond the cute bear shapes and velvety red cookie dough, there’s something genuinely comforting about the process and the shared moments around baking and enjoying them. It reminds me that even the busiest family schedules can find a little magic in the kitchen.
My Red Velvet Bear Cookies Pro Tips:
– Always chill your dough to keep those bear shaped cookies crisp around the edges.
– Don’t overbake! The cookies should be soft when pulled from the oven — they firm up as they cool.
– Pre-make your cream cheese frosting and store in the fridge up to 3 days for quick decorating sessions.
Over the years, I’ve tried a few variations with my family — sometimes swapping in peppermint extract for a holiday twist, other times adding mini chocolate chips into the velvety red cookie dough, or even rolling the edges in colored sugar for an extra sparkle. My youngest loves the basic cream cheese frosting version; my teenage daughter adores the chocolate chip adaptation, and my husband just wants more bears on the platter!
I hope you make this Red Velvet Bear Cookies recipe your own, bringing little touches from your kitchen and family traditions. Baking these bears is more than just about cookies — it’s about sharing warmth, joy, and those smiles that make everything feel right.
If you’re craving more festive baking adventures, you might enjoy checking out my Red Velvet Sugar Cookies or these wickedly fun Peanut Butter Spider Cookies and Halloween Crinkle Cookies. Each recipe adds a little holiday magic to your everyday baking.
So, grab your bear shaped cookie cutters, some velvety red cookie dough, and let’s keep this sweet tradition rolling. You’ve got this — and I’m cheering you on every step of the way with your very own batch of Red Velvet Bear Cookies!
Red Velvet Bear Cookies
Delight in these adorable Red Velvet Bear Cookies with a rich cocoa flavor and a tender, velvety texture, perfect for festive occasions or a sweet treat any time.
- Prep Time: 20 minutes
- Cook Time: 12 minutes
- Total Time: 32 minutes
- Yield: 24 cookies
- Category: Dessert
- Method: Baked
- Cuisine: American
Ingredients
- 1 cup unsalted butter, softened
- 1 cup granulated sugar
- 1 large egg
- 2 tablespoons cocoa powder
- 1 tablespoon red food coloring
- 2 ½ cups all-purpose flour
- 1 teaspoon baking powder
- ½ teaspoon salt
- 1 teaspoon vanilla extract
- ½ cup buttermilk
- Chocolate chips or candy eyes for decorating
Instructions
- Preheat the oven to 350°F (175°C) and line baking sheets with parchment paper.
- In a large bowl, cream the softened butter and sugar together until light and fluffy.
- Add the egg, vanilla extract, and red food coloring; mix until combined.
- In a separate bowl, whisk together the flour, cocoa powder, baking powder, and salt.
- Alternately add the dry ingredients and buttermilk to the butter mixture, beginning and ending with the dry ingredients. Mix until just combined.
- Roll out the dough on a lightly floured surface to ¼-inch thickness.
- Using a bear-shaped cookie cutter, cut out the cookies and place them on the prepared baking sheets.
- Decorate with chocolate chips or candy eyes to create bear faces.
- Bake for 10-12 minutes or until the edges are set but cookies remain soft.
- Allow cookies to cool on the baking sheet for 5 minutes before transferring to a wire rack to cool completely.
Notes
For extra flavor, consider dipping the cooled cookies in melted white chocolate or adding a cream cheese frosting for a classic red velvet touch.