
Okay, grab a seat at my kitchen table, friends! Let’s chat about something near and dear to my heart (and my sweet tooth!): Halloween No-Bake Icebox Cake. Oh my goodness, this recipe… it’s not just a dessert; it’s a little piece of my family’s Halloween history. I remember one year, little Mateo, bless his heart, was absolutely convinced that a real ghost delivered this Halloween No-Bake Icebox Cake to our doorstep. He was maybe four years old then, and his eyes were just HUGE. I had decorated it with gummy worms and candy tombstones – he was so spooked, but also so excited to dive in!
The first time I ever made anything remotely like this Halloween No-Bake Icebox Cake, it was a disaster, I won’t lie. I tried to get fancy with homemade whipped cream (because, you know, that’s what a good food blogger does, right?). Well, it turned out curdled and sad. The cookies were soggy, and the whole thing looked like a melted monster. But I learned a valuable lesson: sometimes, simple is best. Especially when you’re juggling school projects, soccer practices, and trying to find a matching pair of socks in the morning.
This recipe is a lifesaver for busy families like mine. I can throw it together in about 20 minutes, pop it in the fridge, and forget about it until it’s time to serve. Honestly, I think I first perfected this recipe when I was searching for something easy I could make for the kids Halloween party! It’s perfect for potlucks, school events, or just a fun family night in. I truly believe that cooking should be about joy, not stress, and this Halloween No-Bake Icebox Cake embodies that philosophy perfectly.
So, are you ready to make some spooky magic in your own kitchen? Let’s get started! I promise, even if you’ve never baked a thing in your life, you can nail this.
What You’ll Need for This Halloween No-Bake Icebox Cake
Alright, let’s gather our ingredients. This is the best part because it’s so straightforward. No fancy techniques or hard-to-find items needed! This Halloween No-Bake Icebox Cake is all about simplicity, so let’s embrace it.
Here’s what you’ll need:
- 1 (16-ounce) package chocolate wafer cookies: I always use Nabisco Famous Chocolate Wafers for my Halloween No-Bake Icebox Cake. They have the perfect texture and chocolatey flavor.
- 4 cups heavy cream: Make sure it’s cold! Cold heavy cream whips up much easier and faster.
- 1 cup powdered sugar: For just the right amount of sweetness to balance the chocolate!
- 1 teaspoon vanilla extract: A little vanilla enhances all the other flavors.
- 1 (8-ounce) package cream cheese, softened: This is KEY to a creamy, decadent filling. Make sure it’s really soft, or you’ll end up with lumps!
- Halloween sprinkles, gummy worms, candy eyeballs, or any other spooky decorations: This is where you can get creative and let your kids help!
When making Halloween No-Bake Icebox Cake, you can find the chocolate wafer cookies at almost any grocery store. Sometimes they’re in the cookie aisle, and sometimes they’re near the ice cream toppings. Don’t be afraid to ask a store employee!
Here’s a trick I learned from my grandma for making a wonderful Halloween No-Bake Icebox Cake: add a pinch of salt to the whipped cream. It really brings out the sweetness and cuts through the richness. You can also substitute the vanilla extract for any other flavor you like!
For busy families, you can totally use store-bought whipped topping to save time. Just make sure it’s the stabilized kind that won’t deflate. As for saving money: check the baking aisle in the supermarket for discounted wafers! They’re often on sale or clearance, especially after the holidays. If you have extra cream cheese after whipping together this Halloween No-Bake Icebox Cake, why not make these no-bake pumpkin cheesecake balls?
Store any leftover cookies in an airtight container at room temperature. And keep that cream cheese in the fridge until you’re ready to use it!
Let’s Make This Halloween No-Bake Icebox Cake Together
Okay, friends, let’s get our hands dirty! Here’s how we’re going to put together this amazing Halloween No-Bake Icebox Cake. Don’t worry, it’s super simple. I’ll walk you through every step!
- Whip the cream: In a large bowl, beat the heavy cream with an electric mixer until soft peaks form. Gradually add the powdered sugar and vanilla extract, and continue beating until stiff peaks form. Be careful not to overwhip! I learned the hard way with Halloween No-Bake Icebox Cake that overwhipped cream turns grainy. It usually takes me about 3-5 minutes, depending on my mixer.
- Cream the cheese: In a separate bowl, beat the softened cream cheese until it’s smooth and creamy. Make sure there are no lumps!
- Combine the mixtures: Gently fold the whipped cream into the cream cheese mixture until everything is well combined. This is what makes our filling so decadent!
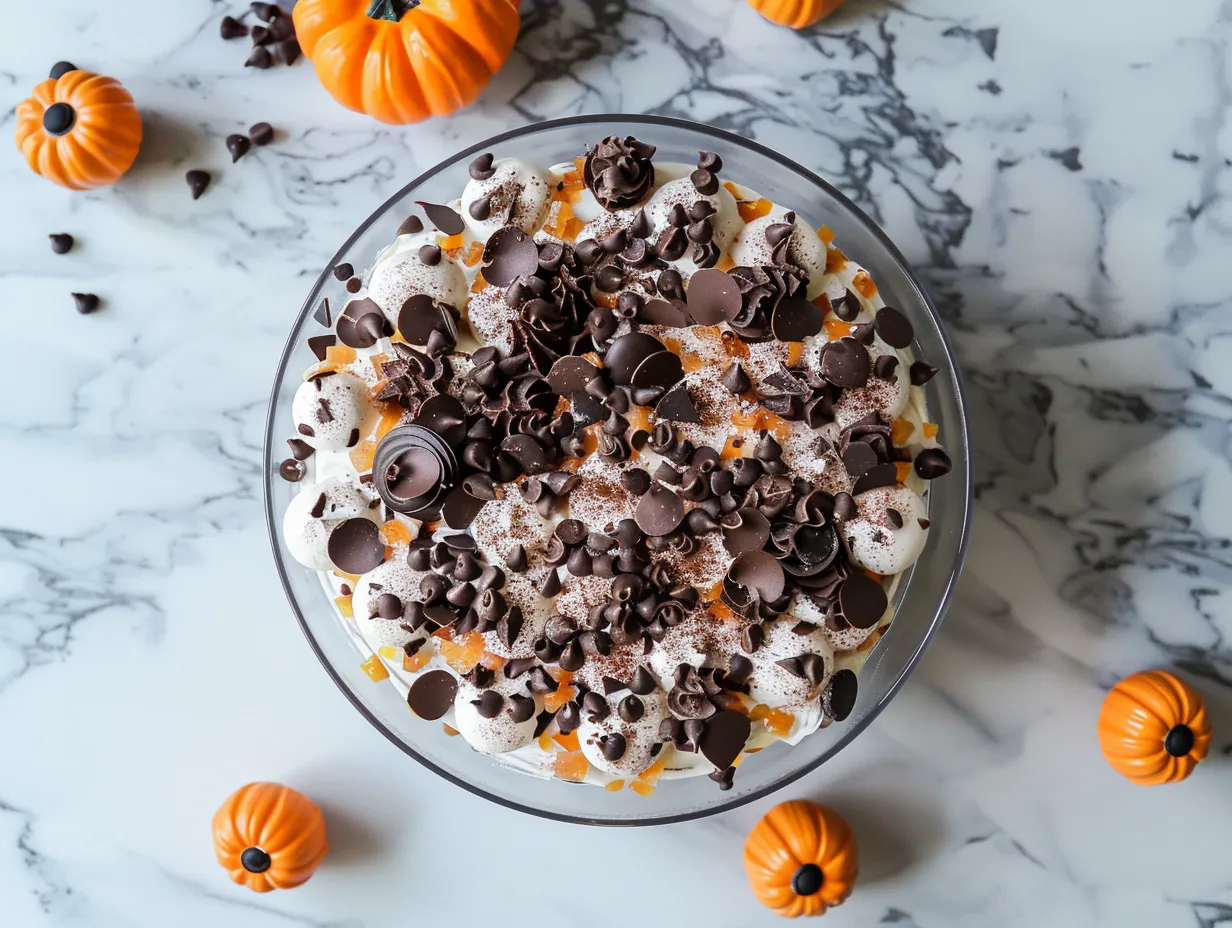
- Assemble the cake: Spread a thin layer of the cream cheese mixture on the bottom of a 9×13 inch baking dish (or any dish you like – a trifle bowl works great too!). Then, arrange a layer of chocolate wafer cookies over the cream. Don’t worry if they don’t fit perfectly; you can break them to fill in the gaps.
- Repeat layers: Spread another layer of the cream cheese mixture over the cookies, followed by another layer of cookies. Repeat this process until you’ve used up all the cookies and cream cheese mixture, ending with a layer of cream cheese on top. In my kitchen, this Halloween No-Bake Icebox Cake usually takes about 3-4 layers.
- Decorate: Now comes the fun part! Decorate the top of the cake with Halloween sprinkles, gummy worms, candy eyeballs, or any other spooky decorations you like. Let your kids get creative!
- Chill: Cover the cake with plastic wrap and refrigerate for at least 4 hours, or preferably overnight. This allows the cookies to soften and the flavors to meld together. I know, the wait is tough, but it’s worth it!
While the Halloween No-Bake Icebox Cake is chilling, I usually tidy up the kitchen and maybe sneak a peek at a spooky movie. Your Halloween No-Bake Icebox Cake should smell like chocolate, vanilla, and pure deliciousness! Don’t worry if your Halloween No-Bake Icebox Cake looks a little messy – that just adds to the spooky charm! I once forgot to soften the cream cheese and the filling was lumpy – but nobody even noticed because they were too busy eating! You can also reference this halloween icebox cake recipe from Lemon Blossoms if you want some more inspiration for decorations!
How I Love to Serve This Halloween No-Bake Icebox Cake
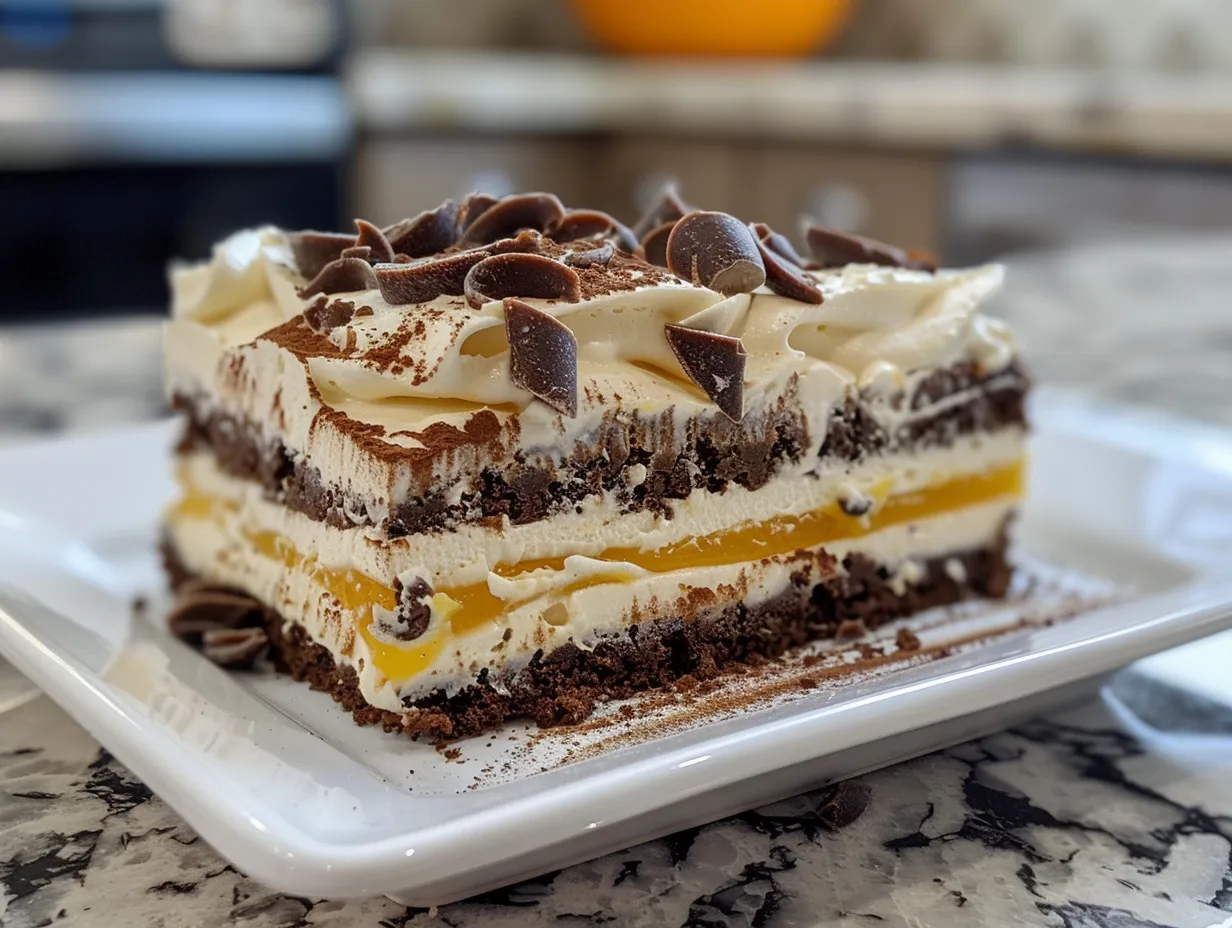
Serving this Halloween No-Bake Icebox Cake is almost as fun as making it! My family loves this Halloween No-Bake Icebox Cake when I cut it into squares and serve it with a scoop of vanilla ice cream. The cold ice cream against the creamy cake is just perfection. You could also try it with some whipped cream and extra sprinkles! If you want a similar recipe, you should check out this pumpkin cannoli cake roll!
It’s amazing with a cup of hot cocoa. The warmth of the cocoa really complements the cold, creamy cake.
This Halloween No-Bake Icebox Cake is perfect for Halloween parties, school events, or just a spooky family night in. I’ve even made it for Thanksgiving as a less traditional dessert option. I have friends who love to make a similar recipe using the Halloween costco cake as inspiration for decorations!
For presentation, I like to sprinkle extra Halloween sprinkles around the serving platter. It just makes it look extra festive! You can also arrange some gummy worms or candy eyeballs around the cake.
If you have extra Halloween No-Bake Icebox Cake, store it in an airtight container in the fridge. It will keep for up to 3 days. Though, in my house, it never lasts that long!
For seasonal variations, you can add a layer of pumpkin puree to the cream cheese mixture in the fall. Or, in the winter, you can add a layer of crushed peppermint candy canes.
Friends always ask for this recipe for Halloween No-Bake Icebox Cake, and they’re always surprised at how easy it is. It’s a real crowd-pleaser! You can check out this great Halloween Icebox Cake Recipe from Food Network for more serving ideas!
Your Halloween No-Bake Icebox Cake Questions Answered
I know you might have some questions about making this Halloween No-Bake Icebox Cake, so I’ve compiled a list of the most common ones I get. Here we go!
Q: Can I use different cookies?
A: Absolutely! While I love the classic chocolate wafer cookies, you can use any kind of cookie you like. Graham crackers, Oreos, or even gingerbread cookies would be delicious. Just make sure they’re not too crunchy, as they need to soften in the fridge. You know what I do when my Halloween No-Bake Icebox Cake recipe is a bit boring? I get the oreos!
Q: Can I make this ahead of time?
A: Yes, definitely! In fact, I recommend making it at least 4 hours ahead of time, or even the day before. This allows the cookies to soften and the flavors to meld together. This allows the cookies to soak up the cream, making this wonderful Halloween No-Bake Icebox Cake even better!
Q: What if I don’t have cream cheese?
A: If you don’t have cream cheese, you can substitute it with mascarpone cheese or even Greek yogurt. Just keep in mind that the flavor and texture will be slightly different.
Q: Can I use store-bought whipped topping instead of making my own?
A: Yes, you can! Just make sure it’s the stabilized kind that won’t deflate. I personally prefer making my own, as it tastes much better, but store-bought whipped topping is a great time-saver. But, you know what I do when I need to add a little more depth to my Halloween No-Bake Icebox Cake? I add some vanilla to the store bought cream.
Q: What if my cookies are still hard after chilling?
A: This usually happens if the cake hasn’t chilled long enough. Make sure to chill it for at least 4 hours, or preferably overnight. If your cookies are still hard after that, you can try adding a little milk or coffee to the cream cheese mixture to help soften them.
Q: Can I freeze this cake?
A: I don’t recommend freezing this cake, as the texture of the cream cheese and cookies can change. It’s best to make it fresh and enjoy it within a few days.
Q: My cream cheese mixture is lumpy! What did I do wrong?
A: This usually happens if the cream cheese isn’t soft enough. Make sure to let it sit at room temperature for at least 30 minutes before using it. If it’s still lumpy, you can try beating it with an electric mixer until it’s smooth.
I once used expired cream cheese in my Halloween No-Bake Icebox Cake (oops!), and it tasted a little sour. Lesson learned: always check the expiration date!
My Final Thoughts on This Halloween No-Bake Icebox Cake
This Halloween No-Bake Icebox Cake recipe holds a special place in my heart because it represents simplicity, joy, and family fun. It’s a reminder that you don’t need fancy ingredients or complicated techniques to create something delicious and memorable. It’s something anyone can make!
Here are my Halloween No-Bake Icebox Cake Pro Tips:
- Don’t overmix the whipped cream: Overwhipped cream can turn grainy, so stop beating it as soon as stiff peaks form.
- Soften the cream cheese: This is key to a smooth, creamy filling.
- Get creative with decorations: Let your kids help decorate the cake with their favorite Halloween candies and sprinkles.
I’ve tried a few different variations of this cake. My son Mateo loves it with a layer of peanut butter cups in the middle. My daughter Sofia prefers it with a layer of crushed Oreos. And my husband, well, he just loves it any way I make it! This Halloween No-Bake Icebox Cake reminds me of another family favorite!
I encourage you to make this Halloween No-Bake Icebox Cake your own. Add your favorite ingredients, experiment with different flavors, and most importantly, have fun!
I hope you enjoy making this Halloween No-Bake Icebox Cake as much as my family does. It’s a simple, delicious, and spooky treat that’s perfect for any Halloween celebration. Remember to enjoy every step, embrace any imperfections, and share the love with your family and friends. And while you are at it, you can try our recipe for baked pumpkin seeds as another great Halloween treat! Happy Halloween!
Halloween No-Bake Icebox Cake

This Halloween No-Bake Icebox Cake is a spooktacularly easy dessert! Layers of chocolate graham crackers, creamy pudding, and festive Halloween candy make for a delightful and stress-free treat.
- Prep Time: 15 minutes
- Cook Time: 0 minutes
- Total Time: 15 minutes
- Yield: 12 servings
- Category: Dessert
- Method: No-Cook
- Cuisine: American
Ingredients
- 1 (16 ounce) package chocolate graham crackers
- 2 (3.4 ounce) packages instant chocolate pudding mix
- 3 cups milk
- 1 (8 ounce) container frozen whipped topping, thawed
- Assorted Halloween candy (e.g., candy corn, chocolate candies, gummy worms)
- Optional: Chocolate syrup for drizzling
Instructions
- In a large bowl, whisk together the chocolate pudding mix and milk until smooth. Let it sit for 5 minutes to thicken.
- Gently fold in the thawed whipped topping until well combined.
- Line the bottom of a 9×13 inch dish with a single layer of chocolate graham crackers. You may need to break some crackers to fit.
- Spread a layer of the chocolate pudding mixture over the graham crackers.
- Repeat layers of graham crackers and pudding until you’ve used up all the ingredients, ending with a layer of pudding.
- Decorate the top of the cake with assorted Halloween candy.
- Cover the dish with plastic wrap and refrigerate for at least 4 hours, or preferably overnight, to allow the graham crackers to soften.
- Drizzle with chocolate syrup (optional) before serving.
Notes
For a richer flavor, use whole milk or add a layer of chocolate ganache. Garnish with additional whipped cream before serving for an extra touch.