
Alright, come on in, grab a cup of coffee, and let’s chat! Today, we’re making one of my absolute favorite fall snacks: Baked Pumpkin Seeds. I know, I know, it sounds almost too simple, but trust me, there’s something magical about turning those stringy, slimy seeds into crispy, flavorful bites of goodness. The smell alone is enough to get me in the autumn spirit!
I remember the first time I ever tried to make Baked Pumpkin Seeds. It was years ago, after carving pumpkins with the kids for Halloween. We had this HUGE pile of seeds, and I thought, “Waste not, want not!” I just tossed them with some salt and threw them in the oven. Well, they came out… chewy. So chewy, in fact, that my kids wouldn’t even touch them. Lesson learned! I realized then that making good Baked Pumpkin Seeds wasn’t as simple as I thought.
Over the years, I’ve tweaked and perfected my method. I’ve discovered the secret to getting them perfectly crispy, every single time. And now, it’s a family tradition. We look forward to roasting Baked Pumpkin Seeds every Halloween. I usually save some of the pumpkin flesh to make my Pumpkin Cannoli Cake Roll. It’s one of my family’s favorite desserts! I’ve also tried some of the tips from Jessica Gavin’s Roasted Pumpkin Seeds Recipe – Jessica Gavin, which helped me to understand the drying process even better.
Honestly, between school drop-offs, soccer practice, and trying to keep up with this blog, sometimes I feel like I’m barely keeping my head above water. But, even on the busiest days, I can always find time to make a batch of Baked Pumpkin Seeds. They’re quick, easy, and the kids absolutely devour them. Plus, it’s a healthy snack that I feel good about giving them.
My cooking philosophy is pretty simple: good food doesn’t have to be complicated. It should be made with love, shared with family and friends, and enjoyed wholeheartedly. And that’s exactly what these Baked Pumpkin Seeds are all about.
So, are you ready to learn how to make the best Baked Pumpkin Seeds you’ve ever tasted? Let’s get started! Don’t be scared if you’ve had a chewy batch or two in the past – we’re going to conquer that today.
What You’ll Need for This Baked Pumpkin Seeds
Okay, let’s gather our ingredients. Nothing too fancy here, I promise!
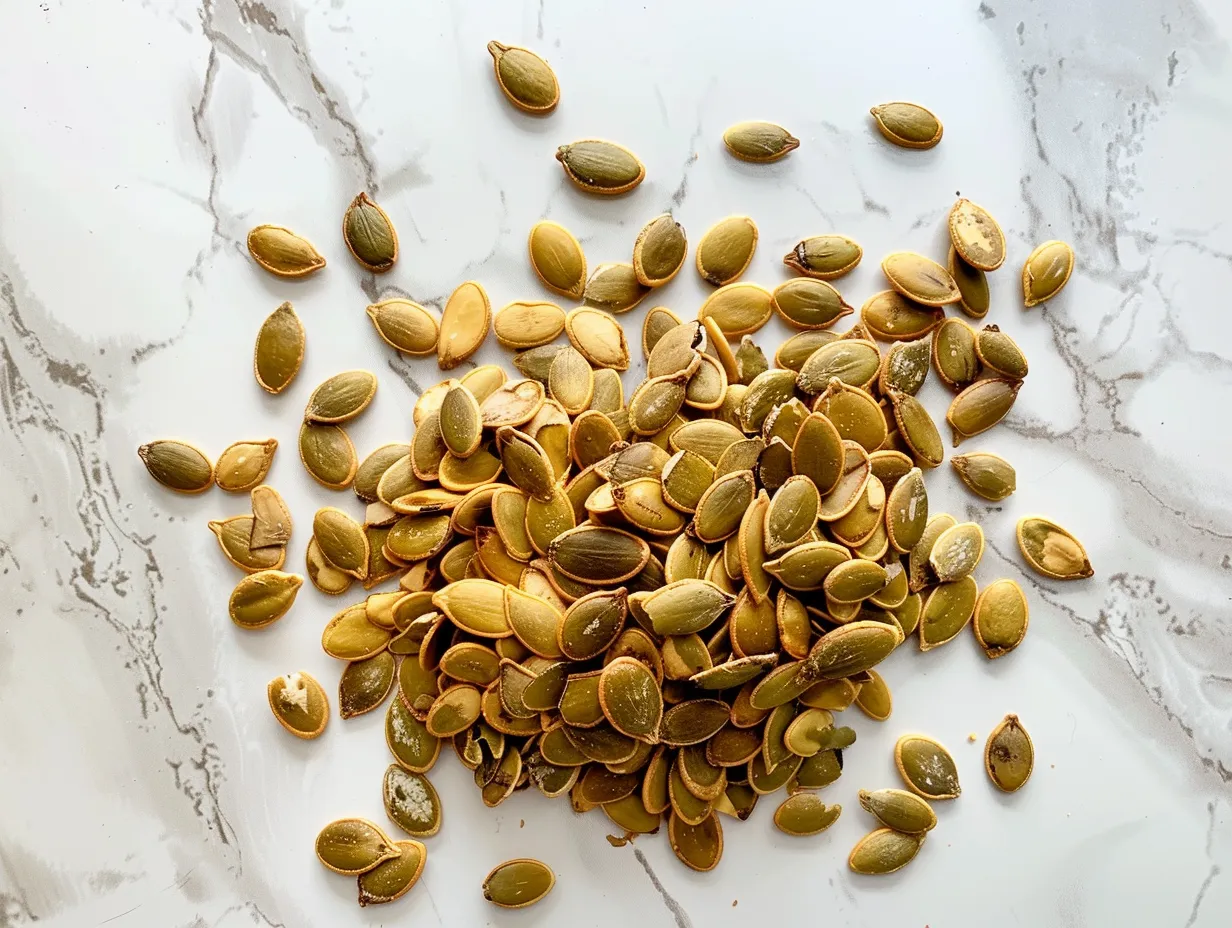
- 2 cups raw pumpkin seeds, rinsed and dried: The fresher the seeds, the better! I always use the seeds from whatever pumpkins we carve that year for Halloween. You can even use seeds from sugar pumpkins.
- 1 tablespoon olive oil: I always use extra virgin olive oil for my Baked Pumpkin Seeds. It adds a nice subtle flavor and helps them crisp up perfectly.
- 1/2 teaspoon salt: I prefer sea salt, but any kind of salt will work.
- 1/4 teaspoon garlic powder: This is optional, but it adds a lovely savory note.
- 1/4 teaspoon onion powder: Again, totally optional, but I love the added flavor.
- Pinch of black pepper: Just a little bit to give them a tiny kick.
- Optional seasonings: Get creative! Smoked paprika, chili powder, cayenne pepper, cinnamon, or even a little maple syrup can all be fantastic. I’ve been known to make a batch of seasoned pumpkin seeds with a little bit of everything.
When making Baked Pumpkin Seeds, you can usually find great deals on pumpkins at your local farmer’s market or grocery store during the fall season.
Here’s a Baked Pumpkin Seeds trick I learned from my grandmother: after rinsing the seeds, spread them out on a clean kitchen towel and let them air dry overnight. This gets rid of as much moisture as possible, which is key to getting them nice and crispy!
For a shortcut, you can buy pre-washed pumpkin seeds at some stores. However, I really think the best Baked Pumpkin Seeds taste best when you use fresh seeds that you’ve cleaned yourself. It’s part of the fun! Plus, it saves money, which is always a win in my book.
Store any leftover seasonings in airtight containers in a cool, dark place. They’ll last for months! And as for the Baked Pumpkin Seeds themselves? They’re usually gone within a day in my house!
Let’s Make This Baked Pumpkin Seeds Together
Alright, let’s get down to business and make some delicious Baked Pumpkin Seeds together! I promise, it’s easier than you think. If you love this, you’ll go crazy for my Pumpkin Zucchini Bread.
- Preheat your oven to 300°F (150°C). This lower temperature is key for even roasting. We don’t want any burnt seeds!
- Prepare the pumpkin seeds. This is the most important step! After you scoop the seeds out of your pumpkin, rinse them thoroughly in a colander to remove as much of the pumpkin pulp as possible. Don’t worry if you can’t get every last bit off.
- Dry the seeds thoroughly. This is where the magic happens! Spread the rinsed seeds in a single layer on a clean kitchen towel or paper towels. Pat them dry and let them air dry for at least an hour, or even better, overnight. The drier they are, the crispier they’ll be! I’ve found some great tips for drying on Easy Roasted Pumpkin Seeds Recipe.
- Toss with oil and seasonings. In a medium bowl, toss the dried pumpkin seeds with the olive oil, salt, garlic powder, onion powder, and pepper (or whatever seasonings you’re using). Make sure the seeds are evenly coated.
- Spread on a baking sheet. Spread the seasoned pumpkin seeds in a single layer on a baking sheet lined with parchment paper. This helps prevent sticking and makes cleanup a breeze.
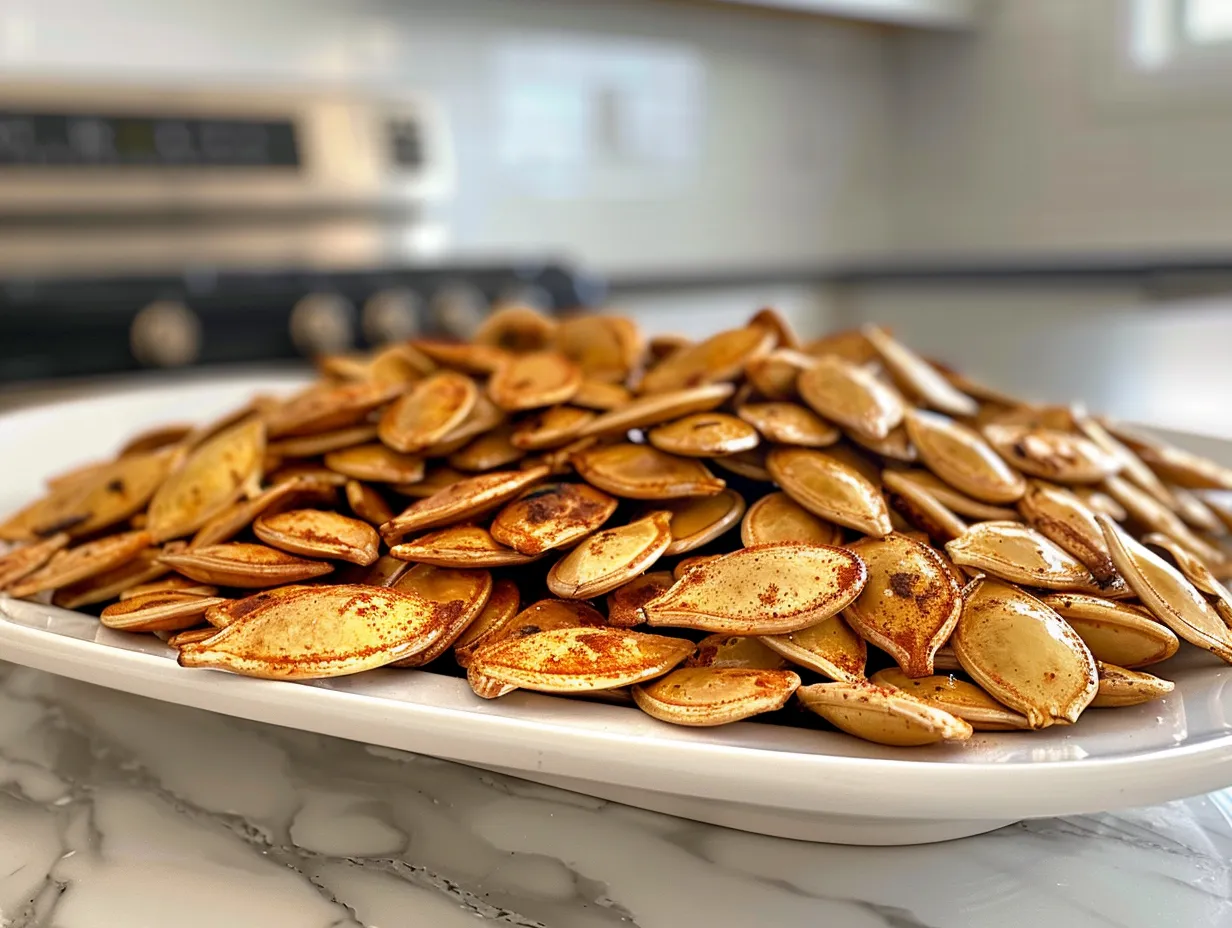
- Bake for 45-60 minutes, or until the seeds are golden brown and crispy. Stir the seeds every 15-20 minutes to ensure even roasting. This is important! I learned the hard way with Baked Pumpkin Seeds that if you don’t stir them, some will burn while others will still be soft.
- Let cool completely. Once the seeds are done, remove them from the oven and let them cool completely on the baking sheet. They will crisp up even more as they cool. I usually let them cool for at least 30 minutes.
- Enjoy! Once the seeds are cool, transfer them to a bowl and enjoy! They’re best enjoyed fresh, but they can be stored in an airtight container at room temperature for up to a week.
In my kitchen, Baked Pumpkin Seeds usually take about 50 minutes to get perfectly crispy. But every oven is different, so keep an eye on them and adjust the baking time as needed. Your Baked Pumpkin Seeds should smell like a warm, nutty, savory dream!
While the Baked Pumpkin Seeds are cooking, I usually use that time to get dinner started or catch up on a little reading. Sometimes, I even sneak in a quick phone call to my sister. Multitasking is key!
Don’t worry if your Baked Pumpkin Seeds aren’t perfectly uniform in color. Some will be darker than others, but that’s okay! It just adds to their rustic charm. The most important thing is that they’re crispy and delicious.
How I Love to Serve This Baked Pumpkin Seeds
Oh, there are so many ways to enjoy these little gems! My family loves this Baked Pumpkin Seeds when I sprinkle them on top of salads for a crunchy, savory topping. They’re also amazing on their own as a snack, especially while watching a movie on a chilly autumn evening.
My go-to side dishes that pair with seasoned Baked Pumpkin Seeds are anything with fall flavors. I especially love serving them alongside my Pumpkin Wild Rice Soup. The soup is hearty and comforting, and the Baked Pumpkin Seeds add a delightful crunch and nutty flavor that complements it perfectly.
This Baked Pumpkin Seeds is perfect for Halloween parties, Thanksgiving gatherings, or just a cozy night in with the family. They’re always a hit, and they’re so easy to make ahead of time.
For a fun presentation, I like to serve the Baked Pumpkin Seeds in small bowls or mason jars. You can even add a little tag with the flavor variations written on it.
If you have extra Baked Pumpkin Seeds, you can store them in an airtight container at room temperature for up to a week. But honestly, they never last that long in my house! I’ve been meaning to try Angela Liddon’s recipe for How To Roast Perfect Pumpkin Seeds – Easy, Crunchy, Addictive …, which has some great tips for extra-crispy results!
For a seasonal Baked Pumpkin Seeds variation, try adding a sprinkle of cinnamon and a drizzle of maple syrup before baking. It’s like a little taste of pumpkin pie in every bite!
Friends always ask for this Baked Pumpkin Seeds recipe, especially after they try my spicy version with chili powder and cayenne pepper. It’s a crowd-pleaser every time!
Your Baked Pumpkin Seeds Questions Answered
Okay, let’s tackle some of the most common questions I get about making Baked Pumpkin Seeds.
Q: Why are my Baked Pumpkin Seeds chewy instead of crispy?
A: Ah, the age-old question! The most common reason for chewy Baked Pumpkin Seeds is that they weren’t dried thoroughly enough. Make sure to rinse them well and then spread them out in a single layer on a clean kitchen towel or paper towels to dry for at least an hour, or even better, overnight. Also, make sure your oven temperature isn’t too high – a lower temperature allows the moisture to evaporate slowly, resulting in crispier seeds.
Q: Can I use pre-washed pumpkin seeds from the store?
A: Yes, you can! Just make sure to pat them dry before tossing them with oil and seasonings. However, I personally prefer to use fresh seeds from the pumpkins we carve for Halloween. I just think they taste better!
Q: What other seasonings can I use?
A: The possibilities are endless! Some of my favorites include smoked paprika, chili powder, cayenne pepper, cinnamon, maple syrup, garlic salt, onion salt, and even a little bit of brown sugar. Get creative and experiment with different flavors!
Q: How long do Baked Pumpkin Seeds last?
A: Baked Pumpkin Seeds are best enjoyed fresh, but they can be stored in an airtight container at room temperature for up to a week. However, they tend to lose their crispness over time, so I recommend eating them within a few days for the best flavor and texture.
Q: My Baked Pumpkin Seeds are burning! What am I doing wrong?
A: If your Baked Pumpkin Seeds are burning, it could be that your oven temperature is too high or that they’re not spread out in a single layer on the baking sheet. Make sure to preheat your oven to 300°F (150°C) and spread the seeds in a single layer. Also, be sure to stir them every 15-20 minutes to ensure even roasting.
Q: Can I make Baked Pumpkin Seeds in an air fryer?
A: You sure can! Preheat your air fryer to 300°F (150°C). Toss the pumpkin seeds with oil and seasonings as directed in the recipe. Spread them in a single layer in the air fryer basket and cook for 10-12 minutes, or until golden brown and crispy, shaking the basket halfway through.
Q: What do I do with all the pumpkin pulp that’s stuck to the seeds?
A: Don’t worry too much about getting every last bit of pulp off the seeds. A little bit of pulp is fine, and it actually adds a bit of flavor. Just try to remove as much as you can with your fingers or a colander. You know what I do when my Baked Pumpkin Seeds have too much pulp? I toss them with a little extra olive oil and seasonings, and they still turn out great!
My Final Thoughts on This Baked Pumpkin Seeds
Making Baked Pumpkin Seeds is more than just a recipe for me; it’s a tradition. It’s a way to connect with my family, celebrate the season, and enjoy a delicious, healthy snack. These little seeds are a reminder that even the simplest things in life can be incredibly rewarding. For more sanity-saving dinner ideas, check out my blog.
My Baked Pumpkin Seeds Pro Tips:
- Dry, dry, dry! Seriously, the drier the seeds, the crispier they’ll be. Don’t skip the drying step!
- Low and slow is the way to go. Baking at a lower temperature allows the moisture to evaporate slowly, resulting in perfectly crispy seeds without burning.
- Don’t be afraid to experiment with seasonings. Get creative and try different flavor combinations!
I’ve tried so many different Baked Pumpkin Seeds variations over the years. My kids love the sweet version with cinnamon and maple syrup, while my husband prefers the spicy version with chili powder and cayenne pepper. I personally love the savory version with garlic powder, onion powder, and a pinch of smoked paprika.
No matter how you choose to make them, I hope you’ll give these perfectly crisp Baked Pumpkin Seeds a try. They’re so easy to make, and they’re a guaranteed crowd-pleaser.
I encourage you to make this Baked Pumpkin Seeds recipe your own. Add your favorite seasonings, experiment with different baking times, and most importantly, have fun!
I hope you enjoy your Baked Pumpkin Seeds as much as my family does. Happy baking, friends! And don’t forget to share your creations with me on social media. I can’t wait to see what you come up with!
Baked Pumpkin Seeds
Transform your pumpkin carving leftovers into a delicious and crunchy snack! These baked pumpkin seeds are easy to make and perfect for a healthy treat.
- Prep Time: 10 minutes
- Cook Time: 50 minutes
- Total Time: 60 minutes
- Yield: 4 servings
- Category: Snack
- Method: Baked
- Cuisine: American
Ingredients
- 1 1/2 cups raw pumpkin seeds, cleaned
- 1 tablespoon olive oil
- 1/2 teaspoon salt
- 1/4 teaspoon garlic powder (optional)
- 1/4 teaspoon paprika (optional)
Instructions
- Preheat your oven to 300°F (150°C).
- Rinse the pumpkin seeds thoroughly and remove any pulp. Pat them dry with a clean towel.
- In a bowl, toss the pumpkin seeds with olive oil, salt, and any optional spices.
- Spread the seeds in a single layer on a baking sheet.
- Bake for 45-60 minutes, or until golden brown and crispy, stirring occasionally.
- Let cool completely before serving.
Notes
For extra flavor, try adding a pinch of chili powder or cumin to the seeds before baking. Store in an airtight container at room temperature.