

I can’t wait to share with you about these Baked Salmon Sushi Cups — they have quickly become one of my go-to dishes in the kitchen, especially when I want something that feels special but isn’t a hassle. I remember the first time I stumbled upon the idea of Baked Salmon Sushi Cups during a busy weeknight scramble. I was craving sushi but didn’t have the time or the patience to go through the whole rolling and slicing routine typical of traditional sushi. Enter: Baked Salmon Sushi Cups — the perfect salmon nigiri alternative that’s not only fun to make but a real crowd-pleaser in my family.
The aroma of perfectly baked salmon mingling with sticky sushi rice and fresh cucumber slices—that smell still brings me back to those cozy evenings at home. The kids love how they can pick them up easily and pop them into their mouths without the sometimes intimidating chopsticks or seaweed wrap. Honestly, these easy sushi cups have been a game changer for busy nights, potlucks, and even casual dinner parties.
If you’ve ever tried baking salmon for sushi or fussed over rolling sushi at home, you know it can be a bit tricky. That’s why baked sushi recipes like these feel like such a relief—they come together faster, require less specialized skills, and still deliver that irresistible salmon sushi appetizer vibe we all crave. I perfected this Baked Salmon Sushi Cups recipe over several weeks, adjusting the seasoning and baking time until the salmon was cooked just right: flakey, tender, and full of flavor.
What I love most about this recipe is how adaptable it is to our hectic family calendar. Some days, it’s a quick afternoon prep that turns into dinner; other times, these baked sushi cups shine as an impressive appetizer when hosting friends. Plus, they’re a wonderful way to introduce a salmon sushi appetizer to kids who might be hesitant about raw fish. Baked salmon feels familiar and comforting but still packs that sushi punch.
If you’re curious to hear more about the ingredients I love and how to make these Baked Salmon Sushi Cups with ease, I’m right here to walk you through the whole process. It’s all about sharing that joy of food, the kitchen mishaps that make us laugh, and those beautiful little moments when dinner turns into a cherished family story. So, grab your apron, friend—let’s dive into the deliciousness of Baked Salmon Sushi Cups together! And if you want a little inspo for other baked treats, be sure to check out my stories on baked pumpkin seeds and loaded baked potato soup for cozy meal ideas.
What You’ll Need for This Baked Salmon Sushi Cups
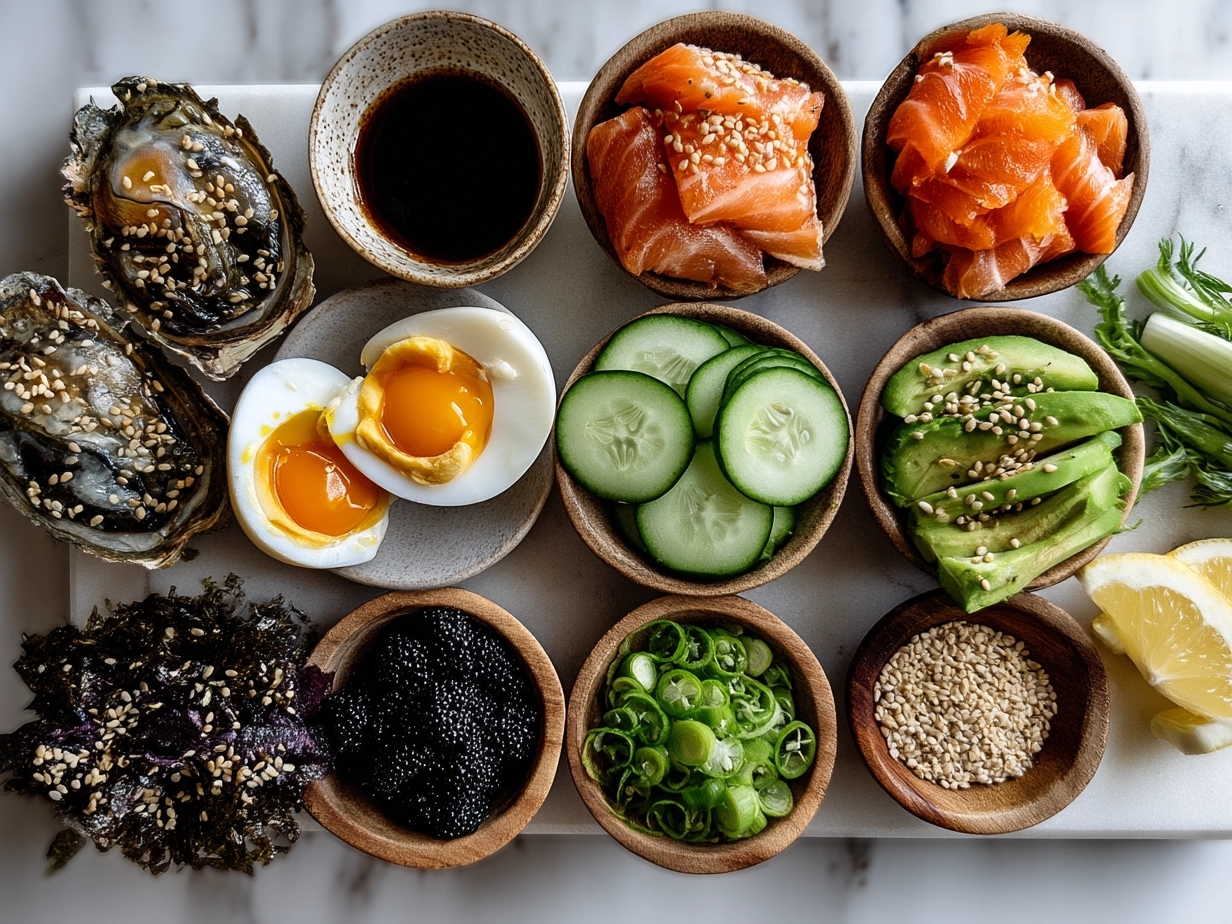
Alright, let me give you the scoop on what I always have ready when making my Baked Salmon Sushi Cups. Having the right ingredients makes all the difference, but don’t worry—it’s mostly simple pantry and fresh items. Here’s my detailed list:
- 1 cup sushi rice (I use the short-grain variety for that perfect sticky texture)
- 1 ¼ cups water (to cook the sushi rice)
- 3 tablespoons rice vinegar (adds that authentic sushi tang)
- 2 teaspoons sugar
- ½ teaspoon salt
- 8 ounces fresh salmon fillet (skin removed; you want sushi-grade if you can find it, but since we’re baking, regular fresh salmon works well)
- 1 tablespoon soy sauce
- 1 teaspoon sesame oil
- 1 cucumber (thinly sliced into small strips)
- 2 sheets nori seaweed (cut into small squares for layering or decoration)
- 1 avocado (optional, sliced for added creaminess)
- Pickled ginger and wasabi (optional, for serving)
Now, I always prefer using sushi rice for the Baked Salmon Sushi Cups because it gets that signature sticky, chewy texture you want. You can find sushi rice at most well-stocked grocery stores or Asian markets—if you’re unsure, just look for “Japanese short-grain rice” on the packaging. Here’s a handy tip from Kalejunkie’s viral TikTok Baked Salmon Sushi Cups post—they recommend rinsing the rice thoroughly before cooking to get rid of excess starch, which helps the rice fluff up just right.
For the salmon, I’ve learned from kitchen mishaps that baked salmon tastes best when seasoned simply with soy sauce and sesame oil before baking. No need to overcomplicate. This humble seasoning lets the fish shine through in these baked sushi recipes. Also, when pressed for time, you can find pre-cut salmon fillets or even leftover cooked salmon from your local fish market, making these easy sushi cups even quicker.
If you’re short on time — trust me, I know the drill — you can prepare the rice in advance or use leftover rice. Just be sure to season it with the vinegar mixture so the sushi flavors come through brilliantly. I keep a little jar of sushi rice seasoning handy in my fridge too; it’s a money saver over buying pre-seasoned rice.
Speaking of storage, any leftover ingredients like sliced cucumber or avocado should be wrapped tightly and stored in the fridge to keep them fresh for the next batch of Baked Salmon Sushi Cups. And hey, if you need a dose of more kitchen wisdom while you prep, check out baked mac and cheese recipe for another cozy baked dish you might love alongside these sushi cups.
Let’s Make This Baked Salmon Sushi Cups Together
Making Baked Salmon Sushi Cups is truly one of those recipes where you’ll feel like a sushi chef in your own kitchen, minus the intimidating skills. Let me guide you through every step — don’t worry if this is your first baked sushi recipe, I’ve got tips and tricks from my own adventures (and missteps) to help!
- Cook the sushi rice: Rinse your 1 cup sushi rice in cold water until the water runs clear. This takes away excess starch and keeps the rice from turning gluey. Cook it with 1 ¼ cups of water, either in a rice cooker or on the stove. When it’s done, fluff the rice gently with a fork.
- Season the rice: Mix 3 tablespoons rice vinegar, 2 teaspoons sugar, and ½ teaspoon salt until dissolved. Fold this into the cooked rice gently—take care not to mash it. Your Baked Salmon Sushi Cups rice should look glossy and smell slightly tangy, just like sushi rice in your favorite restaurant!
- Prepare the salmon: Preheat your oven to 375°F (190°C). Cut the salmon fillet into bite-sized chunks. Toss them in soy sauce and sesame oil and spread on a parchment-lined baking tray. Bake for about 12 minutes or until the salmon is just cooked through — you want it flaky but still moist. The kitchen will start smelling like a salmon sushi appetizer dream!
- Assemble the cups: While the salmon is baking, grab a muffin tin. Line each cup with a nori square so the rice doesn’t stick and adds a bit of that classic seaweed flavor. Press a spoonful of sushi rice into the bottom of each tin firmly but gently. Add a strip or two of cucumber and a salmon chunk on top.
- Bake the cups: Pop the muffin tin back into the oven for another 5-7 minutes, just to warm everything through and meld the flavors together. This is one of my favorite moments — smelling the blend of soy, salmon, and rice is pure comfort.
- Serve: Once out of the oven, let the cups cool for a few minutes before removing them carefully with a spoon or small spatula. Garnish with sliced avocado or a tiny dollop of wasabi for a fresh kick.
Pro tip I learned the hard way? Don’t overfill the cups or pack the rice too tightly; your Baked Salmon Sushi Cups need room to breathe or they’ll become dense. Also, while the sushi cups bake, I like prepping a light salad or even some quick miso soup to round out the meal.
If you want some visual guidance for plating and assembly, check out these amazing sushi cup plating ideas from friends who’ve nailed the presentation on social media. And for alternative ways to bake your salmon, Kalejunkie’s post has some great pointers on baked sushi recipes that might inspire your own twist.
How I Love to Serve This Baked Salmon Sushi Cups
My family goes crazy for these Baked Salmon Sushi Cups, especially when I serve them alongside quick edamame pods and a simple green salad. They’re the perfect finger food, making dinnertime less stressful when little ones want to nibble at their own pace. Plus, the cups’ self-contained portions mean no mess, which is a win in my book.
When I’m hosting, these baked sushi recipes shine as elegant salmon sushi appetizers. I sometimes drizzle a little spicy mayo or sprinkle toasted sesame seeds on top just before serving. The presentation can be as casual or as fancy as you like — for a more polished look, try serving the Baked Salmon Sushi Cups on a wooden sushi board or layered on a slate platter. Cute garnishes like lemon slices or fresh herbs always up the game.
We tend to make these easy sushi cups year-round — but they feel especially right in the summer when fresh cucumbers are crisp and in season. I’ve even experimented with seasonal twists, like swapping the cucumber for pickled daikon or adding a touch of fresh mango for sweetness. My kids adore the fruity twist, and it’s an unexpected spin on the salmon nigiri alternative.
If you find yourself with leftovers — hey, it happens! — these baked sushi cups are great crumbled over a salad or even broken apart as a filling for sushi bowls the next day. My family’s favorite leftover improv is adding a fried egg on top for a brunch flair.
Oh, and if you’re curious about other dishes to serve alongside, I’d recommend something like my loaded baked potato soup — the warmth and heartiness complement the lightness of these salmon sushi appetizer cups beautifully.
Your Baked Salmon Sushi Cups Questions Answered
I’ve learned that when it comes to Baked Salmon Sushi Cups, questions pop up a lot, so here are some of the most common from friends and readers – answered like I’m chatting with you over coffee!
Q1: Can I use raw salmon instead of baked for these sushi cups?
You know, I used to be nervous about raw salmon at home with the kids. Baking the salmon makes it approachable and still delicious without the worry. But if you prefer raw, just ensure you’re buying sushi-grade salmon and handle it with care. For most family-friendly versions, baked salmon is my go-to.
Q2: How sticky should the rice be?
It should be sticky enough to hold together but not mushy. Rinsing the rice is key to avoid over-starch, and seasoning it properly with vinegar makes all the difference. I like a slightly glossy texture for my Baked Salmon Sushi Cups so they stay intact but are easy to bite into.
Q3: What if I don’t have nori sheets?
I’ve skipped nori when I’m in a pinch. The cups still taste great, but nori adds that umami component and keeps the rice from sticking to the pan during baking. Using a lightly greased muffin tin is helpful if you omit the nori.
Q4: Can I make the Baked Salmon Sushi Cups ahead of time?
Absolutely! You can prepare the rice and salmon separately, then assemble and bake just before serving. I’ve also made them fully and kept leftovers in the fridge for up to two days.
Q5: Any tips for plating these cups?
Keep it simple with fresh slices of cucumber and avocado. A sprinkle of sesame seeds or a drizzle of spicy mayo brings beautiful contrast. For fancy occasions, try stacking the cups creatively on a platter or using mini lettuce leaves underneath for sushi cup plating ideas your guests will love.
Q6: What’s a good side to serve with?
My family loves edamame pods or pickled vegetables alongside for a full experience. And the warmth of something like baked pumpkin seeds offers a delightful crunch to contrast the soft cups.
Q7: Have you had any kitchen disasters making these?
Oh, plenty! One time I baked the salmon too long, and it dried out. Lesson learned — keep an eye on baking times for the salmon in your Baked Salmon Sushi Cups. Also, packing too much rice made it dense and heavy, so I now keep that balance just right.
If you want more on troubleshooting these baked sushi recipes, this external guide from Kalejunkie has some great tips on how to get them perfect every time.
My Final Thoughts on This Baked Salmon Sushi Cups
This recipe holds a dear place in my heart because it brought together something I love — sushi — with the reality of family life where time and patience aren’t always abundant. Every time I make these Baked Salmon Sushi Cups, I remember those first dinners when the kids chowed down happily, and my husband gave that approving nod that told me, “Keep this one on rotation!”
Baked Salmon Sushi Cups Pro Tips:
- Always season your rice when it’s hot, folding gently to avoid breaking grains.
- Use sesame oil sparingly on salmon to add natural richness without overpowering.
- Don’t overcrowd the muffin tin cups — give your sushi cups breathing room to bake evenly.
I’ve tried variations—from adding spicy sriracha drizzle to swapping avocado for mango—that make these Baked Salmon Sushi Cups even more fun to share. My kids love the classic cucumber and salmon while my husband can’t get enough of the spicy mayo version.
I encourage you to make this recipe your own, try different garnishes, and bring your family together around these easy sushi cups. Cooking should be joyful, nourishing, and full of stories you can laugh about later.
If you’re ever in the mood for something cozy to serve alongside, you’ll find a warm hug in my baked mac and cheese recipe. And remember, these Baked Salmon Sushi Cups are more than just a recipe — they’re a chance for you to connect with your loved ones through good food and easy flavors.
Happy baking, my friend — you’ve got this! For some fresh inspiration, don’t forget to peek at this beautiful Baked Salmon Sushi Cups gallery on Facebook from fellow food lovers who keep the salmon sushi appetizer magic alive every day.
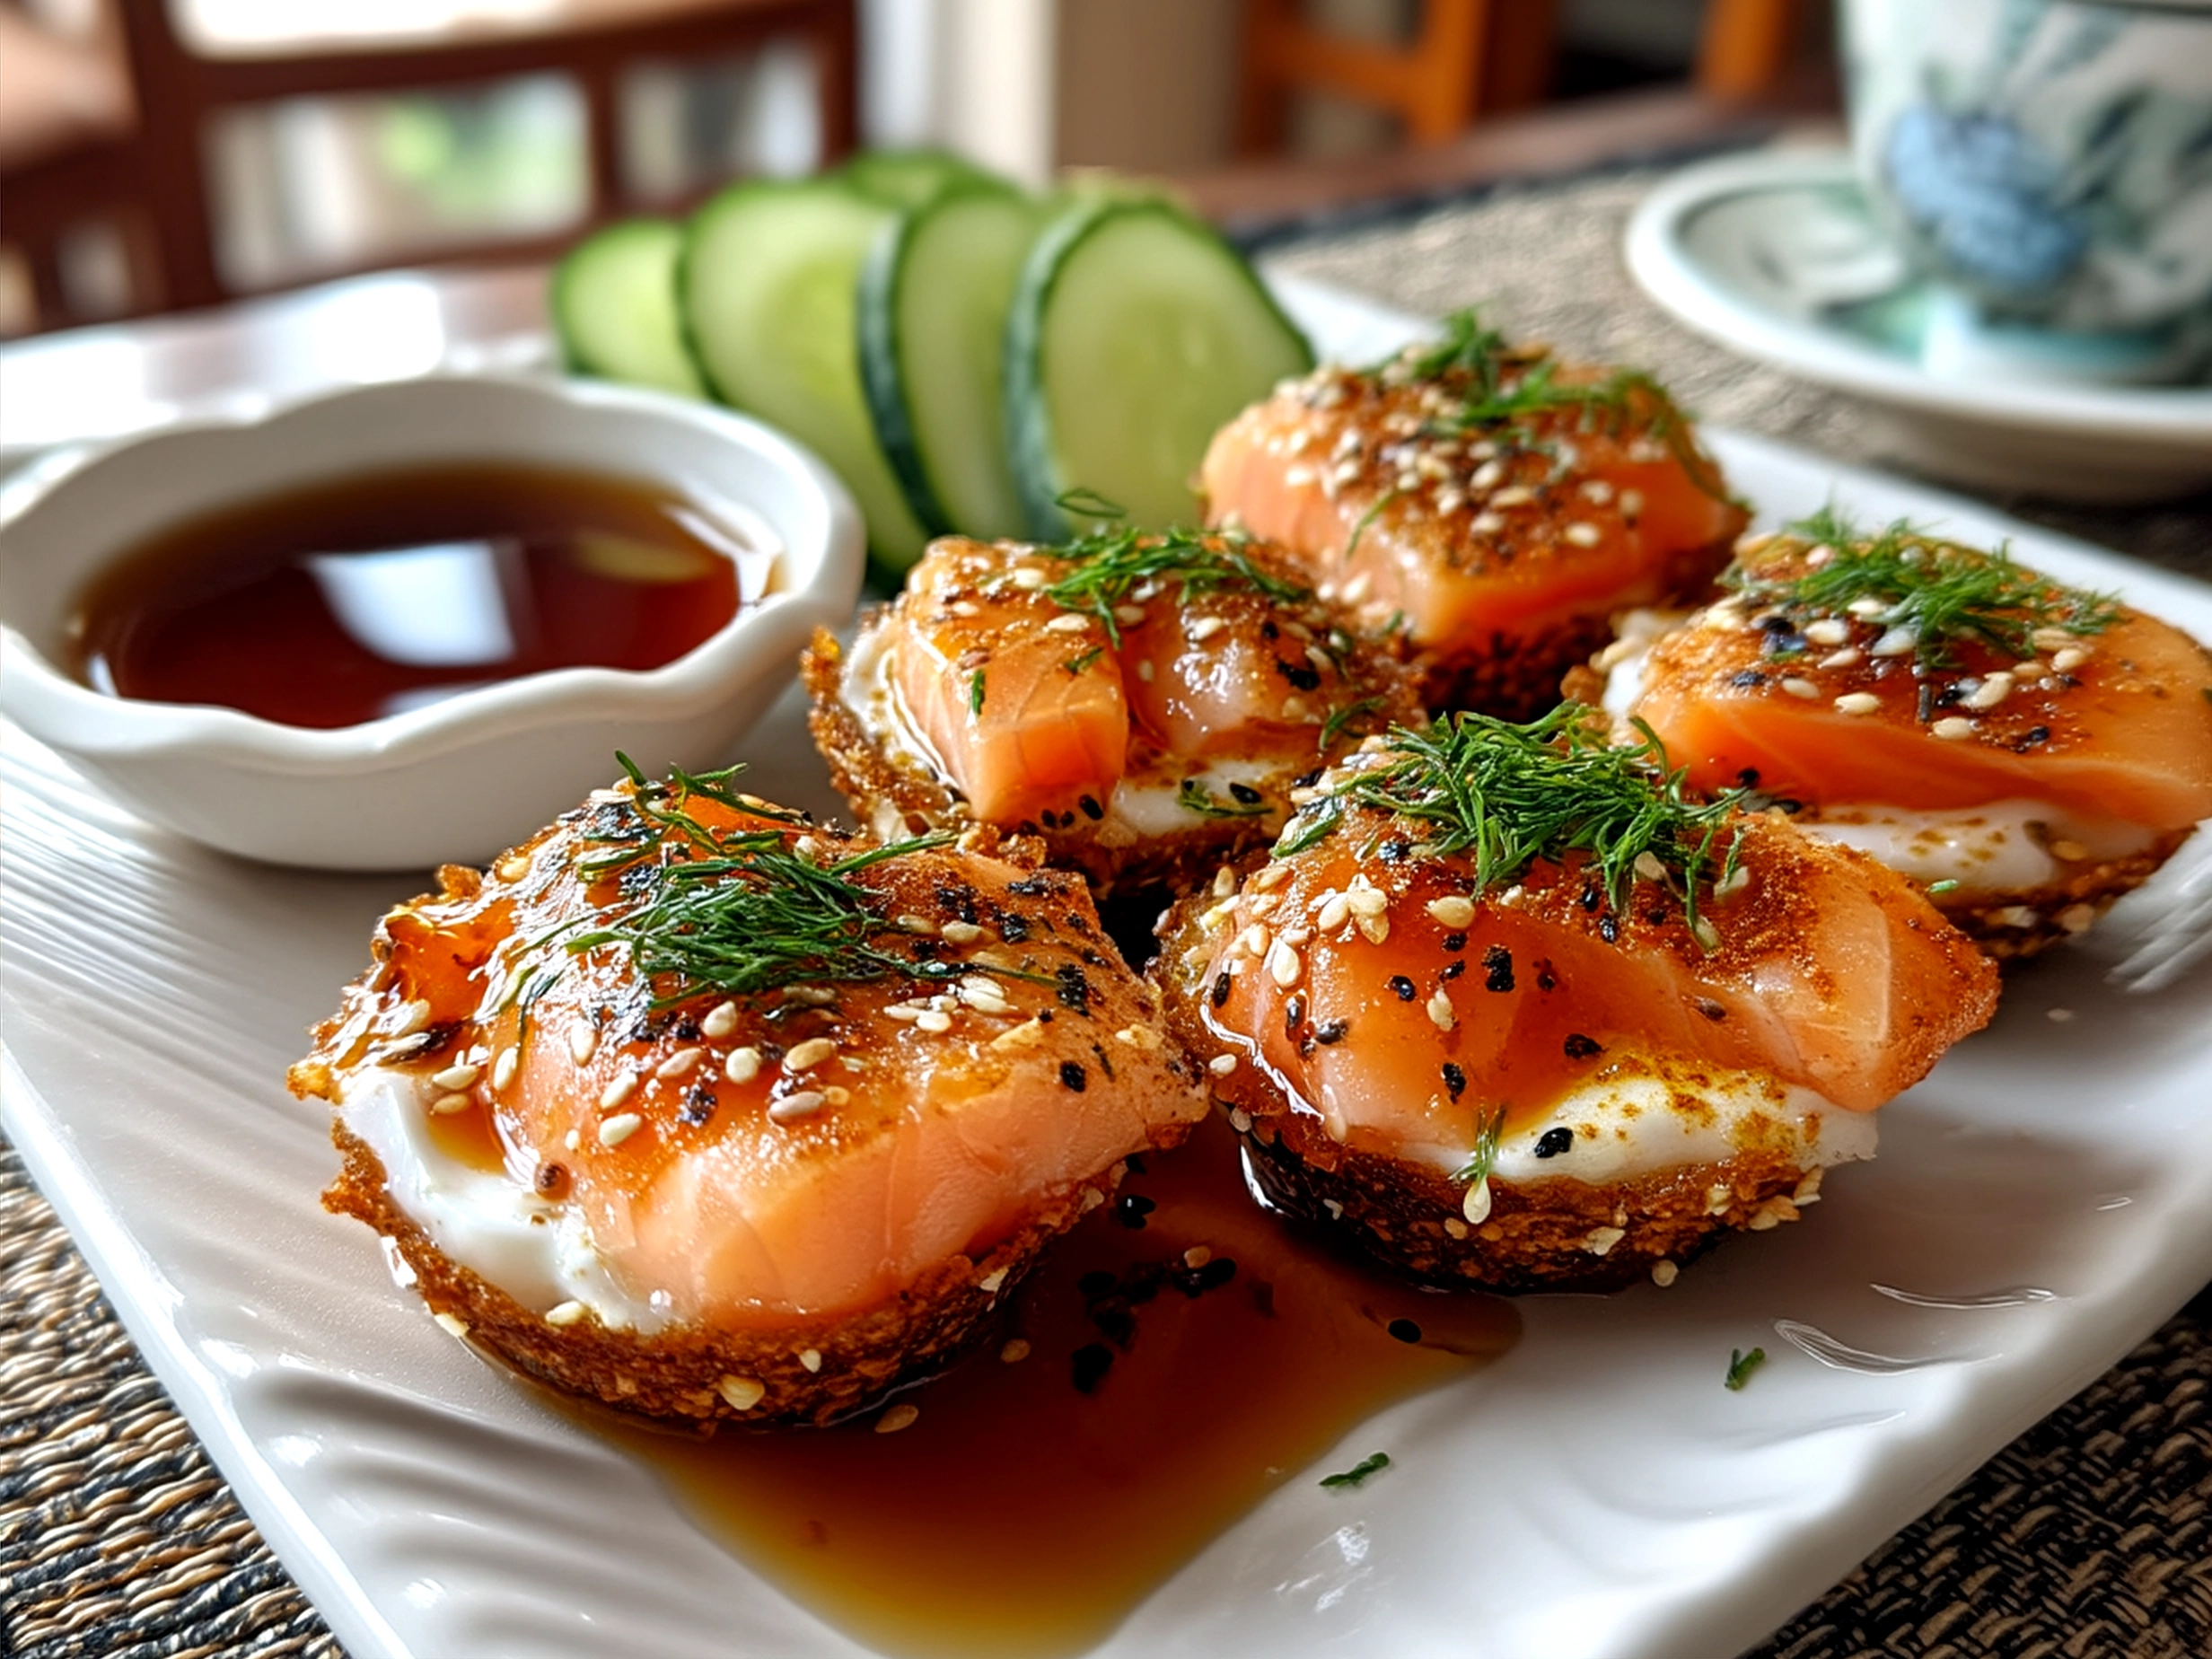
Baked Salmon Sushi Cups

Delight in these flavorful Baked Salmon Sushi Cups featuring tender baked salmon combined with sushi rice and fresh ingredients for a healthy and elegant appetizer or light meal.
- Prep Time: 20 minutes
- Cook Time: 20 minutes
- Total Time: 40 minutes
- Yield: 12 cups
- Category: Dinner
- Method: Baked
- Cuisine: Japanese
Ingredients
- 1 cup sushi rice
- 1 1/4 cups water
- 2 tablespoons rice vinegar
- 1 tablespoon sugar
- 1/2 teaspoon salt
- 8 oz fresh salmon fillet
- 1 tablespoon soy sauce
- 1 teaspoon sesame oil
- 1 avocado, sliced
- 2 sheets nori, cut into small squares
- 1 tablespoon toasted sesame seeds
- 2 green onions, thinly sliced
- Pickled ginger and wasabi for serving (optional)
Instructions
- Preheat oven to 375°F (190°C).
- Rinse sushi rice under cold water until water runs clear. Combine rice and water in a pot, bring to a boil, then reduce heat to low, cover, and cook for 18 minutes. Remove from heat and let sit covered for 10 minutes.
- In a small bowl, mix rice vinegar, sugar, and salt until dissolved. Gently fold into cooked rice and let cool to room temperature.
- Place salmon fillet on a baking sheet, brush with soy sauce and sesame oil. Bake for 12-15 minutes or until cooked through. Let cool slightly, then flake into small pieces.
- Line a mini muffin tin with nori squares.
- Press a tablespoon of sushi rice firmly into each nori-lined cup to form a base.
- Top with flaked salmon, a slice of avocado, sesame seeds, and green onions.
- Gently press to compact cups slightly. Optionally, bake the assembled cups for 5 minutes to warm.
- Carefully remove sushi cups from the muffin tin and serve with pickled ginger and wasabi if desired.
Notes
For an extra crunch, add finely chopped cucumber or radish on top before serving, and serve with a drizzle of spicy mayo.