
Okay, gather ’round, my friends! Let’s talk pie. Not just any pie, but my family’s absolute favorite: Apple Butter Pie. Now, I know what you might be thinking: Apple pie? Been there, done that. But trust me, this Apple Butter Pie is different. It’s special.
I still remember the first time I made this Apple Butter Pie. It was Thanksgiving, my in-laws were coming over, and I was determined to impress. I’d found a recipe online for this Apple Butter Pie, and it sounded divine. But, of course, things didn’t go exactly as planned. The crust was too crumbly, the filling was too runny, and I almost burst into tears. But, you know me, I don’t give up easily. I tweaked the recipe, experimented with different ingredients, and finally, after several attempts, I created a Apple Butter Pie that was worthy of seconds…and thirds!
The aroma alone is enough to transport you to a cozy fall day. Imagine the warm, sweet scent of apples, Cinnamon, and spice filling your kitchen. It’s pure magic, I tell you! This Apple Butter Pie isn’t just a dessert; it’s a hug in a pie tin.
Honestly, this Apple Butter Pie has become my go-to for potlucks, holiday gatherings, or even just a random Tuesday when we need a little pick-me-up. It’s so easy to throw together, even with my crazy schedule. I even let the kids help sometimes – although that usually involves more apple butter on their faces than in the pie!
One of my biggest “aha!” moments was realizing the secret to a truly amazing Apple Butter Pie wasn’t about fancy techniques or exotic ingredients. It was about using high-quality apple butter and letting the flavors shine. Plus, a little Cinnamon never hurts!
I’m all about making delicious food accessible and fun, especially for busy families. That’s why I’m so excited to share this Apple Butter Pie recipe with you. I know you’re going to love it. So, put on your aprons, crank up some tunes, and let’s get baking! For another twist, try this Apple Butter Pie recipe with evaporated milk.
What You’ll Need for This Apple Butter Pie
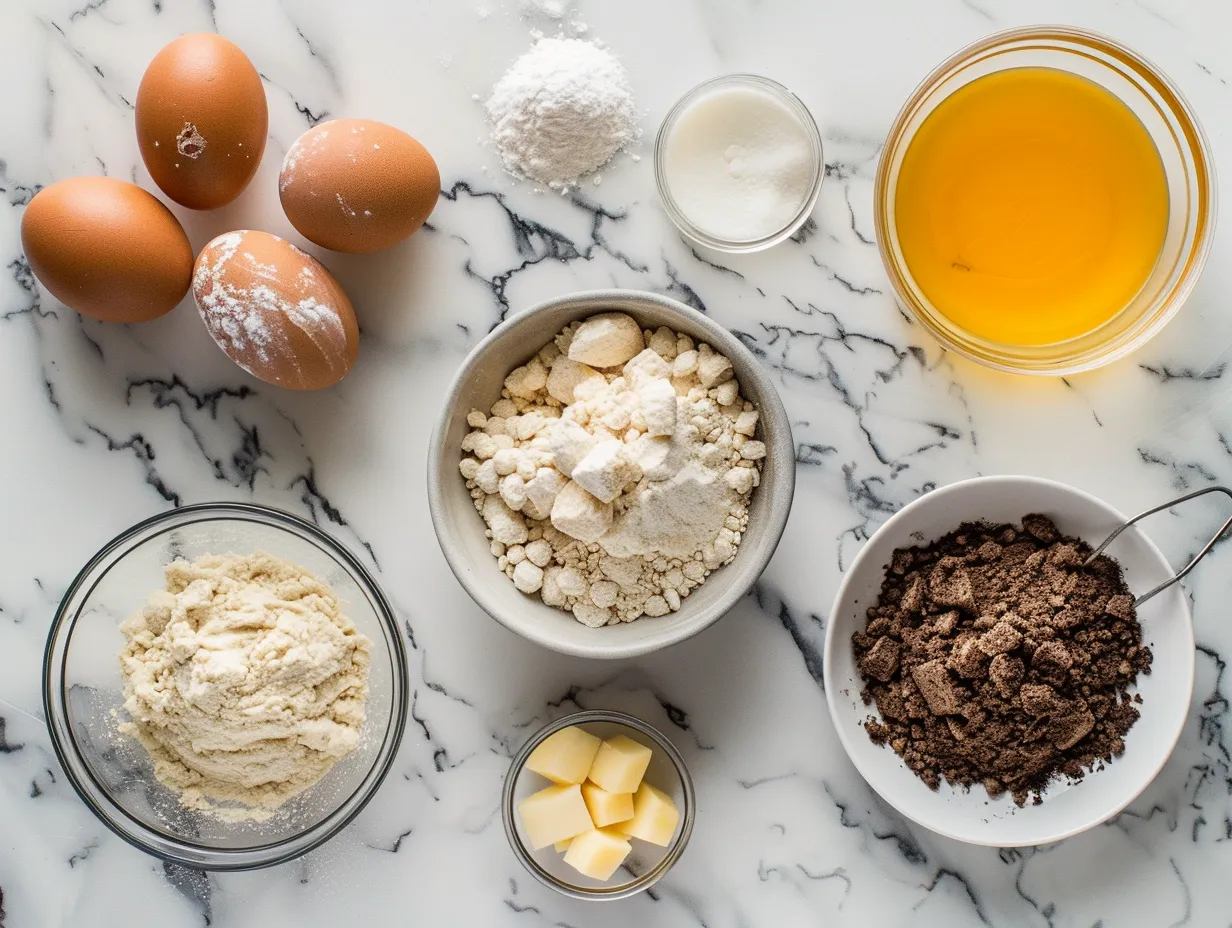
Okay, let’s get down to business. Here’s what you’ll need to make this amazing Apple Butter Pie. Don’t worry, it’s a pretty simple list!
- 1 1/2 cups all-purpose flour: I always use unbleached flour for my baking; I just think it gives a better flavor and texture to the Apple Butter Pie crust.
- 1/2 teaspoon salt: Just a pinch to balance the sweetness!
- 1/2 cup (1 stick) cold unsalted butter, cut into cubes: Make sure it’s cold, cold, cold! This is crucial for a flaky crust.
- 1/4 cup ice water: Again, ice-cold is key!
- 1 (15-ounce) can apple butter: This is the star of the show! I prefer a good quality apple butter that’s not too sweet. I find a good one at my local farmer’s market. This Homemade pie is sure to be a crowd pleaser!
- 1/2 cup heavy cream: This gives the Apple Butter Pie filling a beautiful richness and helps it set properly. You can find variations of an Apple butter pie recipe with heavy cream and spices online, too.
- 2 large eggs: They help bind everything together.
- 1/4 cup granulated sugar: Adjust to your liking, depending on how sweet your apple butter is.
- 1 teaspoon vanilla extract: For a touch of extra flavor.
- 1/2 teaspoon ground Cinnamon: Because what’s an Apple spice pie without Cinnamon?
- 1/4 teaspoon ground nutmeg: Adds a warm, cozy note.
- Pinch of ground cloves: Just a tiny pinch for depth.
- Optional: Turbinado sugar for sprinkling on the crust: This gives the crust a nice sparkle and a little extra crunch.
When making Apple Butter Pie, you can usually find good quality apple butter at your local farmers’ market, specialty food store, or even in the jam/preserves aisle of your grocery store. Sometimes, I even make my own!
Here’s a Apple Butter Pie trick I learned from my grandmother: add a tablespoon of apple cider vinegar to the pie crust. It helps tenderize the gluten and makes the crust extra flaky. You can find another great recipe for apple cider here.
If you’re short on time, you can definitely use a store-bought pie crust. I won’t judge! But honestly, homemade is so much better. And don’t worry about making it perfect, a rustic crust has a charm of its own!Leftover apple butter can be stored in the refrigerator for up to two weeks.
Let’s Make This Apple Butter Pie Together
Alright, let’s get started! Don’t be intimidated; this Apple Butter Pie is easier than you think.
- Make the crust: In a large bowl, whisk together the flour and salt. Cut in the cold butter using a pastry blender or your fingertips until the mixture resembles coarse crumbs. Gradually add the ice water, one tablespoon at a time, mixing until the dough just comes together. Form the dough into a disk, wrap it in plastic wrap, and refrigerate for at least 30 minutes. I learned the hard way with Apple Butter Pie that chilling the dough is crucial to prevent it from shrinking in the oven.
- Preheat oven: Preheat your oven to 375°F (190°C).
- Roll out the crust: On a lightly floured surface, roll out the dough to a 12-inch circle. Gently transfer it to a 9-inch pie plate. Trim and crimp the edges. I love using a fork to crimp the edges for a simple, rustic look.
- Make the filling: In a large bowl, whisk together the apple butter, heavy cream, eggs, sugar, vanilla extract, Cinnamon, nutmeg, and cloves until smooth.
- Pour the filling: Pour the filling into the prepared pie crust.
- Bake: Bake for 45-55 minutes, or until the crust is golden brown and the filling is set but still slightly jiggly in the center. If the crust starts to brown too quickly, cover the edges with foil. Your Apple Butter Pie should smell like a warm hug.
- Cool: Let the pie cool completely on a wire rack before slicing and serving. This is the hardest part, I know!
Don’t worry if your Apple Butter Pie filling cracks a little on top. It’s perfectly normal and doesn’t affect the taste at all. It just adds character! In my kitchen, Apple Butter Pie usually takes closer to 55 minutes. While the Apple Butter Pie is cooking, I usually tidy up the kitchen and put on a load of laundry. Multi-tasking is my middle name!
If you want to get fancy, you can cut out some leaf shapes from the leftover dough and arrange them on top of the pie before baking. It looks so pretty! Just like this Apple Butter Pie | The Domestic Rebel. You can even use a leaf-shaped cookie cutter for this.
How I Love to Serve This Apple Butter Pie
This Apple Butter Pie is so versatile. My family loves this Apple Butter Pie when I serve it warm with a scoop of vanilla ice cream or a dollop of whipped cream. Sometimes, I even drizzle a little caramel sauce on top for extra indulgence.
This Apple Butter Pie is perfect for Thanksgiving, Christmas, or any fall gathering. It’s also great for potlucks and bake sales. Basically, any excuse to make this pie is a good excuse!
For presentation, I like to dust the top of the Apple Butter Pie with a little powdered sugar or Cinnamon before serving. It just makes it look extra special.
If you have extra Apple Butter Pie, you can store it in the refrigerator for up to three days. It’s also delicious cold, straight from the fridge!
For a seasonal variation, try adding a tablespoon of bourbon to the filling for an extra kick. Or, add some chopped pecans or walnuts for a nutty crunch. Friends always ask for this recipe for Apple Butter Pie.
If you’re looking for a good side dish to serve with this Apple Butter Pie, I recommend a simple butternut squash soup. The savory soup pairs perfectly with the sweet pie. You can find my butternut squash soup recipe here.
Your Apple Butter Pie Questions Answered
Okay, let’s tackle some of the most common questions I get about this Apple Butter Pie.
Q: My crust always shrinks when I bake it. What am I doing wrong?
A: Ah, the dreaded shrinking crust! You know what I do when my Apple Butter Pie crust shrinks? Make sure your butter and water are ice-cold, and don’t overwork the dough. Also, chilling the dough for at least 30 minutes is crucial.
Q: Can I use store-bought apple butter?
A: Absolutely! While homemade apple butter is amazing, store-bought is perfectly fine. Just make sure you choose a good quality brand. If your kids love this Apple Butter Pie, they’ll go crazy for my peanut butter cookies.
Q: My filling is too runny. How can I fix it?
A: A runny filling usually means the pie wasn’t baked long enough. Next time, bake it for a few extra minutes, or until the filling is set but still slightly jiggly in the center. I learned this the hard way with Apple Butter Pie.
Q: Can I freeze this pie?
A: Yes, you can! Wrap the baked and cooled pie tightly in plastic wrap and then in foil. It will keep in the freezer for up to three months. To thaw, transfer it to the refrigerator overnight.
Q: Can I make this pie ahead of time?
A: Absolutely! This Apple Butter Pie is actually even better the next day, after the flavors have had a chance to meld.
Q: My family doesn’t like nutmeg. Can I leave it out?
A: Of course! Feel free to adjust the spices to your liking. You can also add a little more Cinnamon if you prefer.
Q: Can I make this pie gluten-free?
A: Yes, you can! Simply substitute a gluten-free flour blend for the all-purpose flour in the crust. Just be sure to use a blend that’s designed for baking. This Apple Butter Pie will be so delicious!
My Final Thoughts on This Apple Butter Pie
This Apple Butter Pie recipe holds a special place in my heart because it reminds me of family, holidays, and all things cozy. It’s a simple pie, but it’s packed with flavor and love. Plus, this Fall dessert is perfect for any holiday.
My Apple Butter Pie Pro Tips:
- Use high-quality apple butter: It really makes a difference!
- Don’t overbake the pie: You want the filling to be set but still slightly jiggly in the center.
- Let the pie cool completely: This allows the filling to set properly.
Here are a few Apple Butter Pie variations I’ve tried with my family:
- Bourbon Apple Butter Pie: Add a tablespoon of bourbon to the filling for an extra kick.
- Nutty Apple Butter Pie: Add some chopped pecans or walnuts to the filling for a nutty crunch.
- Spiced Apple Butter Pie: Add a pinch of ground ginger or cardamom to the filling for a more complex flavor.
My husband loves the bourbon version, while my kids prefer the classic recipe. I personally love the nutty Apple Butter Pie!
I truly hope you’ll give this recipe a try. I know you and your family will love it as much as we do. And remember, don’t be afraid to experiment and make it your own. That’s what cooking is all about!
So, go ahead, bake this Apple Butter Pie, share it with the people you love, and create some sweet memories together. You’ve got this!
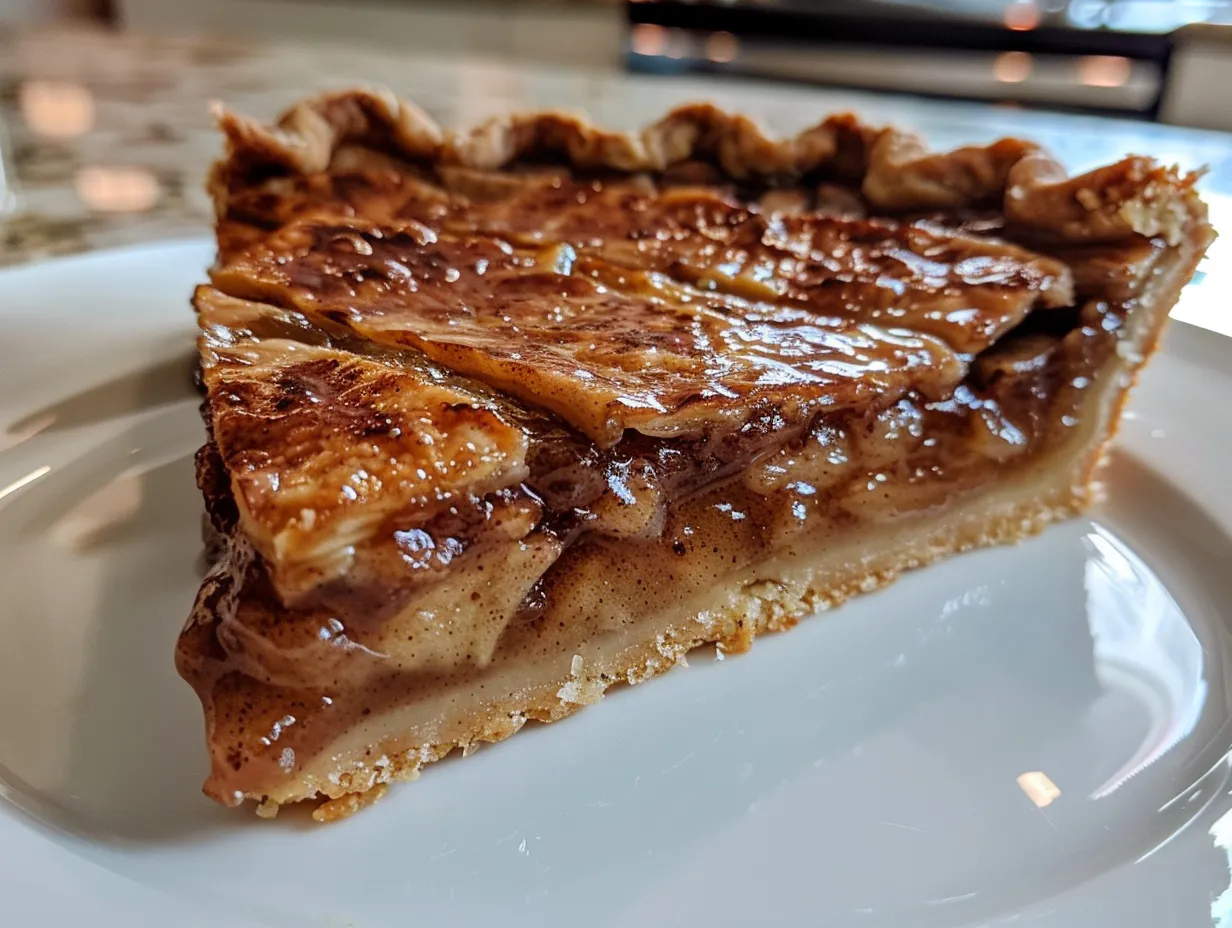
Apple Butter Pie
This Apple Butter Pie is a comforting and flavorful dessert, perfect for fall. The smooth, spiced apple butter filling is baked in a flaky crust for a slice of autumnal bliss.
- Prep Time: 15 minutes
- Cook Time: 50 minutes
- Total Time: 65 minutes
- Yield: 8 servings
- Category: Dessert
- Method: Baked
- Cuisine: American
Ingredients
- 1 prepared pie crust
- 1 1/2 cups apple butter
- 1/2 cup heavy cream
- 2 large eggs
- 1/4 cup packed brown sugar
- 1 teaspoon vanilla extract
- 1/2 teaspoon ground cinnamon
- 1/4 teaspoon ground nutmeg
- Pinch of salt
Instructions
- Preheat oven to 375°F (190°C).
- Place pie crust in a 9-inch pie plate. Crimp edges.
- In a large bowl, whisk together apple butter, heavy cream, eggs, brown sugar, vanilla extract, cinnamon, nutmeg, and salt until smooth.
- Pour filling into the prepared pie crust.
- Bake for 45-50 minutes, or until the filling is set but still slightly jiggly in the center.
- Let cool completely before slicing and serving.
Notes
Serve with a dollop of whipped cream or a scoop of vanilla ice cream for an extra special treat.