
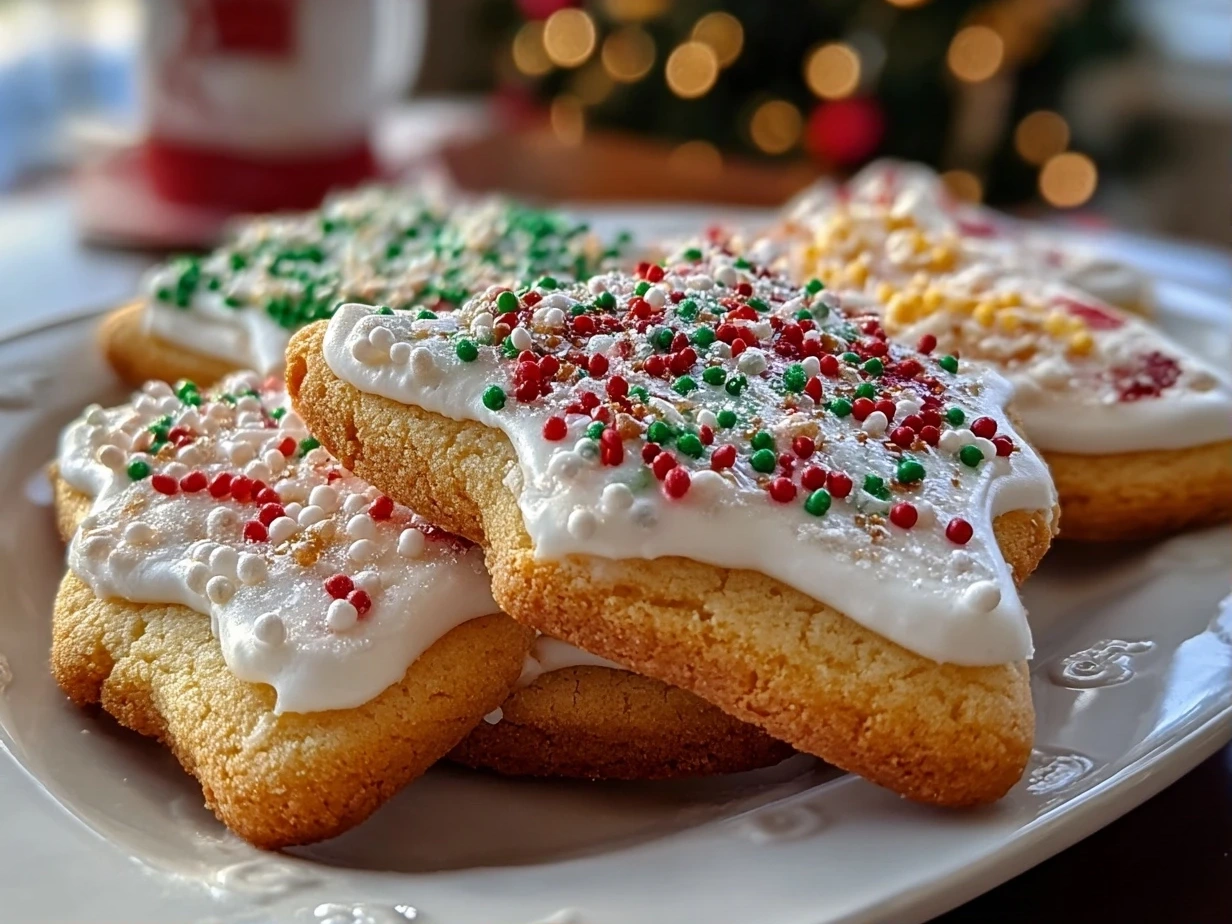
There’s something so magical about making Christmas Lights Cookies, isn’t there? I remember the first time I baked these festive little gems—they instantly became a family favorite, lighting up our holiday baking with cheer and a lot of laughs. From the moment you knead the dough, roll them out, to the final swirl of icing designed to mimic those twinkling holiday bulbs, Christmas Lights Cookies bring out the kid in all of us.
My kitchen always fills with the cozy scent of vanilla and butter—the signature beginning of these holiday treats. But oh, the first year I made Christmas Lights Cookies, I struggled with the icing. I was so excited decorating that I squeezed too much frosting too quickly, and instead of neat little lights, I ended up with a messy blob that looked more like a holiday light storm had hit the tray! If you’ve ever been there, don’t worry—you’re in good company. That “aha” moment taught me the joy of slowing down and mastering cookie icing techniques one bulb at a time. Now, this recipe fits perfectly into my busy family life. Whether it’s a weekend afternoon with the kids or a quick baking break while holiday music plays in the background, whipping up these Christmas Lights Cookies feels like a festive hug.
I first perfected this recipe after trying several Christmas baking recipes, wanting something that combined nostalgic holiday cookie ideas with an approachable decorating style. Since then, it’s been my go-to when friends gather or when I need a sweet pick-me-up during the holiday hustle. If you’re looking to brighten your cookie platter with an easy but impressive showstopper, these Christmas Lights Cookies are just the treat. And, just between us, once you try these, you might find yourself sneaking a few for a midnight snack!
If you want to see a twist on festive cookie decorations, check out my take on twisted Christmas cookies; it’s another fun holiday sugar cookies idea that always wows guests.
What You’ll Need for This Christmas Lights Cookies
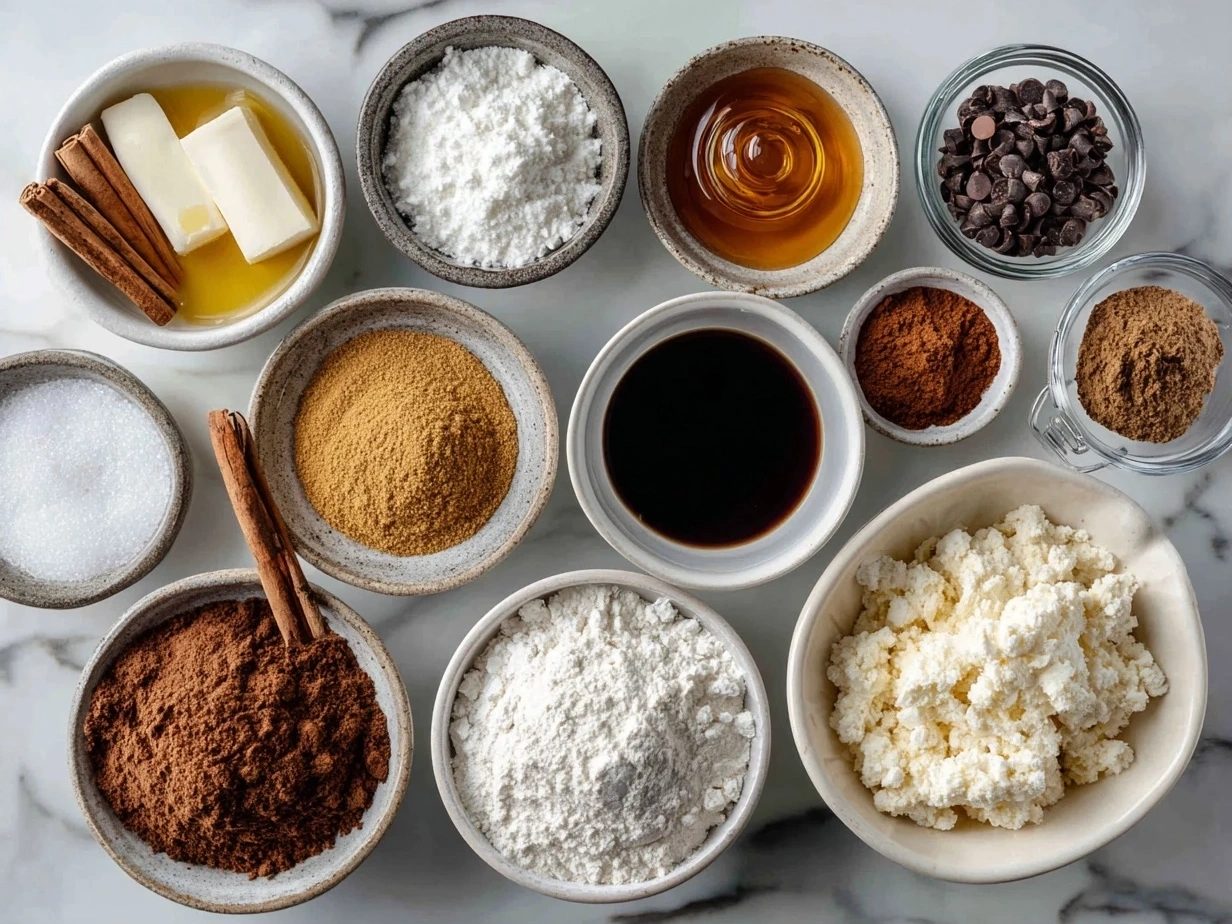
Let’s talk ingredients—because the best Christmas Lights Cookies start with the right basics. Here’s my go-to list, all measured out to help you nail this recipe every time:
- 2 ¾ cups all-purpose flour – I always use good-quality flour for the softest holiday sugar cookies.
- 1 teaspoon baking powder
- ½ teaspoon salt
- 1 cup unsalted butter, softened – Butter makes everything better, don’t you think? I’ve learned that real butter is the secret to melt-in-your-mouth goodness in Christmas Lights Cookies.
- 1 ½ cups granulated sugar
- 1 large egg
- 2 teaspoons pure vanilla extract
- 3 tablespoons milk (as needed)
For the iconic sparkling bulbs, you’ll want icing ingredients as well:
- 3 cups powdered sugar
- 2–3 tablespoons milk
- 1 teaspoon vanilla extract
- Food coloring gel in red, green, yellow, and blue
When I shop for Christmas Lights Cookies, I grab fresh, quality ingredients from my local grocer and find that the gel food colors last me through many batches. If you want to skip the fuss, King Arthur Baking’s guide on cookie decorating with natural food colors is a fantastic resource that helped me cut back on artificial dyes while keeping my cookies festive.
Here’s a little trick I picked up for Christmas Lights Cookies: chill your dough in the fridge for at least an hour—it makes rolling and cutting so much easier and prevents the cookies from spreading too much.
A quick prep shortcut? I prepare my icing while the dough chills; it helps keep the flow going in a busy kitchen when making Christmas Lights Cookies with kids around. And a money-saving tip—buy powdered sugar in bulk before the holidays; it’s perfect for all kinds of Christmas baking recipes and lasts for months in an airtight container.
If you want to see how others decorate with sparkle and shine, this Christmas lights cookies with edible glitter post inspired me to add a touch of extra magic sometimes!
Let’s Make This Christmas Lights Cookies Together
Ready? I’m right here with you, flour-dusted hands and all. Don’t worry if your Christmas Lights Cookies don’t look perfect at first; remember, festive cookie decorations are all about joy and creativity.
- In a bowl, whisk together the flour, baking powder, and salt. I usually sift these so the dough turns out extra smooth.
- In a separate large bowl, beat the softened butter with sugar until creamy and fluffy. It softens my butter just by leaving it on the counter for half an hour — perfect Christmas baking recipes timing!
- Add the egg and vanilla to the butter-sugar mixture, beating until combined.
- Gradually add the dry ingredients alternately with milk, mixing just until the dough comes together. If the dough feels sticky, a sprinkle more flour usually helps.
- Wrap the dough in plastic wrap, then chill for at least an hour. I learned the hard way with Christmas Lights Cookies that skipping this step makes rolling tricky and cookies lose shape.
- Preheat your oven to 350°F (175°C). Roll out the dough roughly ¼ inch thick on a lightly floured surface. Use a Christmas light bulb-shaped cookie cutter — if you can’t find one, try cutting simple oval shapes which still work beautifully.
- Place cookies on a baking sheet lined with parchment paper, and bake for 8-10 minutes or until edges are just beginning to turn golden. Your Christmas Lights Cookies should smell like warm vanilla and butter—pure Christmas magic!
- Cool completely on a wire rack before decorating.
While your Christmas Lights Cookies are baking (or cooling), get your icing ready. Start by mixing powdered sugar with vanilla and a tablespoon of milk, adding more milk for your perfect spreading consistency. Divide the icing among bowls, then tint each one with food coloring.
Here’s a family-tested shortcut: use a piping bag with a small tip or even a zip-top bag with a tiny corner snipped to create neat “bulbs.” It’s easier than free-handing your festive cookie decorations, and the kids love helping.
If you want more inspiration on how to make decorating this joyful, take a look at Gemma Stafford’s updated step-by-step photos—her cookie icing techniques are just dazzling.
How I Love to Serve This Christmas Lights Cookies
Okay, now the fun part—sharing and serving these beauties. My family loves this Christmas Lights Cookies after school, especially with a warm mug of cocoa or a glass of cold milk. They’re perfect for holiday cookie swaps or sitting out as part of a festive dessert table.
I like to pair these cookies with other holiday sugar cookies, like my Christmas Cranberry Orange Cookies for a tangy contrast. Their bright flavors balance the sweet creaminess of Christmas Lights Cookies nicely.
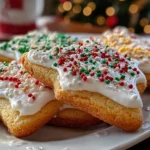
Presentation-wise, I find stacking these colorful cookies on a rustic wooden platter with a few sprigs of pine and red ribbons really brings that seasonal cheer. If you have extra Christmas Lights Cookies (and trust me, you might!), they freeze beautifully wrapped airtight for up to a month—great for last-minute grabs or unexpected guests.
Sometimes, my family loves to mix things up with variations: adding a sprinkle of edible glitter on the icing for extra sparkle or swapping out traditional bulb colors for more pastel or neon shades. It’s fun to see which version gets the most oohs and ahhs!
Friends always ask for this Christmas Lights Cookies recipe because it looks so fancy but is surprisingly simple. And if you want more festive cookie decorations ideas, my peanut butter spider cookies might tickle your fancy too: Peanut Butter Spider Cookies — a fun Halloween twist I keep for next year but totally charming year-round.
Your Christmas Lights Cookies Questions Answered
You know how it is—every year someone asks me about the quirks of Christmas Lights Cookies. Let me share some answers I’ve gathered over the years along with a few laughs.
Q: My cookie icing keeps cracking—what am I doing wrong?
A: Oh, I’ve been there! Cracked icing usually means it’s dried out or too thick. When making Christmas Lights Cookies, I always cover my icing bowls with damp cloths to keep moisture in, and I thin the icing gently with a little milk if needed. Remember, smooth cookie icing techniques come with patience!
Q: Can I make Christmas Lights Cookies dough ahead of time?
A: Absolutely! I like to prep the dough up to 3 days before baking and keep it wrapped in the fridge. It actually helps the flavors meld. Just make sure to let the dough sit at room temperature a few minutes before rolling.
Q: My cookies spread too much. Any tips?
A: Try chilling the dough longer before baking, or adding a bit more flour next time. The balance can be tricky but perfect for Christmas Lights Cookies is a bit thicker but still tender.
Q: What if I don’t have a bulb-shaped cutter?
A: No stress! Oval or teardrop shapes work nicely and you can still decorate with multi-colored icing. Creativity counts in festive cookie decorations.
Q: Can I use royal icing instead of the buttercream-style icing?
A: For sure! Just bear in mind royal icing dries hard and brittle. I prefer buttercream for that soft, creamy bite but royal icing is great for detailed Christmas cookie ideas and keeps better at room temperature.
Q: How do I avoid the frosting colors bleeding?
A: Make sure your cookies are fully cooled before decorating. Use gel-based colors because they mix better without watery bleeding. I’ve found this Facebook group invaluable for tips on Christmas lights cookies with edible glitter and color handling.
Q: What’s the best way to store Christmas Lights Cookies?
A: Store in an airtight container layered with parchment paper between cookies. They stay fresh up to a week; for longer, freeze them!
I love hearing how others have adapted this recipe, so if you try these Christmas Lights Cookies, do share! There’s a real joy in baking that brings people together.
My Final Thoughts on This Christmas Lights Cookies
This Christmas Lights Cookies recipe holds a forever spot in my heart because it brings holiday light and laughter to any gathering. Baking these cookies reminded me that festive treats don’t have to be complicated to be special.
My Christmas Lights Cookies Pro Tips:
- Chill your dough well for cleaner cuts and less spreading.
- Use gel food colors for vibrant, trusty icing that won’t run.
- Pipe your icing in small bulbs slowly for cute, uniform holiday lights.
Over the years, my family and I have enjoyed several versions: classic bright bulbs, glitter-dusted sparkly lights, and even pastel-themed versions to match our tree ornaments. My kids love the glittery ones, while my husband swears by the traditional red and green bulbs.
If you’re looking to make this recipe your own, play with colors and decoration styles, or even add a hint of almond extract in the dough. That’s the beauty of Christmas Lights Cookies—it’s as flexible and fun as your holiday spirit.
I hope your Christmas Lights Cookies baking brings your kitchen the same warmth and joy it brings mine. Remember, every imperfectly decorated bulb is a joyful memory in the making.
If you enjoyed this journey, don’t forget to try more fantastic Christmas baking recipes over on Delilita, like my twisted Christmas cookies or those zesty Christmas Cranberry Orange Cookies.

Here’s to your cozy kitchen, your joyful hands, and a holiday full of sweet moments!
Christmas Lights Cookies
These festive Christmas Lights Cookies are buttery sugar cookies decorated with colorful icing to resemble classic holiday lights, perfect for spreading cheer during the season.
- Prep Time: 15 minutes
- Cook Time: 10 minutes
- Total Time: 25 minutes
- Yield: 24 servings
- Category: Dessert
- Method: Baked
- Cuisine: American
Ingredients
- 2 ¾ cups all-purpose flour
- 1 teaspoon baking soda
- ½ teaspoon baking powder
- 1 cup unsalted butter, softened
- 1 ½ cups white sugar
- 1 egg
- 1 teaspoon vanilla extract
- ½ teaspoon almond extract
- 3 tablespoons milk
- Assorted colored royal icing or colored frosting
- Small candy light bulb decorations or icing tips for detailing
Instructions
- Preheat oven to 375°F (190°C). Line baking sheets with parchment paper.
- In a medium bowl, whisk together flour, baking soda, and baking powder.
- In a large bowl, cream together butter and sugar until smooth and fluffy.
- Beat in egg, vanilla extract, and almond extract.
- Gradually blend in dry ingredients alternately with milk until dough forms.
- Roll dough into small balls and place on prepared baking sheets about 2 inches apart.
- Flatten each ball slightly with the bottom of a glass or your hand.
- Bake for 8 to 10 minutes or until edges are golden.
- Let cookies cool on baking sheets for 5 minutes, then transfer to wire racks to cool completely.
- Once cooled, decorate each cookie with colored royal icing to create Christmas light bulbs and string designs, adding small candy light bulb decorations if desired.
Notes
For best results, chill the dough for 1 hour before baking to help maintain shape and improve texture. These cookies also pair wonderfully with hot cocoa or served as a holiday gift.