
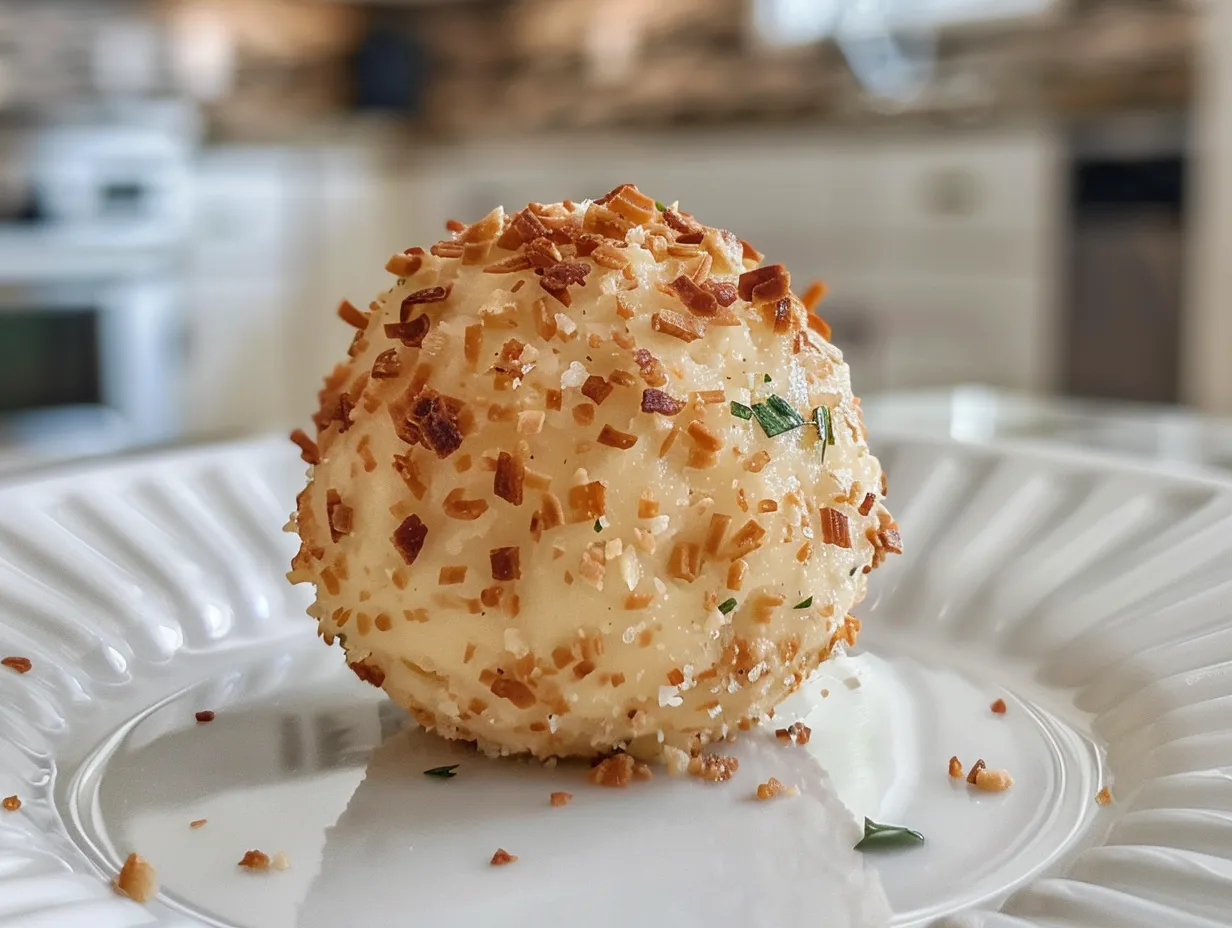
Alright, come on in, grab a seat at the island! You caught me right in the middle of prepping for a little get-together, and what’s a party without a classic cheese ball recipe? Honestly, this isn’t just any classic cheese ball recipe – it’s the classic cheese ball recipe that’s been passed down in my family for generations.
I remember being a little girl, maybe seven or eight, standing on a stool next to my grandma, watching her expertly mix together the cheeses and herbs. The aroma alone was intoxicating – sharp cheddar, creamy cream cheese, and the subtle bite of garlic and onion. I was always in charge of rolling it in the nuts. Let me tell you, half of those nuts ended up in my tummy! It was messy, joyful, and absolutely delicious. This classic cheese ball recipe is more than just an appetizer; it’s a memory I cherish.
There was that one time, though… I was trying to impress my then-boyfriend (now my hubby!), and I decided to make this classic cheese ball recipe on my own. Let’s just say I got a little… creative. I thought adding a touch of horseradish would “elevate” the flavor. Big mistake! It was so overpowering, everyone politely took one bite and then steered clear. Lesson learned: sometimes, you just can’t mess with perfection!
Honestly, with my busy life balancing the blog, the kids, and everything else, I need recipes that are quick, easy, and reliably delicious. This classic cheese ball recipe ticks all those boxes. I can whip it up in under 30 minutes, chill it while I’m getting other things done, and it’s always a crowd-pleaser.
I first really “perfected” this classic cheese ball recipe when I started experimenting with different types of nuts for the coating. That’s when I realized you really can put your own spin on it without ruining the whole thing!
My cooking philosophy is simple: good food, good company, and a whole lot of love. And this classic cheese ball recipe embodies all of that. So, let’s get started! Don’t be intimidated; I promise, it’s easier than it looks, and I’ll be right here to guide you every step of the way. You’ve got this! We’re going to make the best classic cheese ball recipe ever!
Speaking of delicious appetizers, you should check out my No-Bake Pumpkin Cheesecake Balls recipe for the holidays or my Pineapple Pecan Cheese Ball for a tropical twist.
What You’ll Need for This classic cheese ball recipe
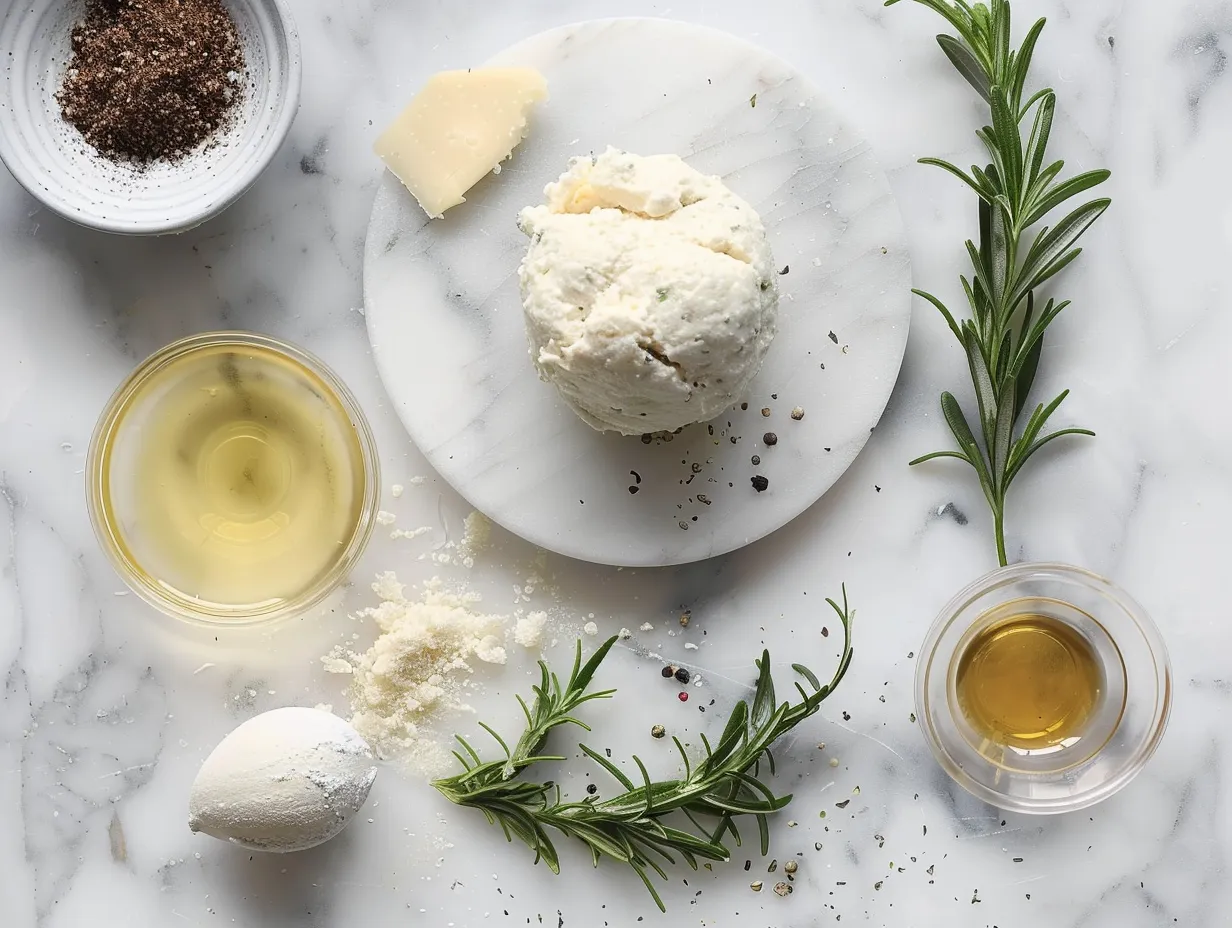
Okay, let’s talk ingredients. For this classic cheese ball recipe, we’re keeping it simple but using the best quality stuff we can find. Here’s what you’ll need:
- 8 ounces cream cheese, softened: I always use full-fat cream cheese for this classic cheese ball recipe. It just gives it that extra creamy texture that’s so irresistible.
- 8 ounces sharp cheddar cheese, shredded: Pre-shredded is fine in a pinch, but freshly shredded cheddar always tastes better in this classic cheese ball recipe.
- 4 ounces Monterey Jack cheese, shredded: This adds a nice subtle flavor and helps with the texture
- 4 ounces blue cheese, crumbled: This gives it a nice tangy kick
- 4 tablespoons butter, softened: Because everything is better with butter!
- 1/4 cup finely chopped red onion: This adds a little bite.
- 2 tablespoons Worcestershire sauce: For that umami depth!
- 1 teaspoon garlic powder: You can use fresh garlic, minced, but I find garlic powder distributes more evenly throughout the classic cheese ball recipe.
- 1/2 teaspoon black pepper: Freshly ground is best!
- 1 cup chopped pecans (or walnuts, or a mix!): I like to toast mine lightly in a dry skillet for extra flavor for this classic cheese ball recipe.
- Crackers, vegetables, or baguette slices, for serving: Your dipping vehicle!
When making this classic cheese ball recipe, you can usually find good quality cheddar and cream cheese at your local grocery store. But for the best prices on pecans, I often hit up the bulk section at my local co-op.
Here’s a classic cheese ball recipe trick I learned from my grandma: let your cream cheese come to room temperature before you start. It makes it so much easier to mix and prevents lumps. Trust me on this one!
For busy families, you can prep all the ingredients the night before – shred the cheese, chop the onion, toast the nuts – and store them in separate containers in the fridge. Then, the next day, it’s just a matter of mixing everything together for your classic cheese ball recipe!
To save some money, buy a block of cheddar and shred it yourself. It’s usually cheaper than buying the pre-shredded stuff, and like I said, it tastes better too!
If you have leftover red onion, wrap it tightly in plastic wrap and store it in the fridge. It’ll last for several days. And the nuts, if you don’t use them all, store them in an airtight container in the freezer, and they will stay fresh for months! Okay, ready to start mixing?
Let’s Make This classic cheese ball recipe Together
Alright, let’s get our hands dirty (well, metaphorically, until we get to the rolling part!). Here’s how we make this amazing classic cheese ball recipe, step by step:
- In a large bowl, beat together the softened cream cheese and butter until smooth and creamy. I use my stand mixer for this, but a hand mixer works just as well. Don’t worry if your classic cheese ball recipe mixture isn’t perfectly smooth at this stage; we’ll get there.
- Add the shredded cheddar cheese, Monterey jack cheese, and blue cheese to the bowl. Mix until well combined. Make sure there are no clumps of cream cheese left. This is crucial for a smooth and delicious classic cheese ball recipe.
- Stir in the chopped red onion, Worcestershire sauce, garlic powder, and black pepper. Mix until everything is evenly distributed. I learned the hard way with this classic cheese ball recipe that if you don’t mix it well enough, you’ll get pockets of onion or garlic powder, which isn’t very pleasant!
- Cover the bowl with plastic wrap and refrigerate for at least 2 hours, or preferably overnight. This is important! The chilling time allows the flavors to meld together and the classic cheese ball recipe to firm up, making it easier to roll. In my kitchen, chilling a classic cheese ball recipe overnight always yields the best results.
- While the cheese mixture is chilling, prepare your nut coating. Spread the chopped pecans (or walnuts, or your nut of choice!) on a plate or in a shallow dish.
- Remove the cheese mixture from the refrigerator and shape it into a ball. I find it easiest to do this with my hands. If the mixture is too sticky, you can lightly dampen your hands with water. Don’t worry if your classic cheese ball recipe isn’t perfectly round; it’ll still taste amazing!
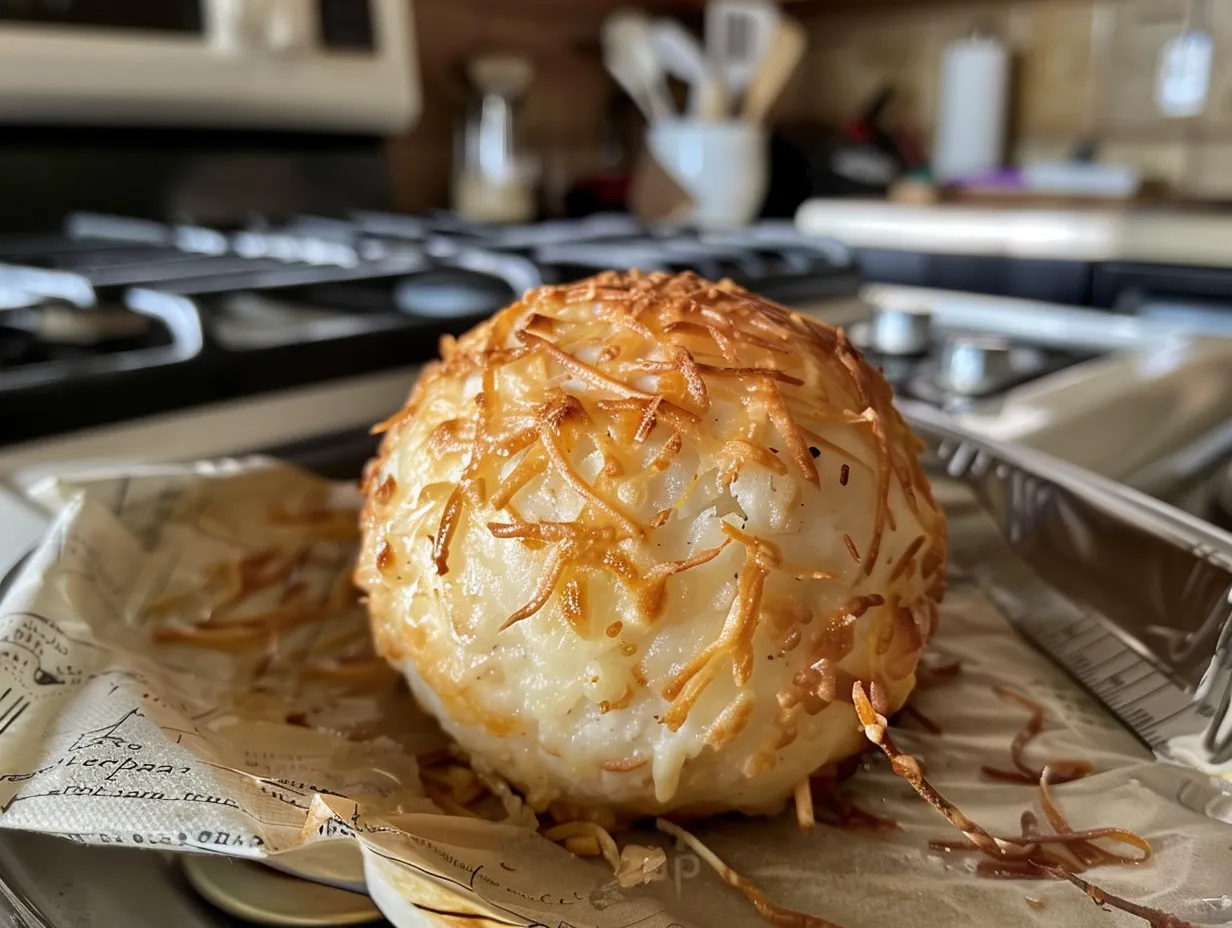
- Roll the cheese ball in the chopped nuts, pressing gently to help them adhere. Make sure the entire surface is covered. This is where the magic happens! The crunchy nuts add so much flavor and texture to the classic cheese ball recipe.
- Wrap the cheese ball in plastic wrap and refrigerate for at least 30 minutes before serving. This allows the nuts to set and prevents them from falling off when you cut into the classic cheese ball recipe.
While the classic cheese ball recipe is chilling, I usually get the crackers and veggies ready. I also like to set out a pretty serving platter to make it look extra fancy! Your classic cheese ball recipe should smell cheesy and savory – a total temptation!
One time-saver I use is making a few smaller classic cheese ball recipes instead of one giant one. They chill faster and are easier to handle. You can also freeze the cheese mixture before rolling it in the nuts. Just thaw it overnight in the refrigerator before proceeding with the recipe.
For more guidance on making a holiday cheese ball or even a Christmas cheese ball recipe check out Marie Bostwick and Julia’s Simply Southern for inspiration!
How I Love to Serve This classic cheese ball recipe
Okay, so you’ve made this gorgeous classic cheese ball recipe, now what? Time to dig in!
My family loves this classic cheese ball recipe when I serve it with a variety of crackers – some plain, some flavored, some multigrain. It’s fun to mix and match! They also love dipping crisp veggies like carrot sticks, celery, and cucumber. The freshness of the veggies really cuts through the richness of the classic cheese ball recipe.
This classic cheese ball recipe is perfect for holiday parties, potlucks, game day gatherings, or even just a casual snack with friends. It’s always a hit!
For presentation, I like to place the classic cheese ball recipe on a pretty platter surrounded by the crackers and veggies. I also add a small cheese knife or spreader so people can easily serve themselves. A sprig of rosemary or thyme adds a nice touch of greenery.
If you have extra classic cheese ball recipe, you can spread it on sandwiches or use it as a filling for stuffed celery. You can also crumble it over a salad for a cheesy, flavorful topping.
For a seasonal variation, try adding dried cranberries and orange zest to the classic cheese ball recipe during the holidays. Or, in the summertime, mix in some fresh herbs like dill and chives.
Friends always ask for this classic cheese ball recipe recipe, and I’m always happy to share it! It’s just one of those dishes that everyone loves.
I like to serve this classic cheese ball recipe with a crisp white wine or a light-bodied red. It complements the cheese and nuts perfectly.
You can also transform this classic appetizer into a Jalapeno Popper Cheese Ball!
Your classic cheese ball recipe Questions Answered
I know you probably have some questions, so let’s get to them! Here are some of the most common questions I get about this classic cheese ball recipe:
Q: Can I make this classic cheese ball recipe ahead of time?
A: Absolutely! In fact, I recommend it. The longer it chills, the better the flavors meld. You can make the classic cheese ball recipe up to 3 days in advance and store it in the refrigerator. Just be sure to wrap it tightly in plastic wrap to prevent it from drying out.
Q: What if I don’t like blue cheese? Can I leave it out of the classic cheese ball recipe?
A: Of course! You can definitely leave out the blue cheese if you’re not a fan. Just replace it with an equal amount of cheddar or Monterey Jack cheese. It’ll still be delicious classic cheese ball recipe!
Q: The cheese mixture is too soft to roll into a ball. What should I do?
A: Don’t panic! Just pop it back into the refrigerator for another hour or two. The colder it is, the easier it will be to shape. I’ve made this classic cheese ball recipe a million times, and sometimes it just needs a little extra chilling time.
Q: Can I use different types of nuts for the coating?
A: Absolutely! Pecans and walnuts are my go-to choices for this classic cheese ball recipe, but you can use any nuts you like. Almonds, cashews, or even pistachios would be delicious. You can also use a mix of nuts for a more complex flavor.
Q: My nuts keep falling off the cheese ball. What am I doing wrong?
A: Make sure you’re pressing the nuts firmly into the cheese mixture. Also, make sure the cheese ball is cold and firm. If the cheese is too soft, the nuts won’t stick as well. And remember to chill the classic cheese ball recipe for at least 30 minutes after rolling it in the nuts.
Q: Can I freeze this classic cheese ball recipe?
A: You can freeze the cheese mixture before rolling it in the nuts. Wrap it tightly in plastic wrap and store it in the freezer for up to 2 months. Thaw it overnight in the refrigerator before proceeding with the recipe. I don’t recommend freezing the classic cheese ball recipe after it’s been rolled in the nuts, as the nuts may become soggy.
Q: What else can I roll the cheese ball in besides nuts?
A: Get creative! You can roll it in chopped fresh herbs like parsley, dill, or chives. You can also use crumbled bacon, everything bagel seasoning, or even crushed pretzels. The possibilities are endless for this classic cheese ball recipe! You know what I do when my classic cheese ball recipe feels a little boring? I add everything bagel seasoning or bacon!
My Final Thoughts on This classic cheese ball recipe
So there you have it – my family’s cherished classic cheese ball recipe! I hope you give it a try and make it your own. It’s truly one of those dishes that brings people together. And let me tell you, this classic cheese ball recipe has been a constant at every family party.
Here are a few of my classic cheese ball recipe pro tips:
- Always use high-quality cheese. It makes a huge difference in the flavor.
- Don’t be afraid to experiment with different flavor combinations. Add your favorite herbs, spices, or nuts to create a classic cheese ball recipe that’s uniquely yours.
- Make it ahead of time! This classic cheese ball recipe is the perfect make-ahead appetizer for a less stressful party prep.
As for variations, we love adding chopped sun-dried tomatoes and basil for a Mediterranean twist on this classic cheese ball recipe. Another favorite is mixing in some crumbled goat cheese and chopped walnuts. My kids, surprisingly, love the version with bacon and cheddar!
I really hope you enjoy making this classic cheese ball recipe as much as my family and I do. It’s a simple, delicious, and always crowd-pleasing appetizer that’s perfect for any occasion. I hope you have fun experimenting and making it your own! So grab those ingredients, put on some music, and get ready to create something amazing. You’ve got this, I promise!
Give this recipe a try today; you can also look at Tastes Better From Scratch for more help creating your perfect classic cheese ball recipe. I can’t wait to hear how you make yours!
classic cheese ball recipe

This classic cheese ball is the perfect appetizer for any party! Creamy, cheesy, and coated in crunchy pecans, it’s always a crowd-pleaser.
- Prep Time: 20 minutes
- Cook Time: 0 minutes
- Total Time: 2 hours 20 minutes
- Yield: 10 servings
- Category: Appetizer
- Method: No-Cook
- Cuisine: American
Ingredients
- 8 ounces cream cheese, softened
- 8 ounces sharp cheddar cheese, shredded
- 4 ounces blue cheese, crumbled
- 1/2 cup finely chopped pecans
- 1/4 cup finely chopped green onions
- 1 tablespoon Worcestershire sauce
- 1/2 teaspoon garlic powder
- Pinch of cayenne pepper (optional)
- Crackers, for serving
Instructions
- In a large bowl, beat the softened cream cheese with an electric mixer until smooth.
- Add the cheddar cheese, blue cheese, pecans, green onions, Worcestershire sauce, garlic powder, and cayenne pepper (if using).
- Mix until well combined.
- Cover the bowl with plastic wrap and refrigerate for at least 2 hours, or preferably overnight, to allow the flavors to meld.
- Shape the cheese mixture into a ball.
- In a shallow dish, spread out the remaining chopped pecans.
- Roll the cheese ball in the pecans, pressing gently to adhere.
- Wrap the cheese ball in plastic wrap and refrigerate for at least 30 minutes before serving.
- Serve with crackers or your favorite dippers.
Notes
For a festive presentation, roll the cheese ball in a mixture of chopped pecans and dried cranberries.