

There’s something utterly nostalgic and magical about homemade candy apples, isn’t there? I still remember the first time I made these with my kids, the way the kitchen filled with the sweet, sugary scent of melting sugar—it was like a little holiday right at home. Homemade candy apples have this way of bringing out the kid in all of us while being that perfect crunchy-sweet treat that we all adore. Making homemade candy apples isn’t just about the final product; it’s about the whole messy, sticky, joyful process that gets you there.
For me, homemade candy apples became a family tradition thanks to one little disaster that turned into a happy accident. One year, I tried to rush the toffee apple glaze and made a sticky, gooey mess, but my kids LOVED licking the spoons so much that we repeated the experiment the next year—carefully, mind you! Since then, I’ve perfected this candy apple recipe to make it foolproof, with just the right balance of sweetness and that perfect glossy coating. If you’ve ever struggled with candy apples where the coating slides right off or gets too hard, you’re definitely not alone—it took me a few tries before I nailed it. Now, these homemade candy apples fit perfectly into my busy family life, whether it’s for a quick fall afternoon treat, a holiday party, or even just an excuse to gather around the kitchen table and share stories.
The best part is, I’ve found that once you get the hang of making homemade candy apples, your family will start asking for them all year round—especially around the holidays when everyone’s craving something festive and a little indulgent. My recipe is simple and flexible, letting you customize with homemade caramel apples, a straightforward toffee apple glaze, or an easy candy apple coating for when time is tight. Plus, for those moments when you want to impress but not stress, I’ve got some tips and tweaks that make this candy apple recipe approachable and fun for cooks of all skill levels. If you want to relive some fun family moments and make something sweet, sticky, and totally delightful, I invite you to join me in making these homemade candy apples today. You won’t regret it—I promise!
By the way, if you love trying recipes with a little festive flair like these holiday candy apples, don’t forget to check out my candy corn pokecake or my Christmas cracker candy. They both bring that same warm, cozy treat vibe to the season that homemade candy apples do!
What You’ll Need for This Homemade Candy Apples
Alright love, let’s gather up what you’ll need before we dive in. Making homemade candy apples isn’t complicated, but getting the ingredients just right is the first step to that perfect, shiny finish and the right balance of sweetness.
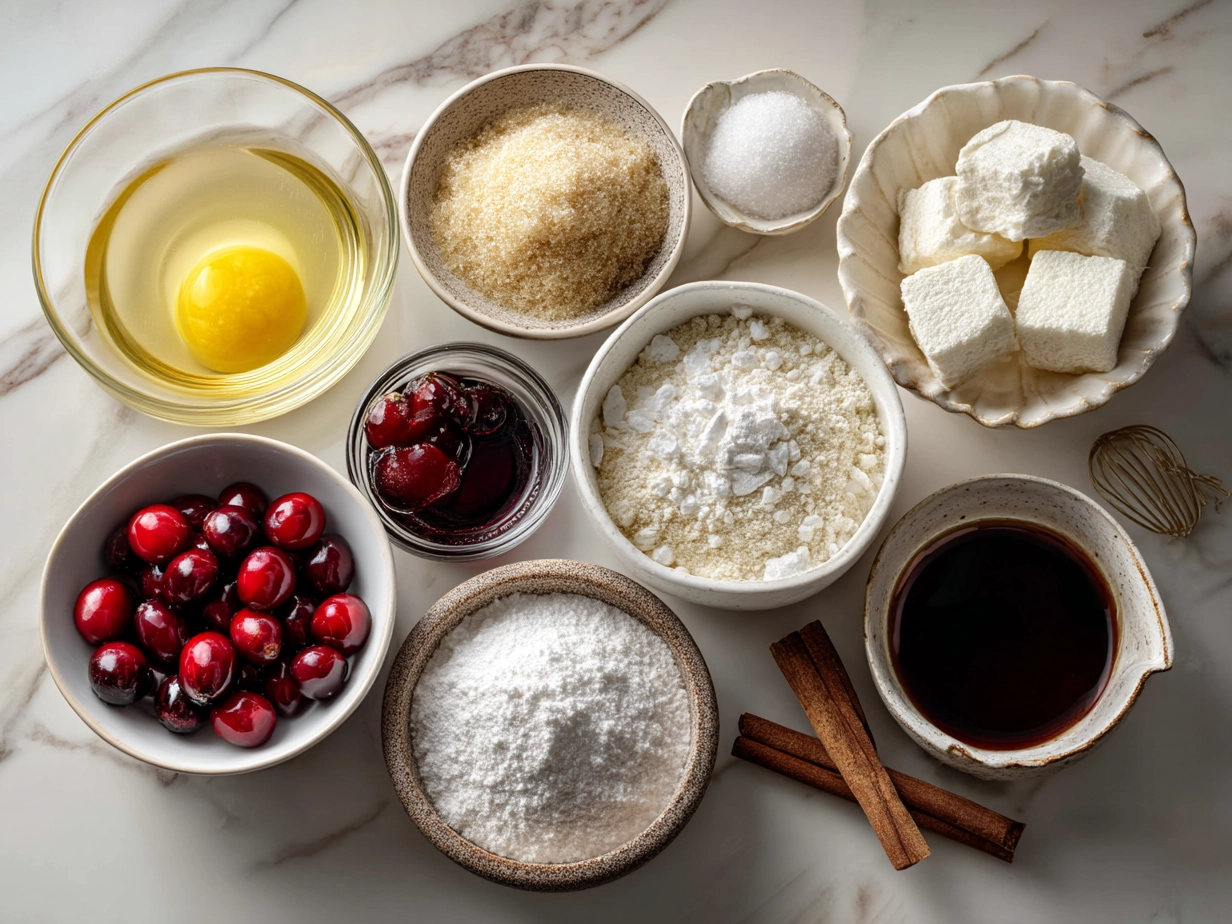
Ingredients for Homemade Candy Apples:
- 6 medium-to-large apples (I usually pick Granny Smith or Fuji because their firm texture holds up perfectly under the candy coating and their tartness balances the sweet glaze)
- 2 cups granulated sugar (I always use regular white sugar for my homemade candy apples; it melts evenly and gives that beautiful glossy look)
- 1/2 cup light corn syrup (This is my secret weapon for that easy candy apple coating that sets up perfectly without crystallizing)
- 3/4 cup water
- 1/2 teaspoon red food coloring (Optional, but it gives that classic bright candy apple red finish)
- Wooden sticks (You can find these at the baking aisle or craft stores—just make sure they’re sturdy enough to hold the apples)
For homemade caramel apples, I’ll sometimes swap the red food coloring for caramel sauce, but for today’s classic homemade candy apples, this is the perfect lineup.
When I make holiday candy apples, I love to use local or organic apples when possible—it’s fresher and just tastes better. You can find great apple picks at farmers’ markets or even some well-stocked grocery stores. And here’s a trick I learned: washing and drying your apples thoroughly before starting to make homemade candy apples ensures the coating sticks perfectly. Any leftover water on the skin can cause the candy to slide off, and we don’t want that!
If you’re in a pinch, you can prep the apples faster by coring and washing them ahead of time, even leaving them in the fridge, but just make sure they’re dry before going for the candy apple recipe step. Some people ask about cost-saving tips for homemade caramel apples – I find buying apples in-season and from bulk bins helps a lot, and the other ingredients last forever in the pantry.
Speaking of caramel apple wedges, if you’re curious about the best tips for sticking caramel to apple slices, I found this helpful resource that gave me some sweet ideas to try at the next apple dipping session.
Let’s Make This Homemade Candy Apples Together
Here’s where things get exciting! You’ve got your ingredients, and now we’re going to make these homemade candy apples side by side. Don’t worry if this is your first time; homemade candy apples are easier than they look—just follow me!
- Prep your apples: Wash and dry your apples thoroughly. Insert sturdy wooden sticks firmly into the stem end of each apple (I like to test the stick by gently wiggling it—if it’s loose, the candy won’t coat as well). Set them on a parchment-lined baking sheet.
- Mix the candy coating: In a medium saucepan, combine sugar, corn syrup, and water. Stir gently over medium heat until the sugar dissolves. From here, avoid stirring—the mixture needs to cook evenly for the perfect easy candy apple coating.
- Cook to the right temperature: Bring the mixture to a boil and clip on a candy thermometer. The magic number to aim for is 300°F (hard crack stage). This part can take about 10-15 minutes. Your kitchen will start smelling like warm sugar, and that’s the telltale sign your homemade candy apples are coming to life. If you don’t have a candy thermometer, you can test by dropping a little syrup into cold water—it should harden immediately and crack easily.
- Add your color: Once your candy syrup hits 300°F, quickly remove from heat and stir in the red food coloring for that classic sheen. Be quick; the mixture starts to set fast!
- Dip your apples: Holding an apple by the stick, dip it into the syrup, swirling to coat thickly. Let excess drip off and place it back on the parchment paper. If you find the candy cooling too fast, you can place the saucepan back on very low heat to soften it again—but be careful not to burn.
- Cool and set: Let your homemade candy apples sit at room temperature until fully set. This usually takes about 20-30 minutes. Don’t refrigerate; it can cause the candy shell to become sticky.
While your homemade candy apples are cooking, I usually tidy up the kitchen and prep for serving because nothing beats the feeling of a clean space when you dive into your sweet treat. Also, if you want to try homemade caramel apples instead of the classic candy coating, I adore this caramel apple recipe from Allrecipes—it’s buttery, rich, and perfect for the caramel lovers in the family.
For more easy candy apple coating techniques and troubleshooting, Just a Taste’s version of easy homemade candy apples also offers great tips. They helped me avoid my early mistakes!
How I Love to Serve This Homemade Candy Apples
So… now that your gorgeous homemade candy apples are looking all glossy and delicious, let’s talk about how I like to serve them. This part is just as fun as making them! My family goes crazy over these treats, especially during the holiday season when we want something festive but classic.
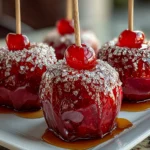
My go-to is to serve homemade candy apples as a centerpiece on a rustic wooden tray surrounded by little bowls of chopped nuts, sprinkles, or crushed toffee. Kids love dipping and decorating theirs further, turning it into a fun interactive snack party. And to complement the sweetness and crunch, I usually whip up some spiced cider or hot chocolate—the perfect holiday candy apples pairing, if you ask me!
Homemade candy apples are absolute favorites for Halloween parties, fall festivals, and even Thanksgiving dessert tables. If you ever have leftover homemade candy apples, I’ve found slicing them up and serving them with vanilla ice cream or chopped into festive salads works beautifully. You can also wrap individual ones in cellophane tied with a pretty ribbon for easy party favors.
Seasonally, I mess around with toppings—think cinnamon sugar in autumn or even a sprinkle of sea salt for a salted caramel twist with homemade caramel apples. Friends always ask me for this homemade candy apples recipe after a gathering; it’s that crowd-pleaser!
If you like creating themed treats, check out my candy corn pretzel bites for another cozy, sweet snack that pairs perfectly with homemade candy apples during fall festivities.
Your Homemade Candy Apples Questions Answered
Okay, girlfriend, I know homemade candy apples can bring up a few head-scratching moments, so here are some questions I hear all the time—and some answers from the heart of my kitchen.
Q1: Why does my candy apple coating slide off?
You know what I do when my homemade candy apples aren’t sticking? I always make sure to wash and dry the apples fully—any leftover oil or moisture on the skin will make the coating slide right off. Also, dipping immediately once the candy hits 300°F is key because if it cools too much, the candy won’t stick properly.
Q2: Can I use any kind of apple?
Absolutely! But for homemade candy apples, I recommend crisp, firm apples like Granny Smith, Fuji, or Honeycrisp. Softer apples tend to make the candy slide or go soggy faster, which my family isn’t a fan of.
Q3: How do I fix crystallized candy coating?
We’ve all been there with homemade candy apples—when the sugar crystallizes, it gets grainy and dull. The trick is to avoid stirring once the syrup starts boiling, and for extra insurance, brush down the sides of the pan with a wet pastry brush to stop sugar crystals from forming.
Q4: Can I store homemade candy apples overnight?
Yes, but keep them in a cool, dry place at room temperature. Avoid refrigerating or wrapping tightly—humidity can make the candy shell sticky or soggy. If your family loves homemade caramel apples, wrapping gently in wax paper can help extend freshness.
Q5: Is there a shortcut for the toffee apple glaze?
Totally! For an easy candy apple coating, you can find pre-made toffee apple glaze in some specialty stores, but homemade is best. I found a quick reheat-and-dip method that saves about 10 minutes—just keep the glaze warm and ready!
Q6: Can I customize the color or flavor of the candy coating?
Of course! Experiment with different food colorings and even flavor extracts like cinnamon or peppermint. My kids once loved pink candy apple batches for Valentine’s Day—it’s fun to switch it up.
Q7: How do I clean up sticky kitchen messes from homemade candy apples?
Warm soapy water is your best friend here. I soak pots and utensils right away, and a little vinegar in the rinse water helps break down sugar residues. Patience is key!
And if you want more ideas to pair with your homemade candy apples or get answers to other questions, these recipes and tips from Just a Taste’s candy apples and my holiday candy apple posts can help you feel confident and creative.
My Final Thoughts on This Homemade Candy Apples
If you’ve stuck with me this far, you know homemade candy apples hold a special place in my heart—and my family’s ongoing story. They’re more than just a sweet snack; they’re moments of laughter, learning, and tradition wrapped up in a shiny, delicious bite. Whether you’re mastering the homemade caramel apples, perfecting the toffee apple glaze, or just want an easy candy apple coating for a quick treat, there’s something truly magical happening in your kitchen when you create these.
My Homemade Candy Apples Pro Tips:
- Always dry your apples thoroughly before dipping to keep the coating intact.
- Use a candy thermometer to hit that perfect hard-crack stage for the candy syrup.
- Don’t rush the cooling—letting the candy apples set at room temperature keeps them crisp and shiny.
Over the years, my family has enjoyed variations—my son’s favorite is classic homemade candy apples, my daughter swears by homemade caramel apples, and I love the toffee apple glaze version for a nostalgic twist. You might find that your favorite is yet to come as you make this recipe your own.
I truly hope this recipe brings as much joy and sticky-sweet fun into your home as it has mine. Remember, homemade candy apples are all about the experience: the taste, the smell, the smiles, and sometimes the sticky fingers. So give yourself permission to have fun, be a little messy, and savor every bite.
For more delicious treats to go alongside your homemade candy apples, you might enjoy my candy corn pretzel bites or try making festive Christmas cracker candy here. I’d love to hear about your favorite homemade candy apples moments—let’s keep this sweet tradition going strong, girlfriend!
Until next time, happy candy apple making!
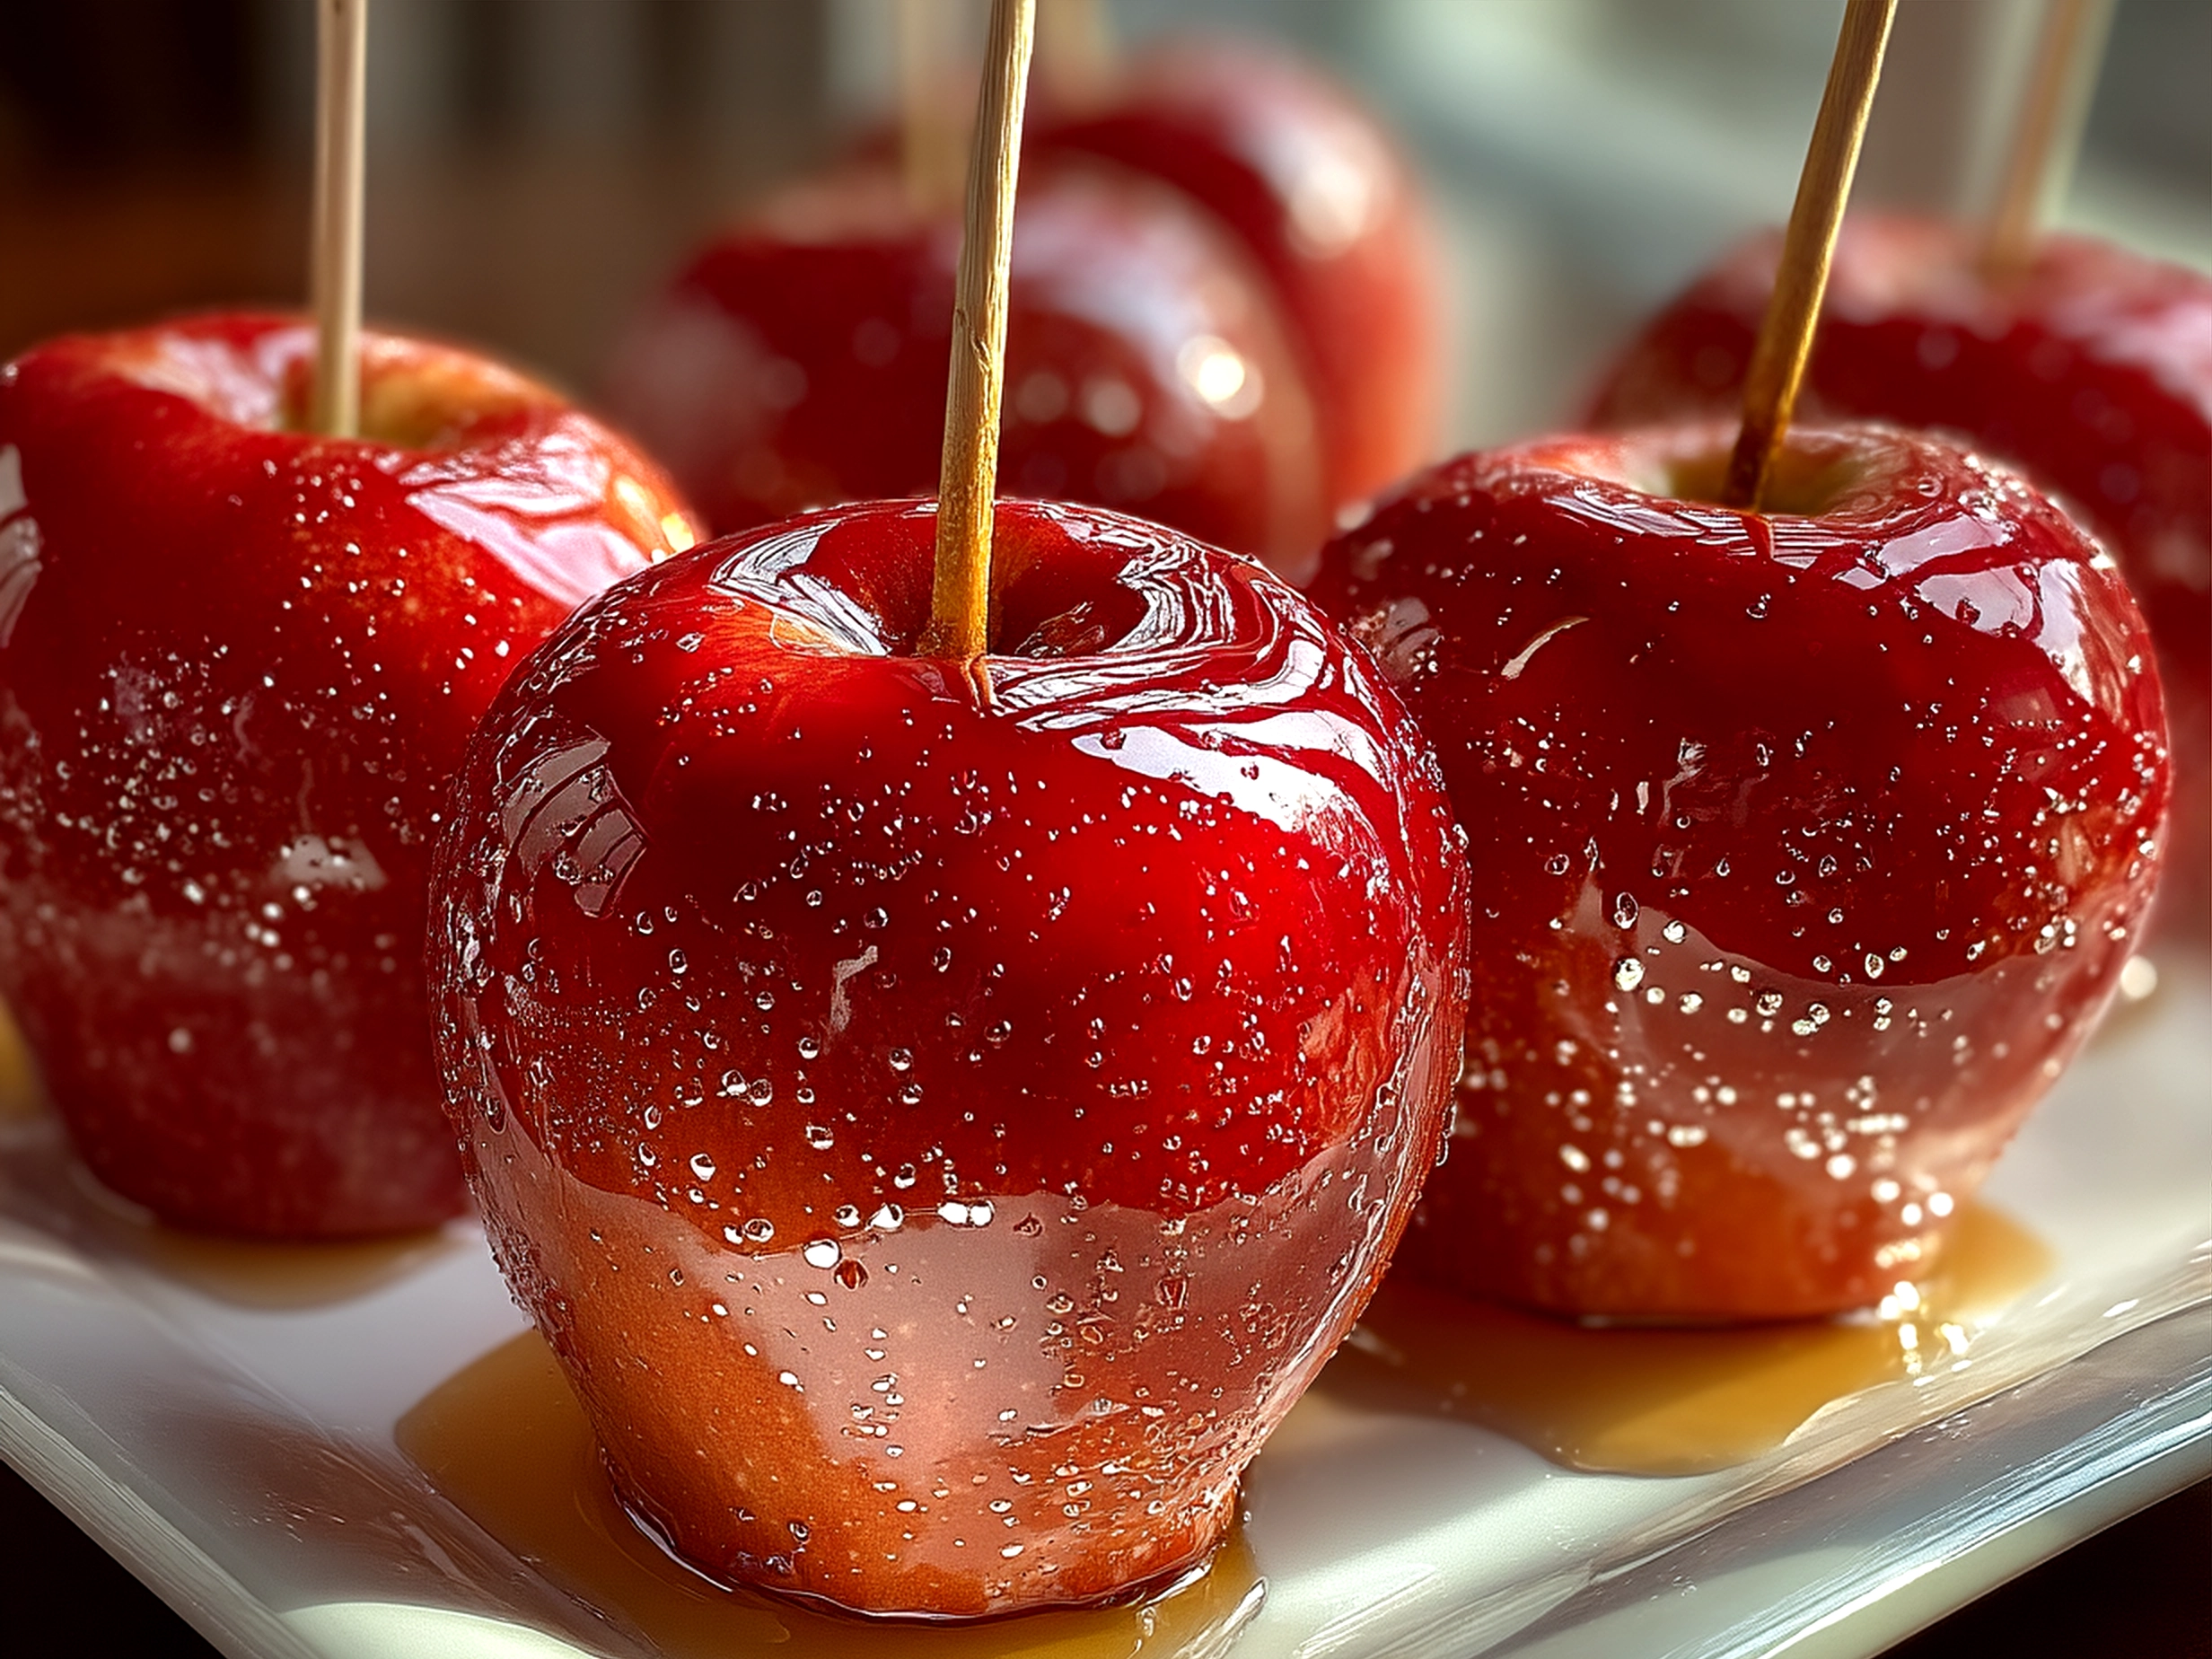
Homemade Candy Apples
Crisp apples coated in a shiny, sweet candy shell make for a classic and festive treat that’s perfect for fall and special occasions.
- Prep Time: 15 minutes
- Cook Time: 15 minutes
- Total Time: 30 minutes
- Yield: 6 servings
- Category: Dessert
- Method: Cooked
- Cuisine: American
Ingredients
- 6 medium apples, washed and dried
- 2 cups granulated sugar
- 1 cup light corn syrup
- 1/2 cup water
- Red food coloring (optional)
- Wooden sticks
Instructions
- Insert wooden sticks into the core end of each apple and set aside on a parchment-lined baking sheet.
- In a medium saucepan, combine sugar, corn syrup, and water over medium heat. Stir until sugar dissolves.
- Bring the mixture to a boil without stirring, until it reaches 300°F (hard crack stage) on a candy thermometer.
- Remove from heat and quickly stir in red food coloring if desired.
- Working fast, dip each apple into the hot candy syrup, turning to coat evenly, then set back on the baking sheet to cool and harden.
- Let candy apples cool completely before serving.
Notes
For a fun twist, roll the coated apples in crushed nuts or sprinkles before the candy hardens.