
You know, there’s something so comforting about a plate of crispy, golden chicken tenders that just makes any day better. I still remember the first time I really nailed my homemade chicken tenders recipe—it was a chaotic weekday evening, kids clamoring for dinner, and me juggling a million things. But the smell of those crispy chicken strips frying gently in the pan brought a kind of calm magic into the kitchen. From that night on, chicken tenders became a beloved staple in our home, easily slipping into busy weeknight dinners or even special weekend treats.
Chicken tenders are honestly a bit of my kitchen superpower. They’re quick to prepare, which is a blessing when your family’s tummy rumbles don’t wait for fancy dinners. But I have to admit, it took some trial and error to get them just right. I’ve burned a batch or two of fried chicken fingers (shhh, don’t tell anyone), and learned the hard way that the oil temperature is everything. Too hot? Crispy outside, raw inside. Too cool? Soggy and greasy tenders no one wants to touch.
What really makes these chicken tenders special for me is how adaptable they are. From seasoned breaded chicken tenders that kids love dunking in ketchup to a more herb-infused chicken tenderloin recipe I whip up when I want something a little grown-up—they’re a canvas. I’ve even played with gluten-free options, inspired by a recipe I found on my blog here at Delilita for gluten-free chicken tenders, and friends still swear they can’t tell the difference.
There’s a warmth that comes from making fried chicken fingers or breaded chicken tenders from scratch. It’s part nostalgia, part the delicious crispy chicken strips that make everyone linger at the table just a bit longer. Plus, knowing you’re making something homemade and wholesome for your family—nothing processed or mystery ingredients—feels good.
If you love cooking with me, and want to dive into recipes that bring everyone to the table, I warmly invite you to try this chicken tenders recipe. Trust me, once you get the hang of these crispy chicken strips, you’ll find yourself making them over and over like I do in my kitchen. And if you want to check out some ideas for crispy fried chicken tenders with a little extra crunch, Feast and Farm have a lovely take on that you might enjoy. This journey with chicken tenders has been one of those kitchen stories you’ll want to keep passing down, and I’m so excited to share mine with you today.
What You’ll Need for This Chicken Tenders
Alright girlfriend, let’s talk ingredients. When it comes to making the best chicken tenders, I like to keep my pantry prep straightforward but top-notch because that’s half the battle won in the flavor department. Here’s what I always have ready when whipping up these breaded chicken tenders that my whole crew cheers for.

Ingredients:
- 1.5 lbs chicken tenderloins (Use fresh if you can find them, but frozen works fine too—just thaw completely before cooking. For a solid chicken tenderloin recipe, this cut is perfect for tender, juicy strips)
- 1 cup all-purpose flour (or gluten-free flour if you want a wheat-free spin)
- 2 large eggs (I always beat them well, they do the magic in holding the crumbs tight)
- 1 cup panko breadcrumbs (gives that perfect crunch—regular breadcrumbs can work, but panko is a game-changer)
- 1 tsp garlic powder (you know I love a little garlic kick)
- 1 tsp paprika (adds subtle warmth and color)
- Salt and black pepper to taste
- Vegetable oil for frying (I prefer peanut oil for that high heat and neutral flavor)
Now, when making homemade chicken tenders, I always recommend buying chicken tenderloins already trimmed if possible—it saves you some serious prep time. You can usually find them near the fresh chicken breasts in your grocery store. And here’s a trick I learned: if you want extra crispy chicken strips, after breading, let them rest on a rack in your fridge for 20 minutes before frying. This helps the coating adhere better and keeps it crispy longer.
If you’re looking for ways to make this even easier on busy weeks, you can prep your breading station the night before and keep it covered until you’re ready to cook. Also, if you ever find yourself with leftover breadcrumbs or flour mixtures, store them airtight and they’ll be ready for your next batch of fried chicken fingers. I keep a small container on hand in my pantry just for this.
For a budget tip — buying chicken tenderloins from the family pack and dividing into meal-size portions to freeze works wonders. It keeps the cost down and the convenience high. And if you’re curious about ingredient swaps or gluten-free options, check out my recipe for gluten-free chicken tenders here on Delilita—you’ll find alternative flours and ways to keep everything crispy.
Oh! And before you start, it’s worth scouting around for spice blends you might want to mix in with your breading for variety—sometimes a pinch of cayenne or Italian herbs turns these crispy chicken strips into a whole new experience.
Let’s Make This Chicken Tenders Together
Ready to get those hands breading, friend? Making chicken tenders from scratch can be so relaxing once you get into the groove. Don’t worry if your first batch looks a little raggedy—there’s charm in the homemade! Here’s how we’ll do it step-by-step.
1. Prep your work station: Set up three bowls—one with flour seasoned lightly with salt and pepper, one with your beaten eggs, and one with your panko breadcrumbs mixed with garlic powder and paprika. This classic breading station makes it easy to dip and coat evenly.
2. Dry your chicken tenderloins: Pat each tender dry with paper towels. Moisture is the enemy of crispy chicken tenders because it makes the breading soggy.
3. Dredge chicken in flour: Coat each piece lightly in the flour mixture, shaking off excess. This helps the egg stick better.
4. Dip in egg wash: Next, dip your floured chicken tender into the beaten eggs. This is the “glue” for your crispy chicken strips.
5. Coat with breadcrumbs: Finally, roll your chicken tender in the panko mixture, pressing gently to make sure the breading sticks well. Now, you’ve got that perfect breaded chicken tenders look!
If you want to see a visual guide and get more tips on achieving that ultra-crispy fried chicken fingers finish, check out the lovely Crispy Fried Chicken Tenders video by CJ Eats Recipes—they break it down wonderfully.
6. Rest before frying: Here’s a tip I swear by—after breading, put your chicken tenders on a wire rack refrigerated for about 20 minutes. This step keeps your breading from falling apart during frying.
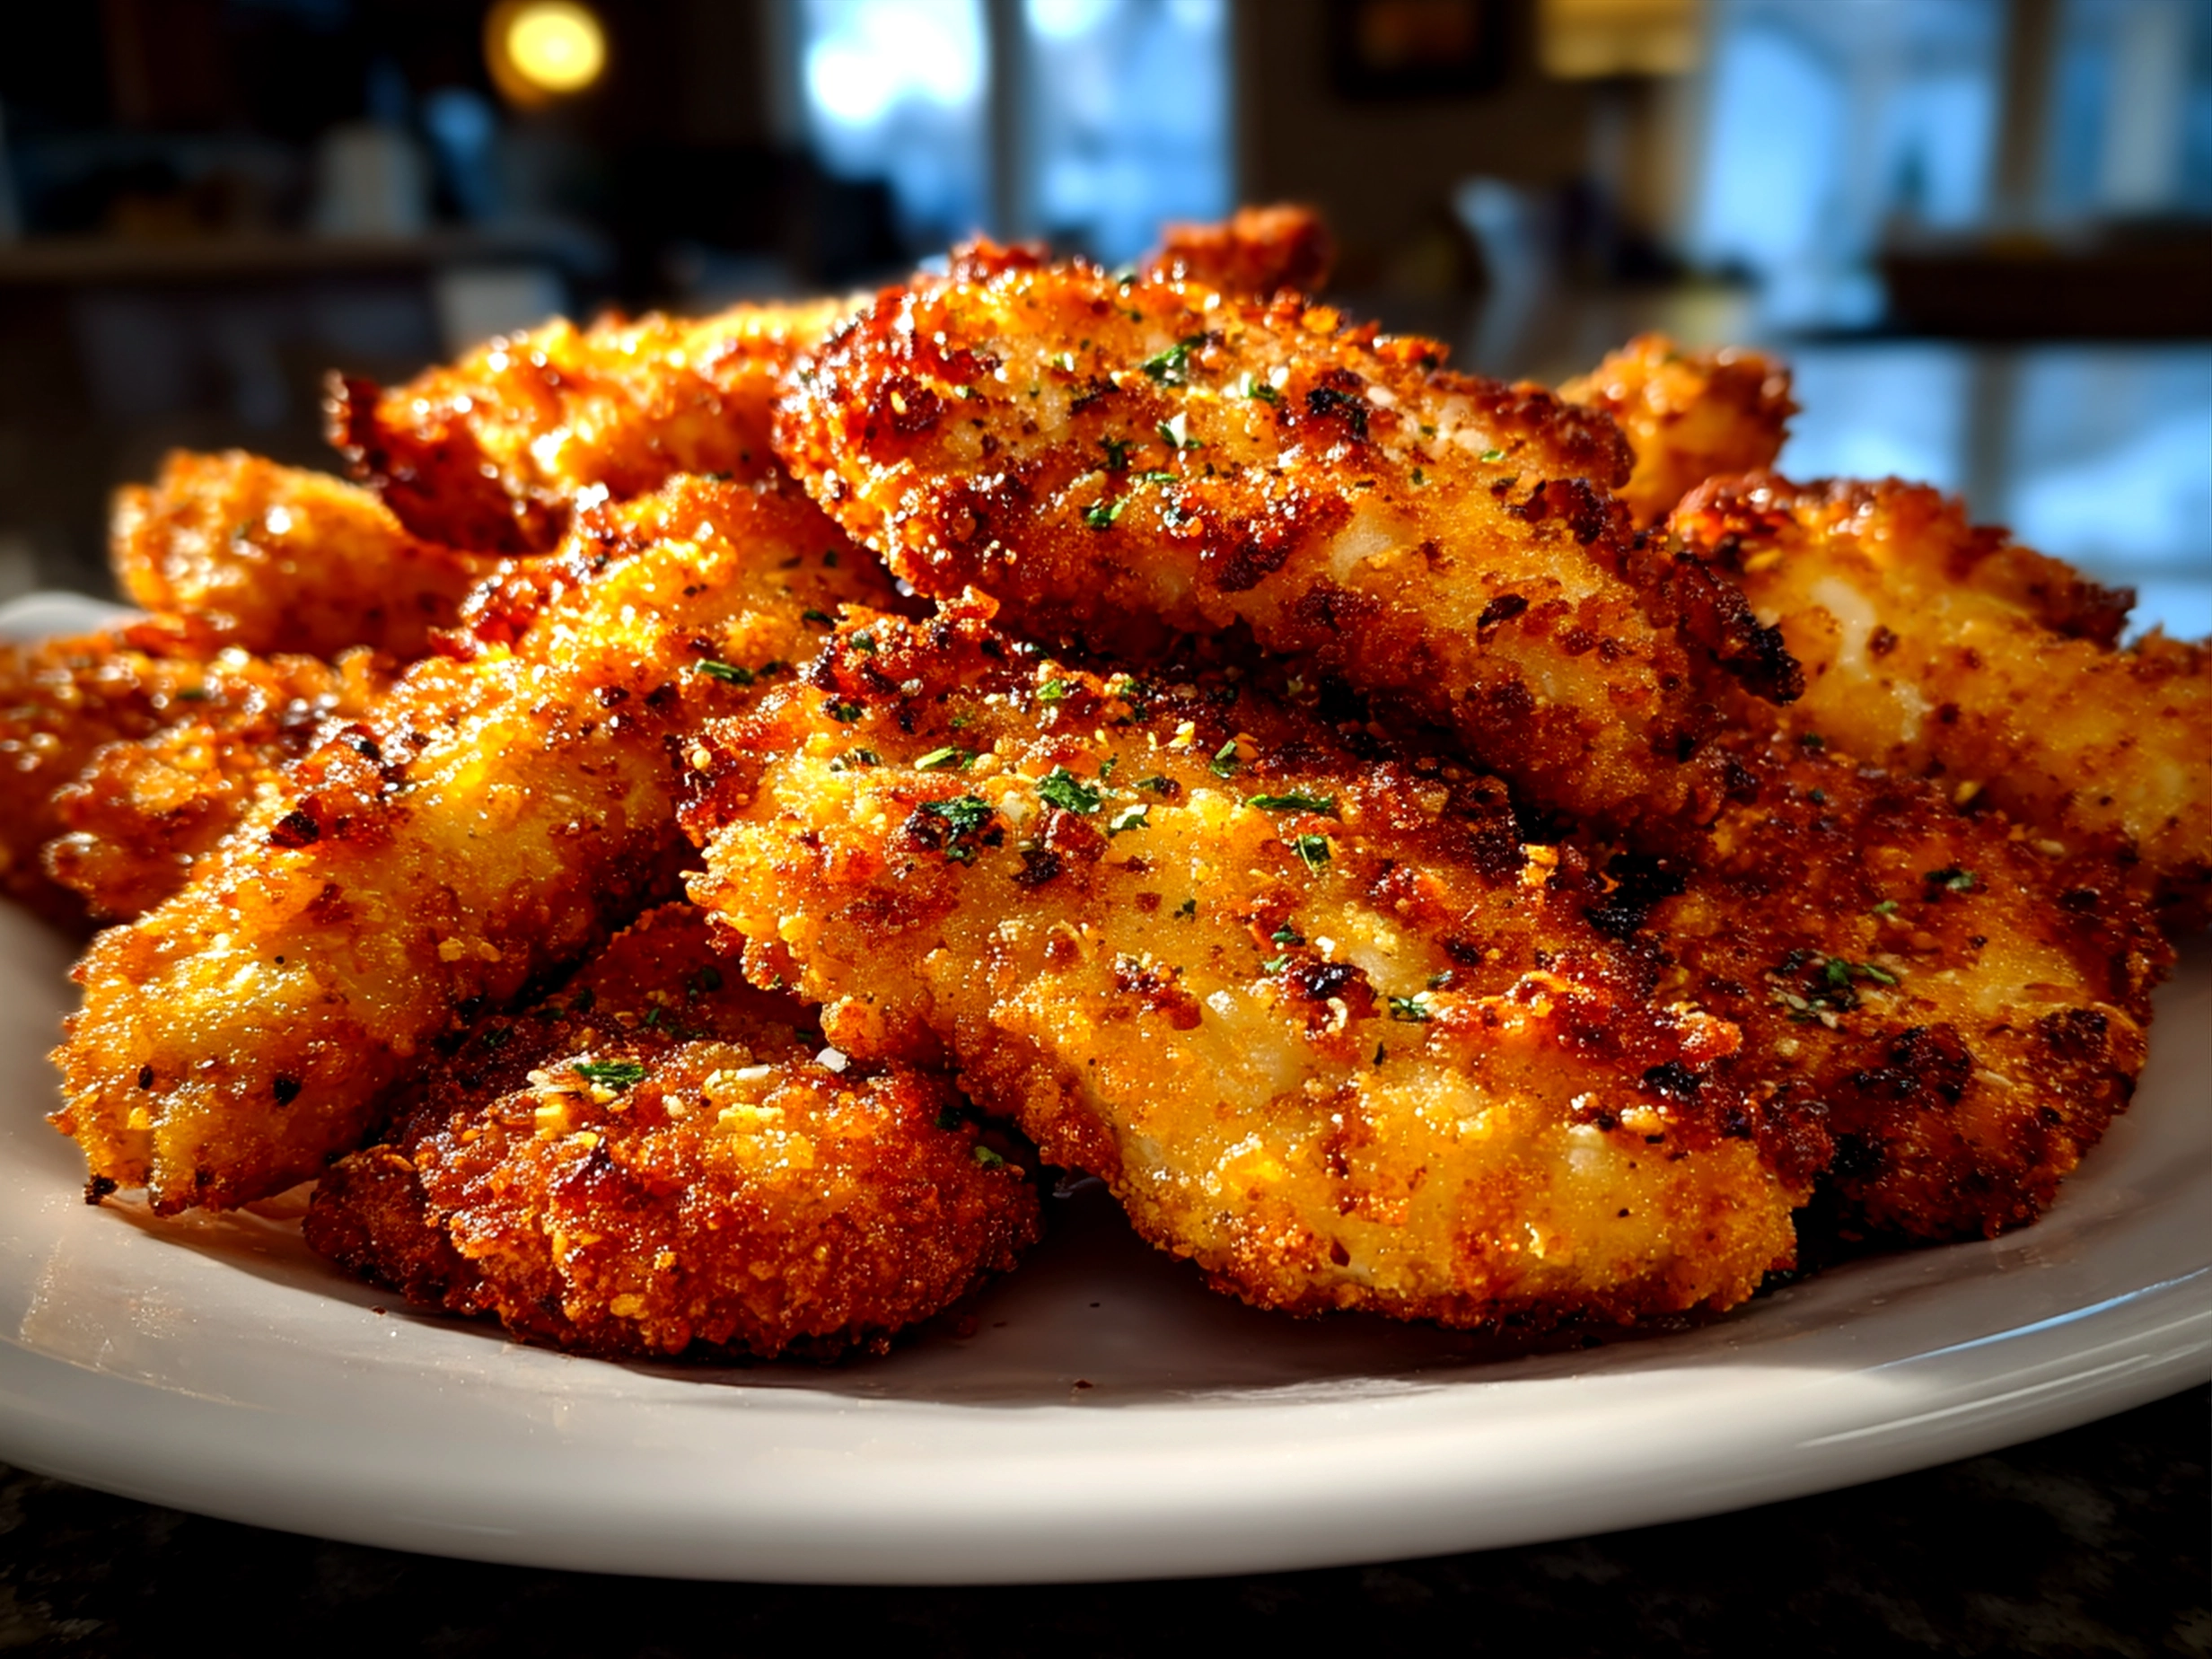
7. Fry time: Heat your peanut or vegetable oil in a deep skillet to about 350°F (175°C). Fry the chicken tenders in batches so you don’t overcrowd the pan. That way, they cook evenly and develop those irresistible crispy chicken strips.
You’ll want to fry each batch for about 3-4 minutes per side until golden brown and cooked through (internal temperature around 165°F). Your kitchen will fill with that gorgeous aroma that screams comfort!
While I’m frying, I usually prep the dipping sauces or a quick salad to round out our meal. My family loves homemade ranch or honey mustard with these fried chicken fingers.
8. Drain and serve: Place cooked tenders on a plate lined with paper towels to soak up excess oil. This little step helps keep the breading extra crisp.
Don’t get discouraged if your first batch needs tweaking—getting really crispy homemade chicken tenders is all about oil temperature and not rushing the breading process. Friends, I’ve been there (and burnt more fish sticks and chicken fingers than I care to admit). For troubleshooting and extra tips, Foodie With Family also offers a fantastic recipe for extra crispy fried chicken fingers that I always refer back to, especially when I want to impress guests or have a movie night snack ready.
How I Love to Serve This Chicken Tenders
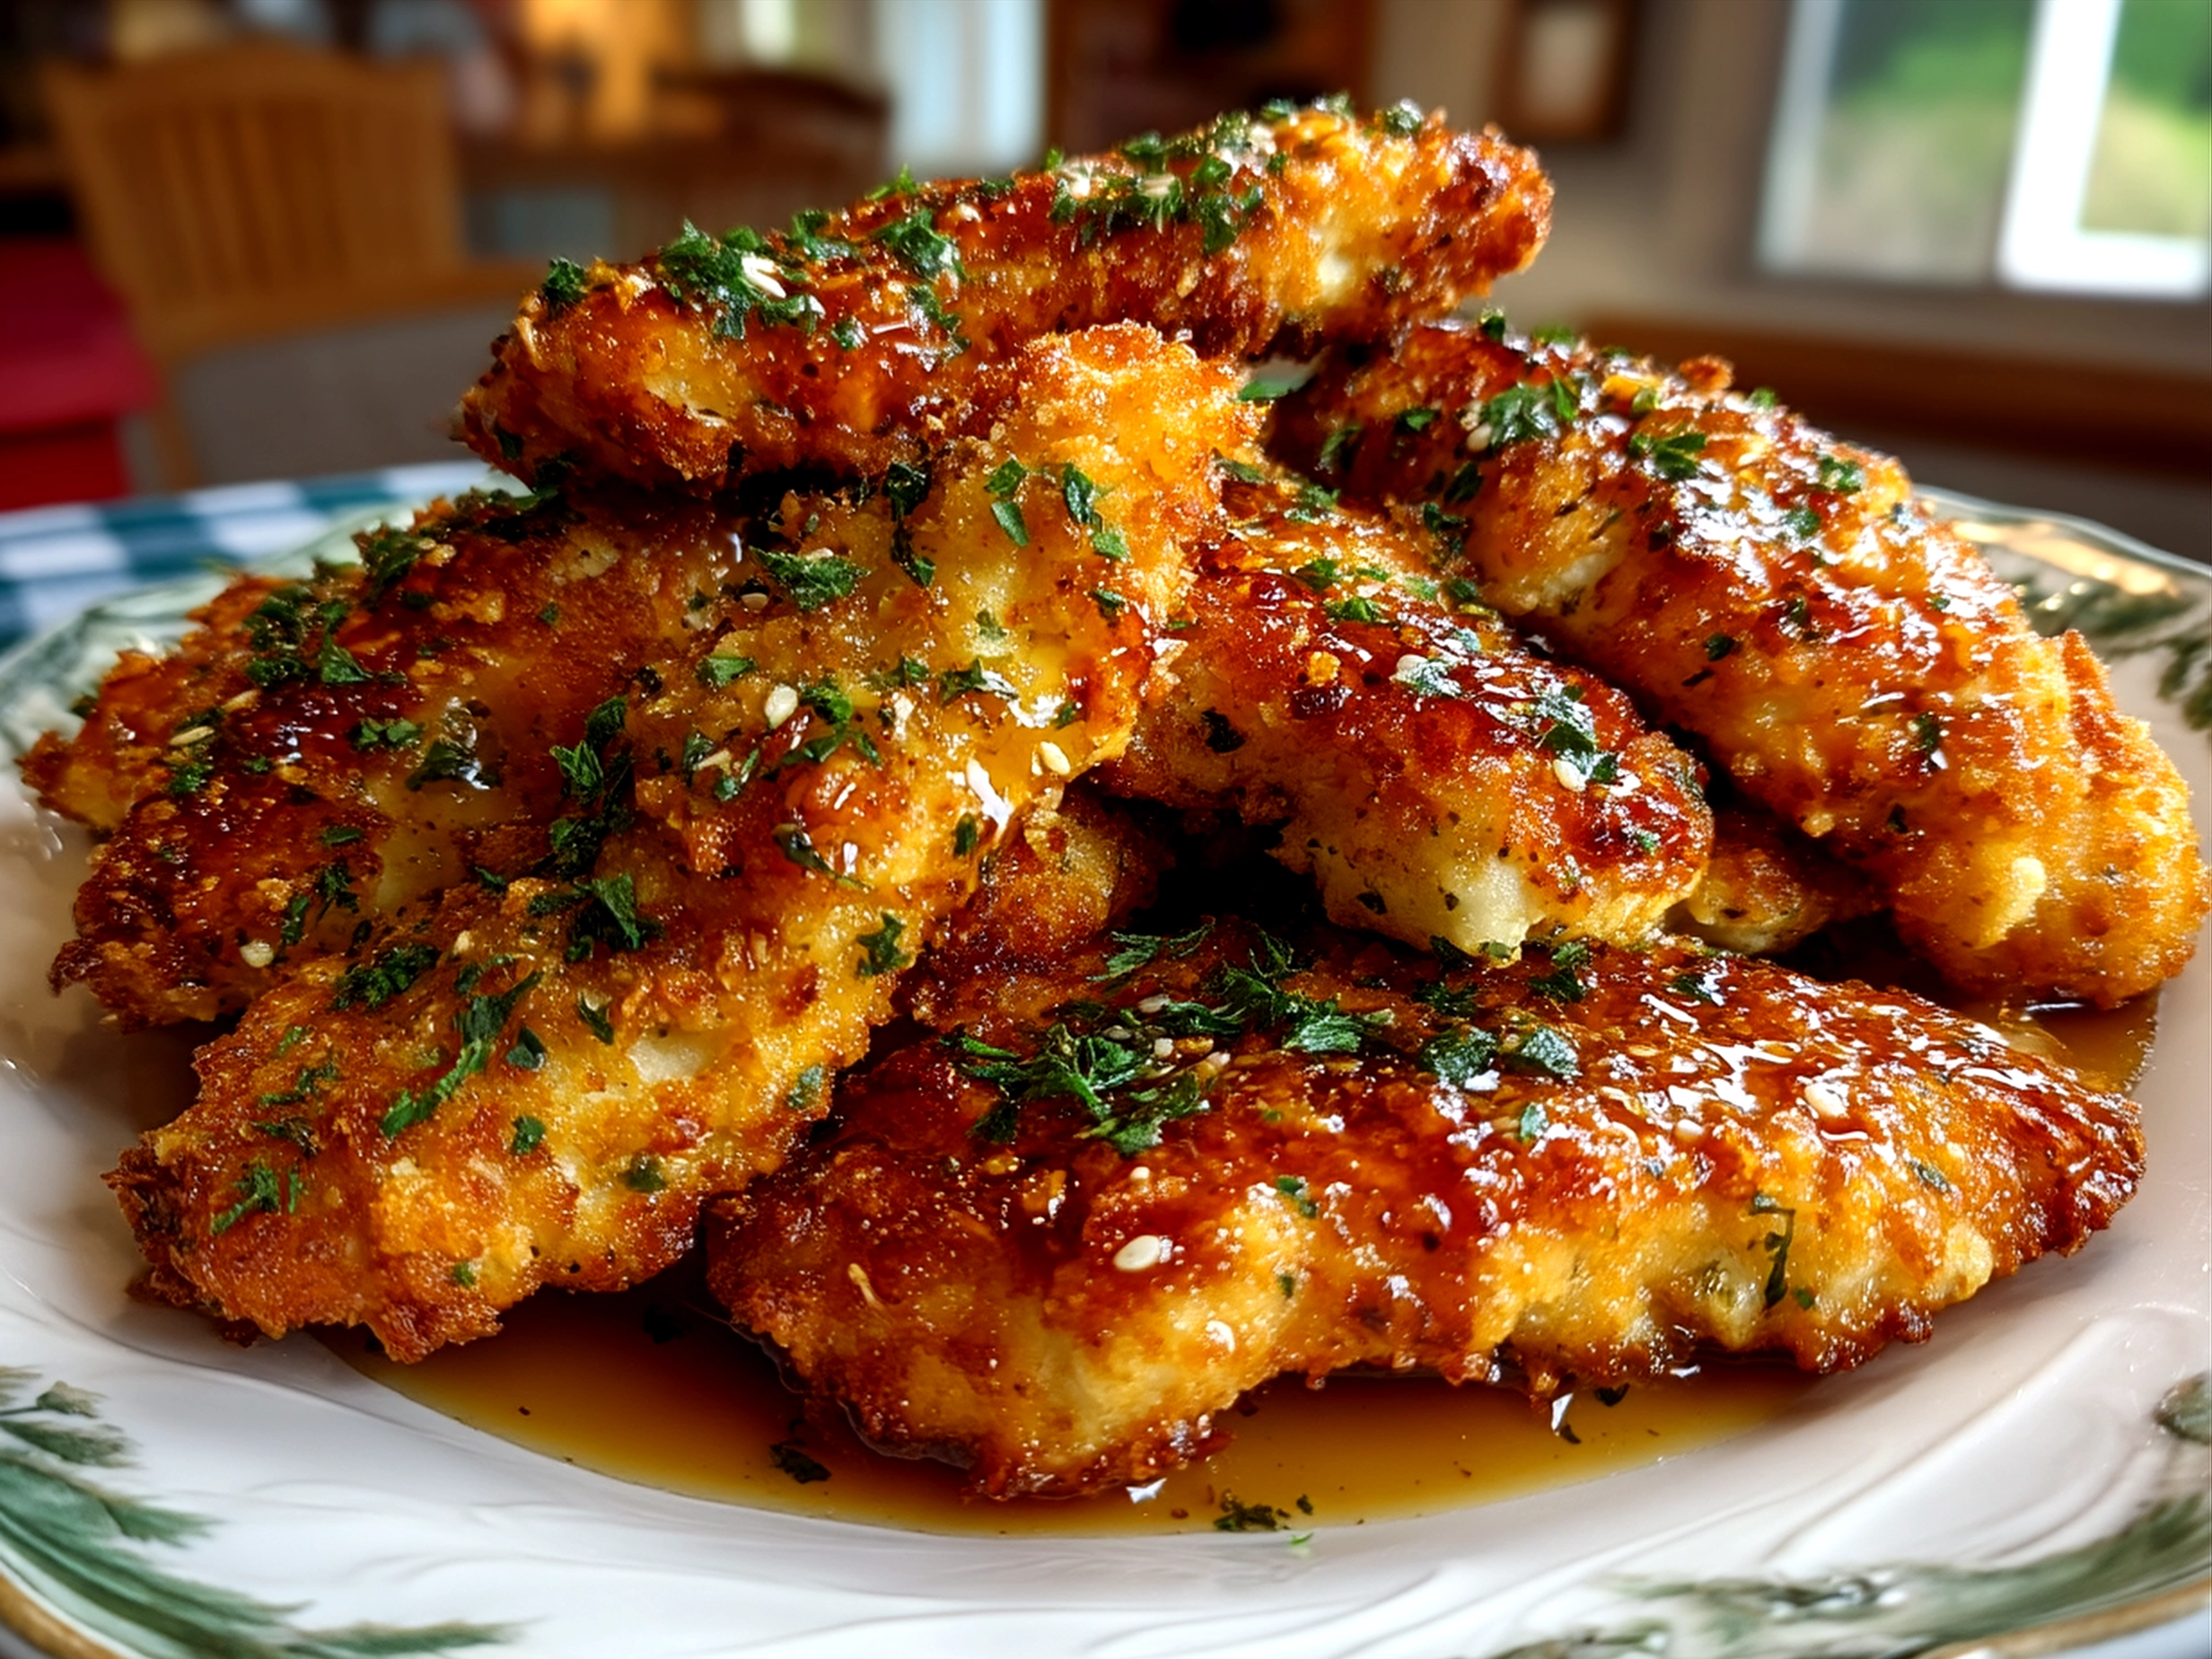
Oh, the joy when these crispy chicken strips hit the table! My family is the kind that likes their chicken tenders with a variety of sides, making each meal fun and colorful. For weeknight dinners, I love pairing these breaded chicken tenders with classic mashed potatoes and roasted green beans—the kind of sides that feel like a warm hug.
If I’m aiming for a lighter meal, I go with a fresh garden salad with a tangy vinaigrette or some crisp air-fried sweet potato fries. The slight sweetness from those fries balances the savory fried chicken fingers so well. Quick tip: roasted veggies or steamed broccoli also add a nice fresh crunch alongside the homemade chicken tenders, giving a perfect mix of textures.
These chicken tenders have become my go-to for casual parties or game day eats too. They’re easy to serve family-style with a big bowl of dipping sauces like BBQ, ranch, or honey mustard right in the middle for everyone to grab. We’ve even done a “mix and match” themed dinner with a few flavored breadings for extra flair.
One season I tried a little twist—adding Cajun spices to the breaded chicken tenders for a spicy kick my partner absolutely adored. It’s fun experimenting with flavors, and your tenders can easily join every food mood you’re in.
If you have extra chicken tenders leftover (and trust me, sometimes you do), they make incredible sandwiches the next day. Just add some lettuce, tomato, and a smear of mayo or aioli on a fresh roll—it’s a total hit with my kids.
And hey, if you want more ideas on serving up chicken tenders or different crispy chicken strips recipes, Feast and Farm has some wonderful pairing suggestions that might inspire your next meal.
Your Chicken Tenders Questions Answered
You know, over the years, I’ve received so many sweet messages from my readers asking all sorts of questions about chicken tenders. Let me share some of the ones I hear most often, along with my personal tips and stories:
Q: How do I get my chicken tenders crispy but not greasy?
Oh, this one I’ve learned the hard way! The key is oil temperature—too low and your breaded chicken tenders soak up too much oil. I use a thermometer to keep my oil steady around 350°F. Also, don’t overcrowd the pan; it drops the temperature and leads to soggy fried chicken fingers.
Q: Can I bake chicken tenders instead of frying?
Absolutely! I do this when I want a lighter version of crispy chicken strips. Coat them the same way, place on a baking sheet with a rack, and bake at 425°F for about 15-20 minutes, flipping halfway. They won’t be quite as crispy as fried, but still delicious. For a crunchy baked option, try my gluten-free chicken tenders recipe which works beautifully in the oven.
Q: What’s the best way to reheat leftover chicken tenders?
My favorite trick: pop them in the oven at 375°F for 10 minutes rather than the microwave. It crisps the breading back up nicely without drying out the chicken. I’ve had readers tell me their kids actually preferred the reheated tenders the next day!
Q: How do you keep the breading from falling off?
That chilling step after breading is a game-changer. Plus, make sure your chicken is dry before you start, and don’t skip the flour dipping step. These little layers help everything stick together for those perfect crispy chicken fingers.
Q: Can I make chicken tenders gluten-free?
Yes, you definitely can! Swapping all-purpose flour for gluten-free flour and using gluten-free panko breadcrumbs works great. I’ve got a whole gluten-free chicken tenders recipe here on Delilita that my friends with allergies rave about.
Q: What do you serve with chicken tenders?
For me, simple sides like air-fried potatoes, fresh salads, or steamed veggies are perfect. The dipping sauces also make a big difference—homemade ranch or honey mustard really make my chicken tenderloin recipe shine.
Q: Any tips for kids who are picky about textures?
Starting with homemade chicken tenders is the key because you control how crunchy or soft they get. If your kids like softer ones, try baking instead of frying. And mixing your bread crumbs with a tiny bit of finely crushed cornflakes can add a fun texture that might win them over.
For more guidance on techniques and troubleshooting these crispy chicken strips, I recommend checking out the Fried Chicken Tenders recipe by Foodie With Family. They have some fantastic tips that saved me from kitchen disasters plenty of times!
My Final Thoughts on This Chicken Tenders
Chicken tenders have truly earned a sweet spot in my heart—and my kitchen routine. They’re more than just food; they’re moments of connection, quick meals made special, and little victories no matter how hectic life gets. I hope when you make these crispy chicken strips, you feel that warmth too.
Here are a few Chicken Tenders Pro Tips from my experience:
- Chill your breaded chicken tenders before frying for better adhesion.
- Keep your oil at a steady temperature to avoid greasy fried chicken fingers.
- Don’t overcrowd the pan: fry in batches for even cooking and perfect crispiness.
I’ve tried so many versions with my family—herb-infused chicken tenderloin recipes with thyme and rosemary, spicy Cajun breaded chicken tenders, and even a parmesan-crusted take that’s heavenly. My kids love the classic crunchy fried chicken fingers best, while my husband is all about that herby, more flavorful twist.
If you’re looking to bookmark some chicken tenders ideas when you’re ready to mix things up, check out my turmeric chicken soup or parmesan mushroom chicken soup recipes here on Delilita for cozy family meals that complement your chicken tenders perfectly.
My hope is you’ll make this recipe your own, experimenting with flavors, sides, and cooking styles. There’s something so delightful about homemade chicken tenders—they’re comforting, approachable, and always a crowd-pleaser.
So go ahead, give these crispy chicken strips a try. I’m cheering you on from my kitchen to yours, and I bet this recipe will become a family favorite for many dinners to come. Remember, the best chicken tenders are made with a little love, a dash of patience, and a hungry heart.
Happy cooking, friend!
P.S. For more inspiration on crispy chicken strips and chicken tenderloin recipes, feast and farm’s Crispy Fried Chicken Tenders, foodie with family’s Fried Chicken Tenders, and CJ Eats Recipes’ Crispy Fried Chicken Tenders video are fantastic resources to keep on hand.
Chicken Tenders
Crispy and juicy chicken tenders perfect for a quick meal or snack, coated in a flavorful breading and fried to golden perfection.
- Prep Time: 10 minutes
- Cook Time: 10 minutes
- Total Time: 20 minutes
- Yield: 4 servings
- Category: Dinner
- Method: Fried
- Cuisine: American
Ingredients
- 1 lb chicken tenders
- 1 cup all-purpose flour
- 2 large eggs
- 1 cup breadcrumbs
- 1 tsp garlic powder
- 1 tsp paprika
- Salt and pepper to taste
- Vegetable oil for frying
Instructions
- Season the chicken tenders with salt, pepper, garlic powder, and paprika.
- Place flour in one bowl, beaten eggs in a second bowl, and breadcrumbs in a third bowl.
- Dredge each chicken tender in flour, then dip in eggs, and coat with breadcrumbs.
- Heat vegetable oil in a skillet over medium heat.
- Fry the chicken tenders for 3-4 minutes on each side or until golden brown and cooked through.
- Remove from oil and drain on paper towels before serving.
Notes
For extra crispiness, let the breaded tenders rest in the fridge for 30 minutes before frying.