
There’s something truly magical about bite-sized treats that blend sweet and savory in just the right way, and Candied Kielbasa Bites are absolutely one of those gems. I still remember the first time I made these glazed sausage bites, with their irresistible maple glazed sausage bites coating that sticky, slightly spicy charm—my kitchen instantly filled with a smoky, sweet aroma that just pulled everyone in. Candied Kielbasa Bites quickly became a family favorite around here, especially because they fit so perfectly into our hectic schedule. These sweet and spicy kielbasa appetizers are a breeze to throw together but carry that wow factor for any occasion, from casual weeknight snacks to those last-minute party snack recipes my kids beg me to make.
I’ll be honest—when I first attempted Candied Kielbasa Bites, I underestimated how essential the glaze was to locking in that smoky kielbasa finger foods perfection. You know, we’ve all been there with those sticky fingers moments and glaze disasters! After some trial and error (and a few smiles over kitchen messes), I learned how to balance the sweetness with just a touch of heat for that classic sweet and spicy kielbasa appetizer taste. For those busy families juggling everything under the sun, these glazed sausage bites are a lifesaver—I often whip them up while catching up on emails or prepping other dinner tasks. It’s a simple joy how this recipe brings everyone together, whether we’re gathered around for a cozy movie night or friends drop by unexpectedly.
If you’re looking for an approachable recipe that invites a little sweet, a little smoky love into your snack game, I promise you’ll adore these Candied Kielbasa Bites. They’re chewy, glazed morsels of happiness that strike a perfect balance, and I’m excited to share how to make them just right in your kitchen. Plus, if you want to try some other fun favorites along the same lines, don’t miss my fried brie bites or this cozy kielbasa potato soup recipe. Ready? Let’s get cooking those irresistible Candied Kielbasa Bites together!
What You’ll Need for This Candied Kielbasa Bites
When it comes to nailing the best Candied Kielbasa Bites, I’m pretty particular about my ingredients—they really do make a difference! Here’s my go-to list for the perfect batch of these sweet and spicy kielbasa appetizers:
- 1 pound of smoked kielbasa sausage, sliced into 1-inch pieces (I always grab mine from the deli or local butcher for the freshest smoky kielbasa finger foods)
- ½ cup pure maple syrup (this is key for that signature maple glazed sausage bites flavor)
- ¾ cup packed brown sugar (helps achieve that sticky, shiny glaze everyone loves)
- 2 tablespoons Dijon mustard (adds just the right tang to balance sweetness)
- 1 teaspoon smoked paprika (for an extra smoky kick)
- ½ teaspoon cayenne pepper (adjust to taste for desired warmth)
- 1 tablespoon olive oil (to prevent sticking during cooking)
- Chopped fresh parsley (optional, for garnish and a pop of color)
When I shop for ingredients for my Candied Kielbasa Bites, I look for the freshest smoked kielbasa available because that smoky richness is the backbone of the dish. You can usually find great options at your grocery’s deli section or specialty stores, and sometimes grabbing kielbasa on sale really helps keep the cost down, especially if you’re making a big batch for party snack recipes. The maple syrup quality also matters—a real pure maple syrup gives the glaze a deeper, richer flavor compared to syrup blends.

Here’s a Candied Kielbasa Bites trick I learned: slicing the kielbasa evenly is a must to ensure each bite cooks uniformly and soaks up that glaze beautifully. If you’re short on time, look for pre-sliced kielbasa, which can save a few minutes without sacrificing flavor. And speaking of time, prepping your glaze ahead of time and storing it in the fridge is a handy shortcut that keeps your weekend snacks easy breezy. Leftover ingredients like brown sugar and spices keep well in the pantry, so you can always whip up a surprise batch when cravings hit!
For more ingredient inspiration, you might also enjoy the simple ingredients spotlight and tips from this Easy Kielbasa Appetizer Recipe, which features similar glazed sausage bites with minimal fuss. Getting your ingredients ready for Candied Kielbasa Bites is half the fun—trust me, it’s worth the little prep right at the start!
Let’s Make This Candied Kielbasa Bites Together
Ready to roll up your sleeves? Making Candied Kielbasa Bites is one of those satisfying little projects that fills your kitchen with the best smells and leaves you grateful for such a delicious reward. Don’t worry if your Candied Kielbasa Bites don’t look perfect at first—practice makes perfect and, honestly, the taste trumps the look every time.
- Heat your skillet over medium heat and add olive oil. I like using a cast iron skillet here because it helps get a nice sear on the kielbasa slices. While the skillet’s warming up, slice your kielbasa into those perfect 1-inch bites.
- Add sliced kielbasa to the skillet and brown on each side for about 3-4 minutes. You’ll smell that smoky kielbasa finger foods aroma start to fill the air—get ready, it’s mouthwatering! Browning the slices seals in the flavor and texture.
- While the kielbasa browns, mix your glaze in a bowl: combine maple syrup, brown sugar, Dijon mustard, smoked paprika, and cayenne pepper. Stir until the sugar mostly dissolves into a sticky, sweet, spicy liquid.
- Pour the glaze over the browned kielbasa in the skillet, stirring gently to coat each piece. I learned the hard way with Candied Kielbasa Bites that a careful stir here keeps that sugar from burning and clumping—low and slow is your friend.
- Reduce heat to low and simmer for another 8-10 minutes, stirring occasionally. This lets the glaze thicken up nicely and caramelize the edges of the kielbasa bites. If you notice the glaze thickening too fast or start to burn, just lower the heat.
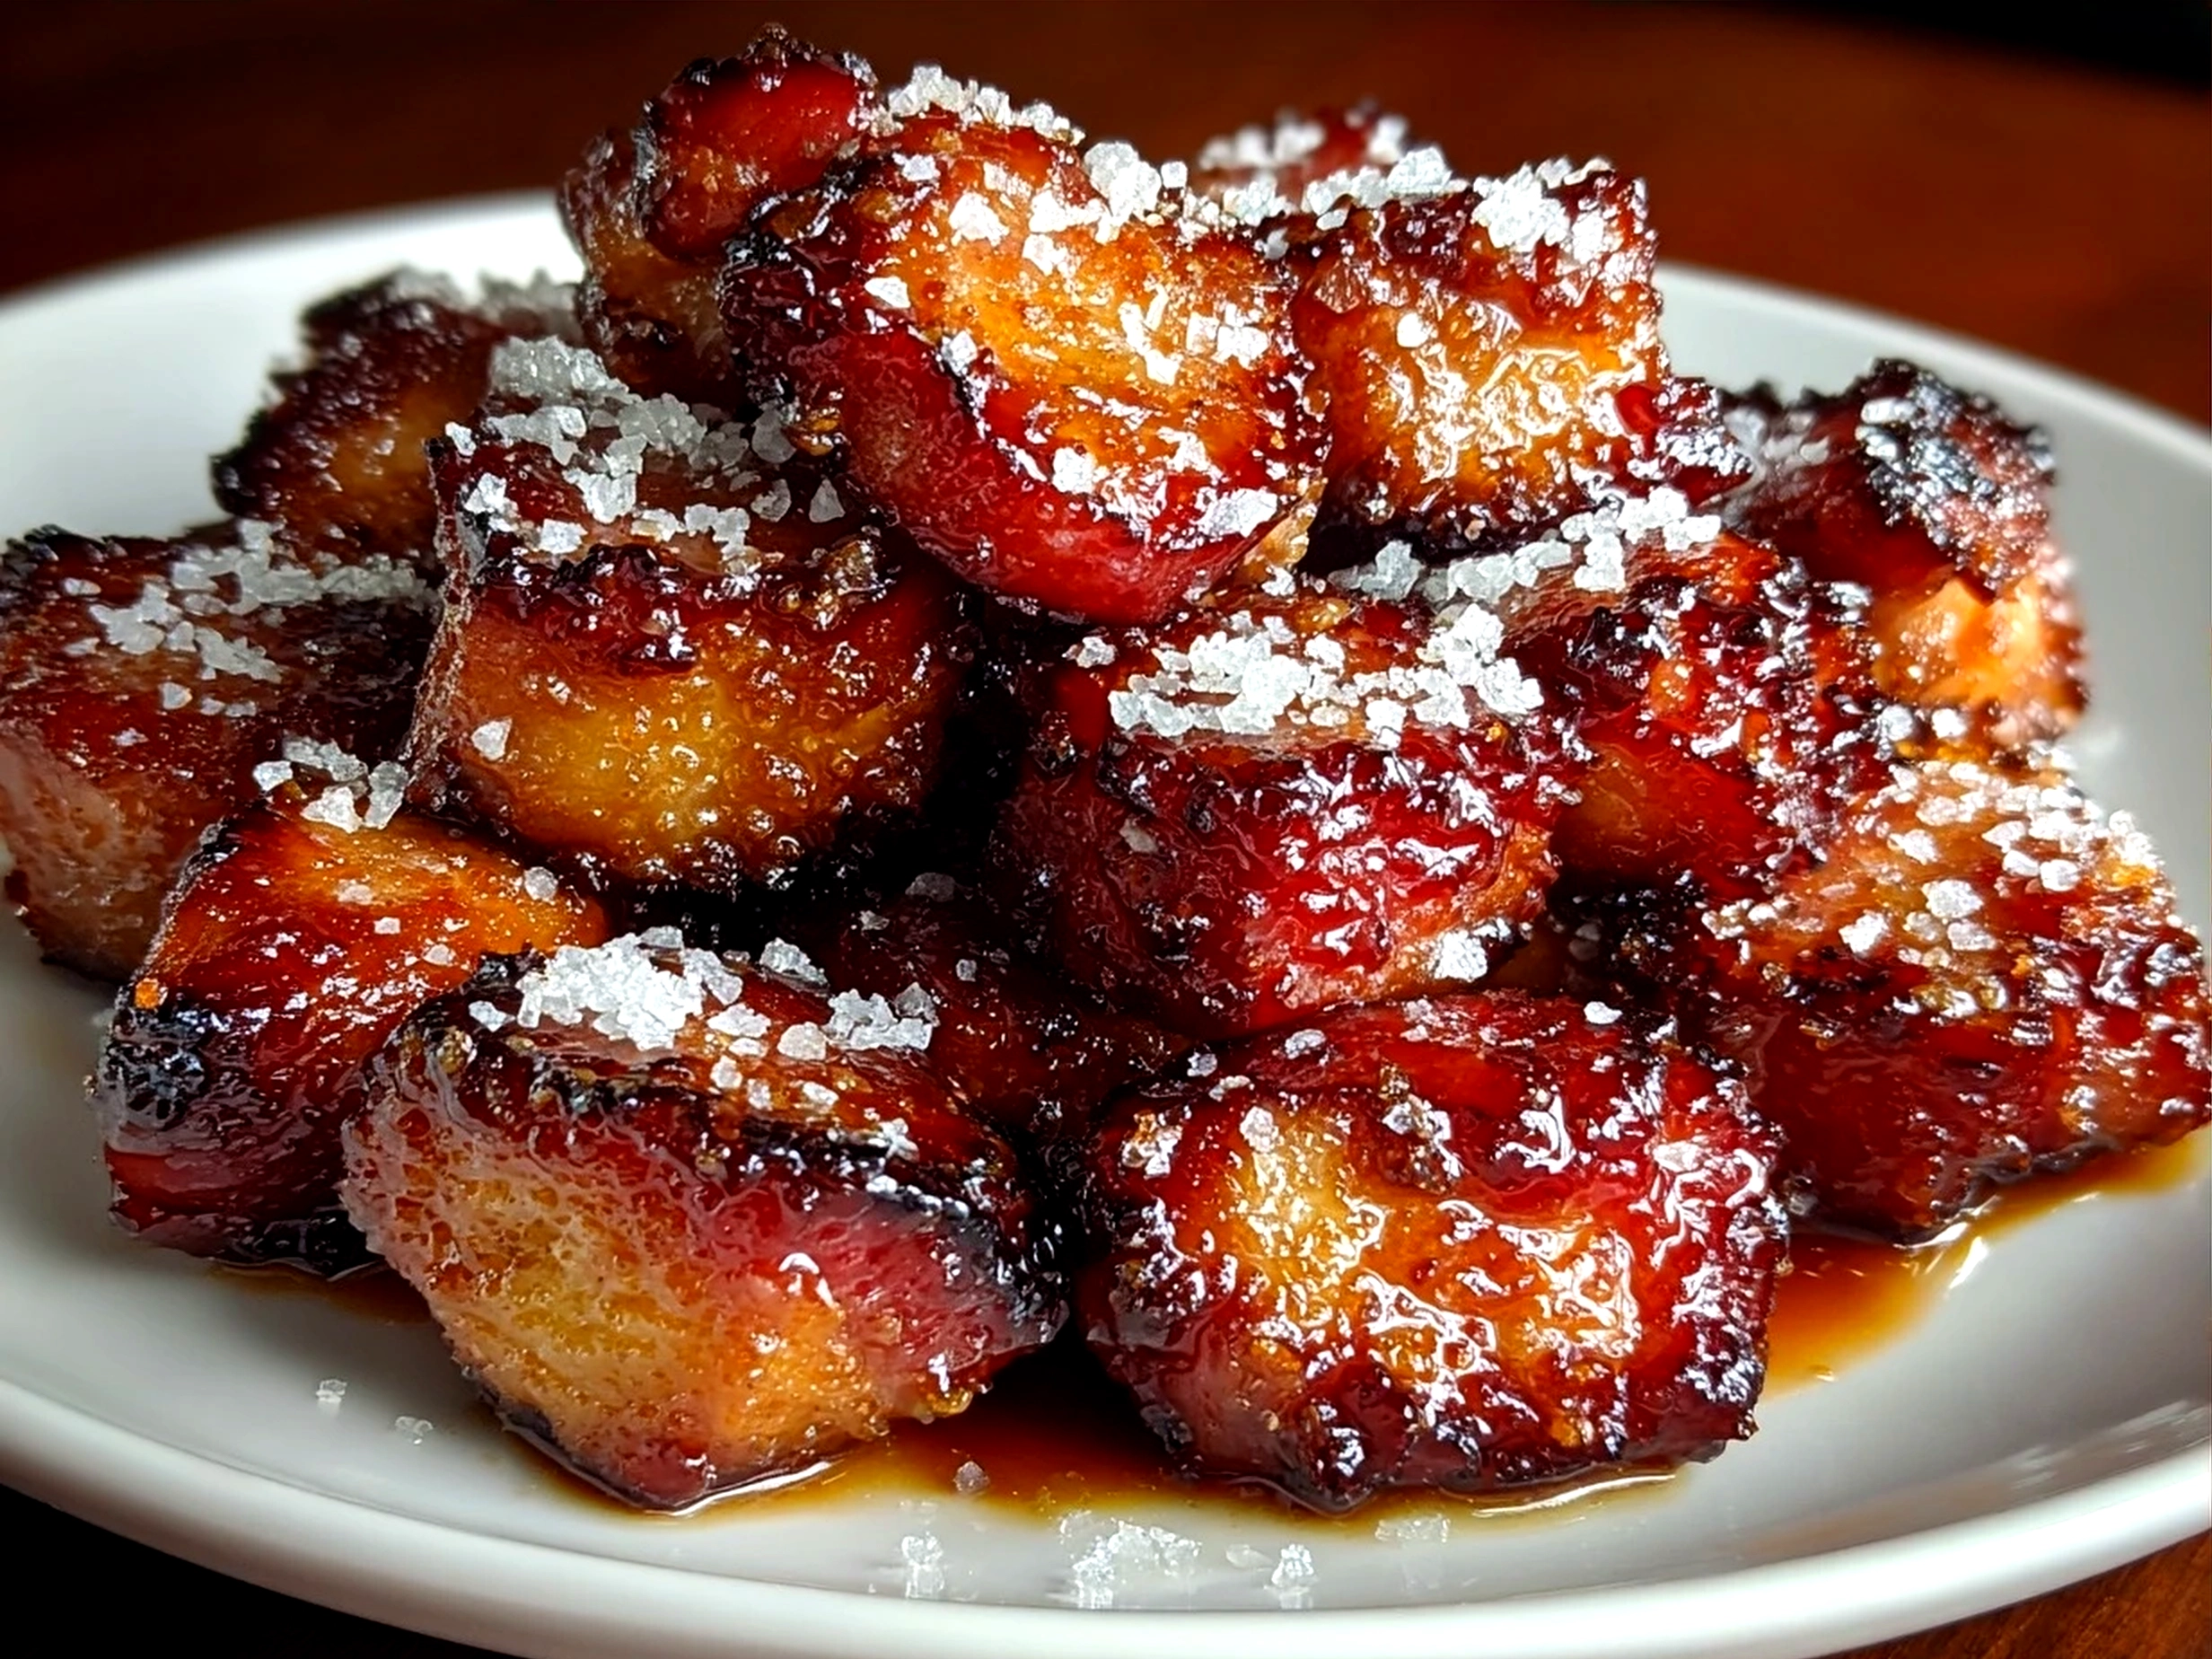
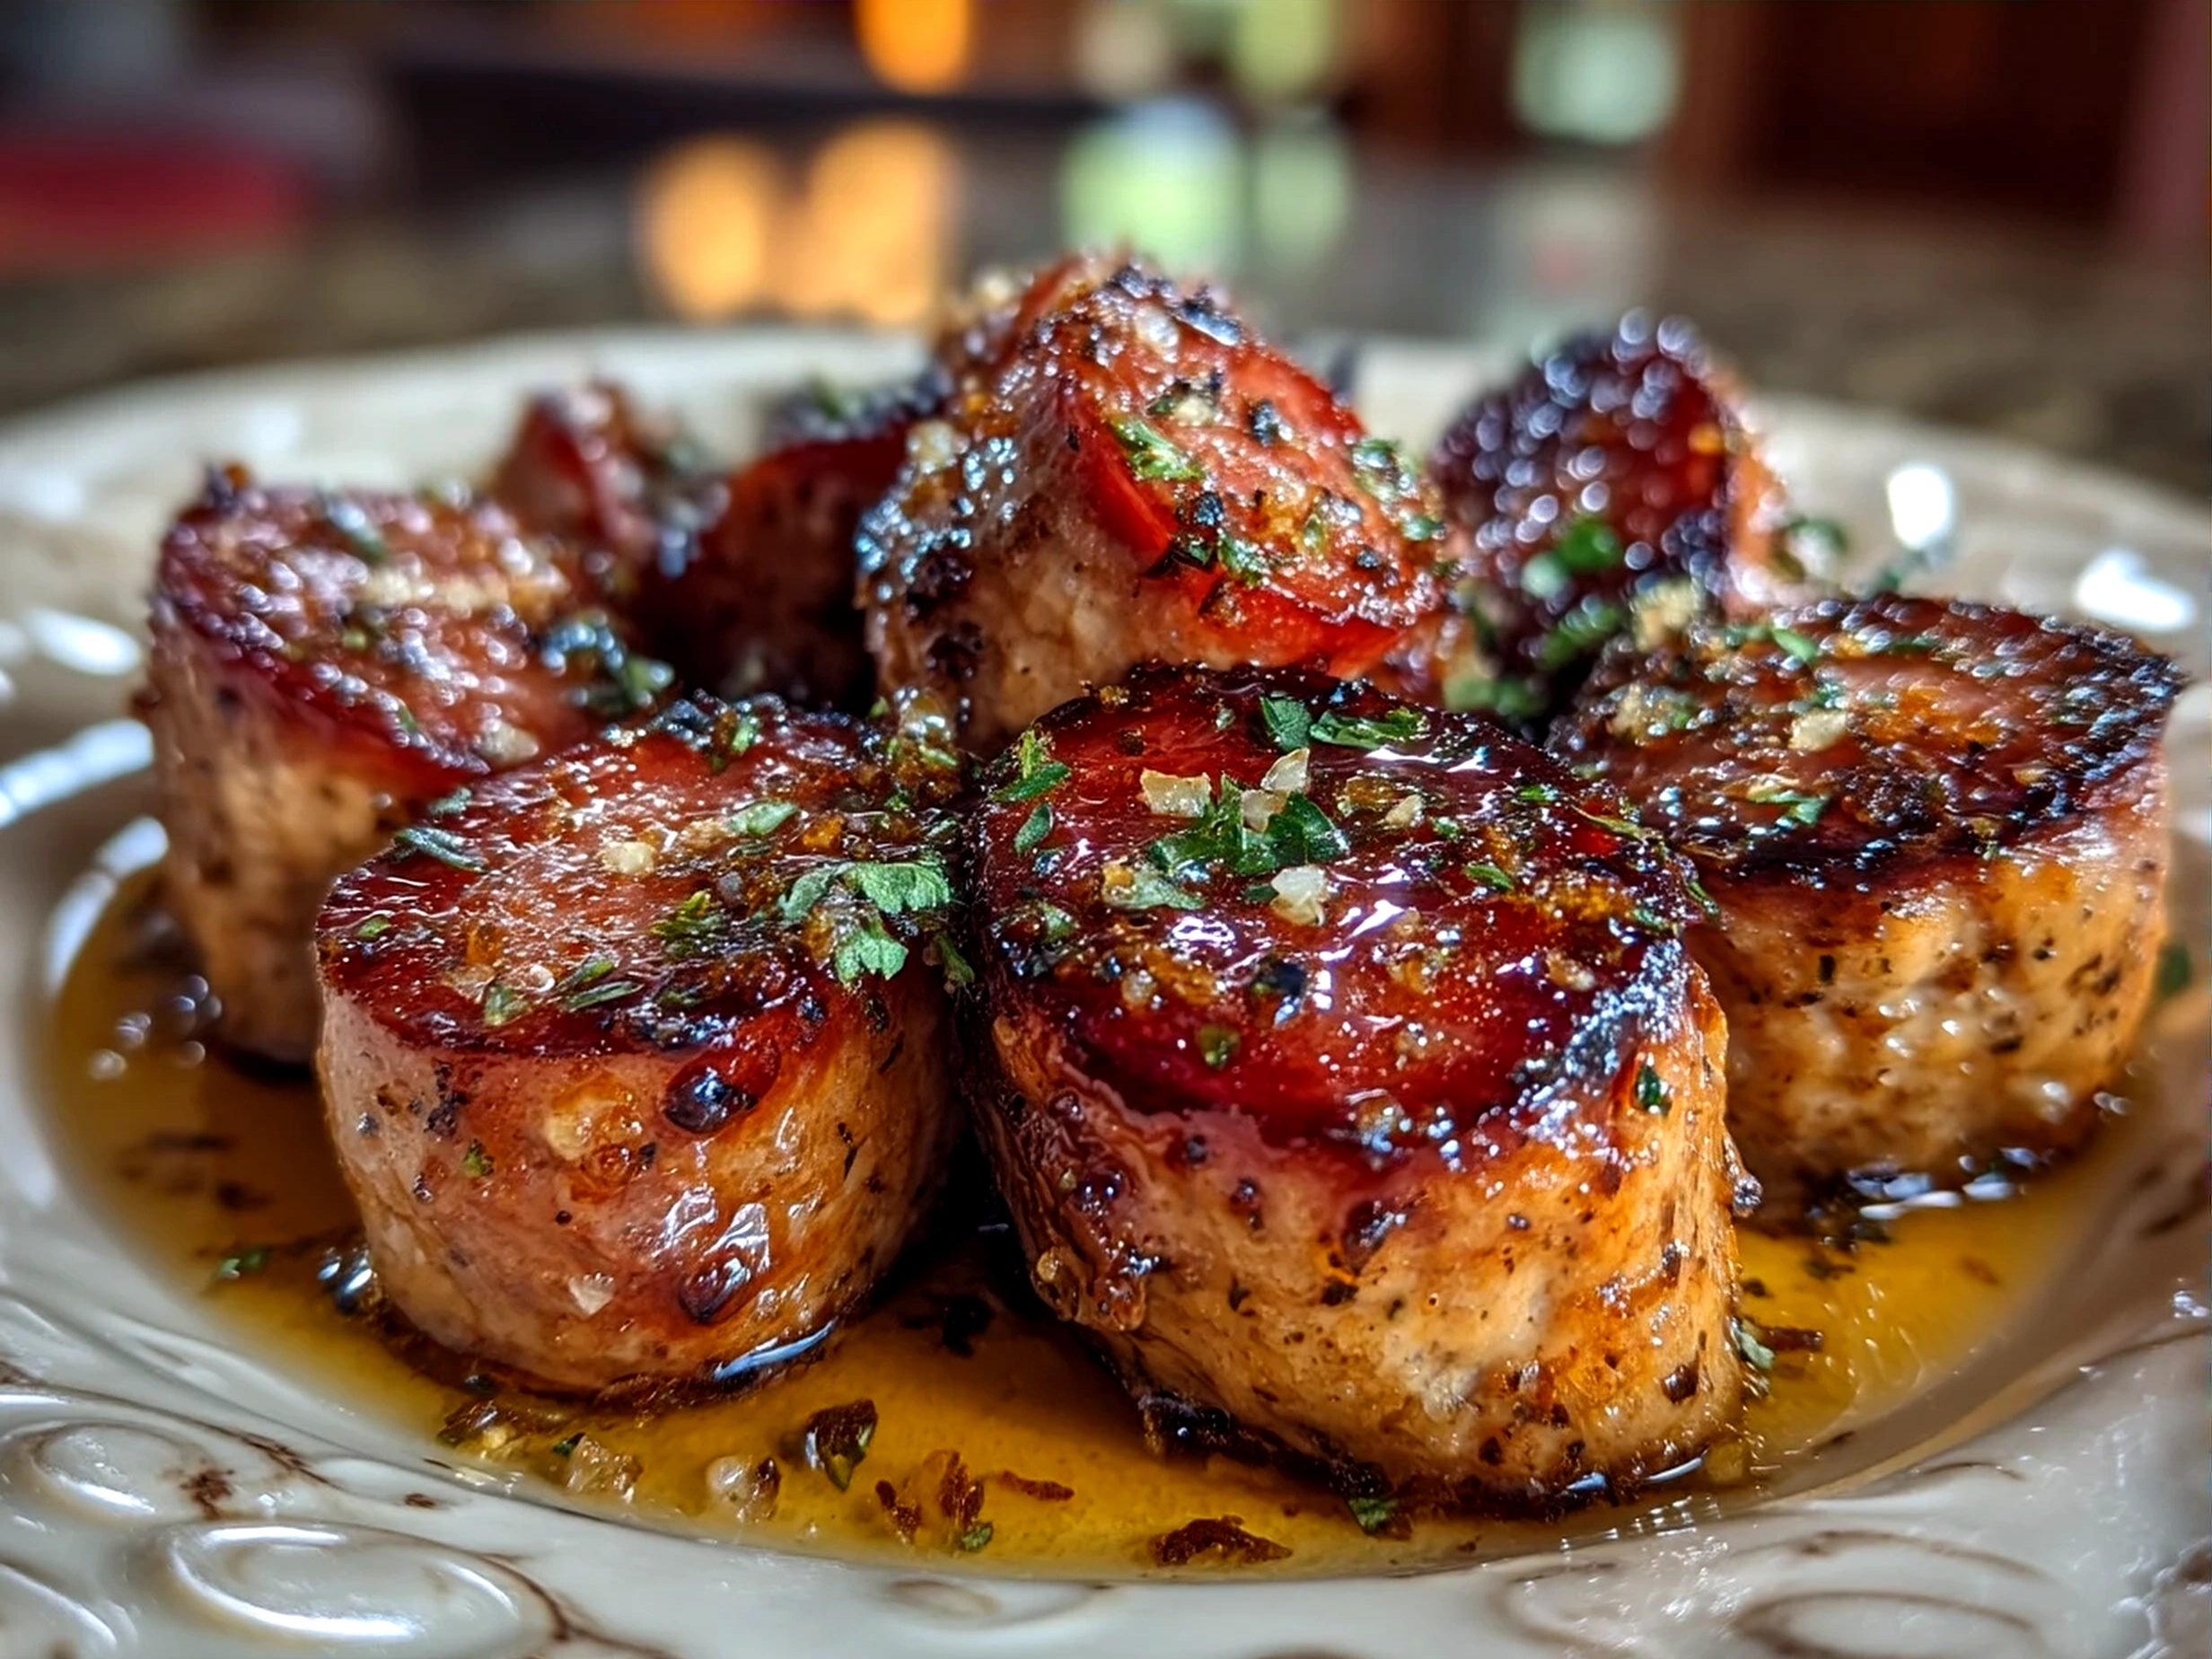
- Once the glaze is thick and sticky, transfer your Candied Kielbasa Bites to a serving plate. The sweet and spicy kielbasa appetizers should be glossy and almost jewel-like in appearance.
- Garnish with chopped parsley if you want a fresh touch.
In my kitchen, Candied Kielbasa Bites usually take about 20 minutes from start to finish—a total win when you’re juggling family mealtime. While they cook, I often set the table or start on a quick side dish, maximizing every minute’s productivity. If you want to skip the stovetop hassle, baking them works too, but for me, the skillet gives the best sticky, glazed sausage bites texture that’s hard to beat. For extra tips on glazed sausage bites techniques and flavor boosts, I’ve found this Bacon Wrapped Kielbasa Bites with Brown Sugar Glaze really inspiring.
No stress if your first batch isn’t Instagram-perfect—you’re mastering a recipe that’s all about comfort, taste, and good times shared. So grab that skillet, and let’s make some sticky, smoky magic with these Candied Kielbasa Bites.
How I Love to Serve This Candied Kielbasa Bites
My family goes absolutely wild when I bring out a platter of Candied Kielbasa Bites. There’s something so festive about these glazed sausage bites—they’re perfect little nibbles that fit into practically any mealtime or celebration. I often serve these sweet and spicy kielbasa appetizers right alongside crisp veggie sticks or a tangy coleslaw to balance the richness.
When entertaining, Candied Kielbasa Bites star as the go-to party snack recipes because they’re easy to pick up and keep your fingers busy without any mess—smoky kielbasa finger foods at their finest! I love arranging mine on a beautiful wooden board sprinkled with fresh parsley and alongside some dipping sauces like creamy mustard or a spicy ranch.
This dish is a staple whenever friends gather for game day or family holiday parties (in fact, I’ve had folks ask if I could bring my Candied Kielbasa Bites every single time!). For those chilly nights, pairing them with a cozy kielbasa potato soup is heavenly—the warm, hearty soup complements the maple glazed sausage bites beautifully, combining flavors and textures that scream comfort food. And if you’re pondering ideas beyond just serving, leftover Candied Kielbasa Bites transform wonderfully into sandwiches, tossed into scrambled eggs, or even chopped into a warm pasta.
My favorite seasonal tweak is swapping out maple syrup for honey with a little extra smoked paprika in the fall—adds a lovely floral warmth. Friends always ask for this Candied Kielbasa Bites recipe because it’s so approachable yet totally impressive on the table. If you haven’t yet, you might also adore these sweet and salty flavors echoed in my candy corn pretzel bites for a fun twist!
Your Candied Kielbasa Bites Questions Answered
I’ve shared my Candied Kielbasa Bites recipe with so many readers and friends, and I’ve gathered quite a few questions and kitchen tales along the way. Let’s address some of those common curiosities:
- Can I make Candied Kielbasa Bites ahead of time? Absolutely! You can make these a few hours ahead and keep them warm in the oven at low heat. I find that storing leftovers in an airtight container in the fridge and reheating in a skillet or microwave works fine, though the glaze might lose a little shine.
- What if I don’t like spicy food? You can easily omit or reduce the cayenne pepper. I’ve made batches without any spice, which works great for kids or guests who prefer a milder maple glazed sausage bites flavor.
- Any tips to avoid the glaze burning? Oh yes! Stir regularly once you add the glaze, and keep the heat on low while simmering. If you notice the glaze darkening too fast, just lower your heat further. If in doubt, check out this helpful glazed sausage bites technique for more tips on temperature control.
- Can I bake instead of stove-cooking Candied Kielbasa Bites? You can! Lay the slices on a parchment-lined baking sheet, brush with the glaze, and bake at 375°F for 15-20 minutes, flipping halfway. It’s less hands-on but doesn’t get quite as caramelized as skillet cooking.
- What pairs well with Candied Kielbasa Bites? Besides sides like coleslaw, roasted veggies, or creamy potato salad, I love to serve these alongside my homemade fried brie bites for a well-rounded party platter. You can see how, in my fried brie bites post, simple yet flavorful snacks bring a party together.
- Are there great alternative glazes? Definitely! Some readers love a barbecue sauce base mixed with brown sugar for a smoky-sweet twist, others add a splash of bourbon for depth.
- Can you freeze Candied Kielbasa Bites? Sure can. Freeze them in a single layer before transferring to a bag or container. Reheat in the oven or skillet for best texture. Just be aware the glaze might be a bit softer post-freezing.
You know what I do when my Candied Kielbasa Bites are running low? I whip up another batch using quick shortcuts, because these smoky kielbasa finger foods get devoured fast. Don’t hesitate to adjust spice levels or try new glazes—this recipe is all about making it your own! Readers often tell me their families love these variations best, and that’s the fun of sharing party snack recipes, right? Oh, and if you want some inspiration for quick, easy glazed sausage bites, I highly recommend checking out this simple 3-ingredient kielbasa appetizer for ideas.
My Final Thoughts on This Candied Kielbasa Bites
Candied Kielbasa Bites hold a special place in my kitchen and in our family gatherings—there’s something about how that sticky, sweet glaze melts into smoky sausage slices that instantly feels like home. These glazed sausage bites aren’t just a snack; they’re a little celebration wrapped up in maple and spice, perfect for busy nights and lively parties alike. Over the years, I’ve tried so many versions, but three variations stand out: adding a splash of bourbon to the glaze for an adult twist, substituting honey instead of maple syrup for a more floral note, and doubling down on spice with extra cayenne and smoked paprika for those who love it hot. My kids adore the milder maple glazed sausage bites, while my husband prefers the smoky, spicy versions—proof this recipe really suits all tastes.
Candied Kielbasa Bites Pro Tips:
- Always slice your kielbasa evenly to ensure perfect caramelization.
- Lower your heat as soon as you add the glaze to avoid burning.
- Make extra glaze—you’ll want to drizzle more on your plate for dipping!
If you love these Candied Kielbasa Bites, be sure to also check out my cozy kielbasa potato soup recipe for another crowd-pleaser featuring that smoky sausage flavor. And for a truly indulgent snack experience, my fried brie bites pair amazingly with them on any party platter.
I hope you enjoy making these Candied Kielbasa Bites as much as my family and I do—snack time is always better when the flavors are this good and the prep is this simple. Remember, don’t stress the little kitchen hiccups, and feel free to make these glazed sausage bites your own special tradition. Happy cooking, my friend!
Candied Kielbasa Bites

Sweet and savory Candied Kielbasa Bites are the perfect appetizer featuring smoky kielbasa pieces glazed with a sticky, flavorful brown sugar glaze.
- Prep Time: 10 minutes
- Cook Time: 15 minutes
- Total Time: 25 minutes
- Yield: 4 servings
- Category: Snack
- Method: Skillet
- Cuisine: American
Ingredients
- 1 pound kielbasa sausage, sliced into 1/2-inch pieces
- 1/2 cup brown sugar
- 2 tablespoons Dijon mustard
- 1 tablespoon apple cider vinegar
- 1 tablespoon olive oil
- 1/4 teaspoon black pepper
Instructions
- In a large skillet, heat olive oil over medium heat.
- Add sliced kielbasa and cook for 5-7 minutes until browned on all sides.
- In a small bowl, mix brown sugar, Dijon mustard, apple cider vinegar, and black pepper until combined.
- Pour the glaze mixture over the kielbasa in the skillet and stir to coat evenly.
- Cook for an additional 3-5 minutes, stirring occasionally, until the glaze is sticky and caramelized.
- Remove from heat and serve warm as an appetizer or snack.
Notes
For extra flavor, sprinkle chopped fresh parsley or serve with a side of spicy mustard for dipping.