
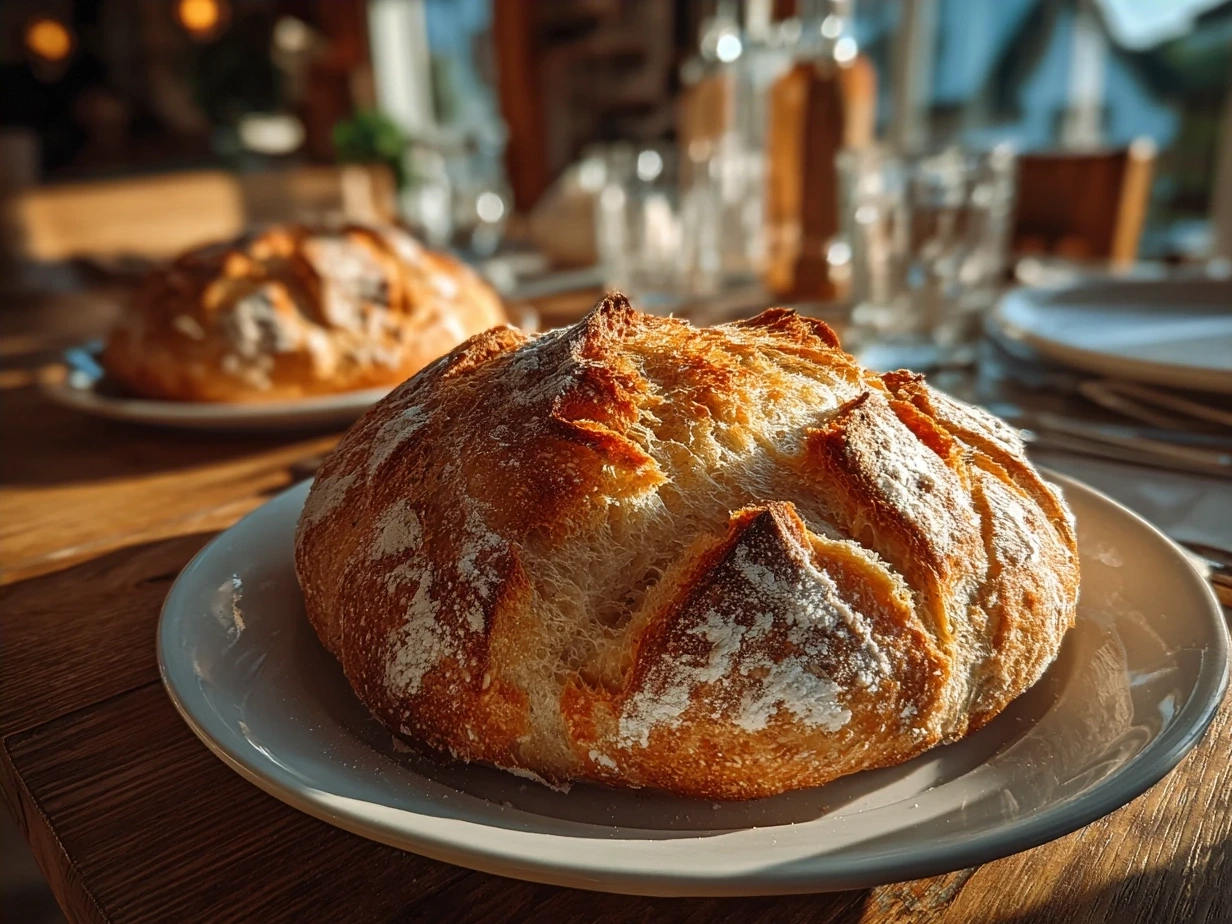
Ah, sourdough bread — just saying those words brings back a flood of warm kitchen memories for me. The first time I really fell in love with baking sourdough bread was a bit of a happy accident, honestly. I remember it was a damp Saturday morning, and I was fumbling with this mysterious starter culture that I’d tried keeping alive for weeks. There’s something magical about waiting for that wild yeast to bubble and come alive — like having a little living thing helping you create that perfect artisan bread.
Sourdough bread quickly became a staple in our home. My kids, who normally think of bread as just “bread,” began to notice the difference — the tangy flavor, the chewy crust, the way it made sandwiches and toast somehow taste like a little celebration. My husband loves it toasted with butter and jam, while I adore it as part of a sandwich loaded with fresh greens and turkey.
I won’t lie, sourdough bread has given me my fair share of kitchen challenges. The slow fermentation process means you have to be a bit patient, and sometimes that starter culture can be a moody little thing. But the “aha” moments — like when I nailed a perfectly blistered crust or when the crumb was just right — made all the early mishaps fade away. Plus, it fits surprisingly well into our busy lives because even though it’s a slow bread, most of the time you’re just letting that fermented dough rest and develop flavor, which frees me up to do other things around the house.
If you’re wondering where to start with sourdough bread, or you’ve tried and felt like you just can’t quite get it right, I totally get it! But I’m here to share everything I’ve learned — the tricks, the fun mishaps, the recipes that became family favorites. And maybe some good stories too, because what’s cooking without a little heart?
And oh — if you’re curious about sourdough bread variations, you will want to peek at my pumpkin zucchini bread and persimmon bread recipes like this ginger persimmon bread, which use similar slow fermentation techniques but with delightful twists.
Trust me, once you get hooked on sourdough bread, it’s not just bread — it’s a little journey you share with your family and your kitchen. Ready to roll up your sleeves and join me in making this delicious, nourishing bread?
What You’ll Need for This Sourdough Bread
Before we get our hands floury, let’s gather everything we’ll need for this lovely sourdough bread. I always say, the secret starts with a good starter culture — that wild yeast living in your fermented dough is the heart of the recipe and what gives sourdough bread its iconic tang and chew.
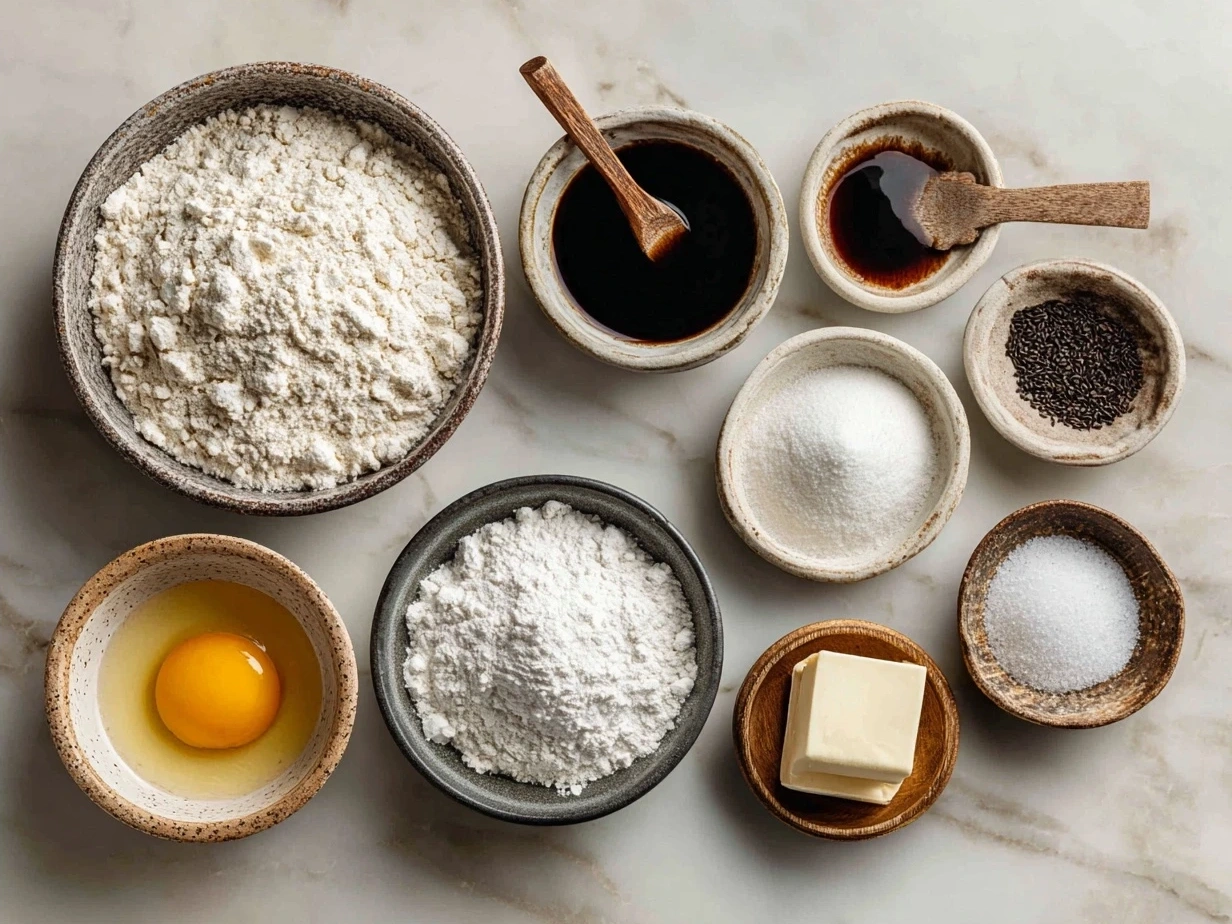
Here’s my trusted list for sourdough bread:
- 1 cup (240g) active sourdough starter culture – I use a bubbly, well-fed starter that’s been resting at room temperature for 4-6 hours before baking.
- 3 1/2 cups (420g) bread flour – High-protein flour gives that nice structure to the artisan bread.
- 1 1/2 tsp salt – Always essential to bring out the sourdough bread’s flavor.
- 1 1/4 cups (300ml) water, lukewarm – Helps the fermentation process thrive without shocking your wild yeast.
When making sourdough bread, you can find great-quality bread flour at your local health food store or a well-stocked supermarket’s baking aisle. I’ve also learned that investing in organic flour affects the bread’s taste — it’s just a bit richer and more flavorful, but if you’re budget-conscious, regular bread flour works just fine. And while we’re talking budget, remember you get a lot of bang for your buck because that starter culture is reusable and lasts indefinitely with the right care.
A sourdough bread trick I learned is to always keep some of your starter culture in the fridge between bakes — it helps save time and work on feeding it fresh flour less often. Plus, if you have leftover sourdough bread ingredients like wild yeast or starter culture, store them in airtight containers so they stay fresh and active for your next baking session.
For busy families, a shortcut I swear by is prepping the starter culture the night before and letting the slow fermentation do its magic while I sleep or go about my day — makes the whole bread-making process feel way more manageable.
If you want to see how sourdough bread plays nicely with seasonal ingredients, check out my persimmon bread recipe where I take that slow fermentation technique and add some fruity warmth for a fall twist.
Let’s Make This Sourdough Bread Together
Alright, girlfriend, kitchen buddy, let’s roll up those sleeves and dive right into making this delicious sourdough bread! Don’t worry if your sourdough bread looks a bit rustic or if your starter culture bubbles unevenly — I’ve been there and trust me, you’ll get the hang of it with time. Let’s go step by step.
- Feed your starter culture. About 4-6 hours before you want to bake your sourdough bread, take your stored starter culture, discard half, and feed it with equal parts flour and lukewarm water. This wakes up the wild yeast for a good rise.
- Mix the dough. In a large bowl, combine your active starter culture with the lukewarm water, stirring gently. Add in the bread flour and salt, then mix until all ingredients form a shaggy dough. This is your fermented dough beginning its slow fermentation.
- Autolyse and rest. Cover the dough loosely and let it rest for about 30-45 minutes. This slow fermentation step lets the flour hydrate properly, improving the crumb of your artisan bread.
- Stretch and fold. Over the next 2-3 hours, every 30 minutes, gently stretch and fold the dough inside the bowl. This strengthens the gluten and helps develop the structure without kneading. If your dough feels sticky, no worries — it’s supposed to be a bit loose.
- Bulk fermentation. After the last fold, cover the bowl and let the dough rise at room temperature until it’s doubled in size, usually about 4-6 hours depending on your room temp. Watch how the wild yeast makes the dough grow — it’s so satisfying!
- Shape your loaf. Turn the dough onto a lightly floured surface, shape it gently into a round or oval loaf. Be careful not to deflate it completely — preserving the air pockets from fermentation is key to a light crumb.
- Final proof. Place your shaped dough into a floured banneton or bowl lined with a tea towel, seam-side up, and cover it for the final slow fermentation. Pop it into the fridge overnight or leave it for 2-3 hours at room temp to get that great flavor depth.
- Preheat your oven. About 30 minutes before baking, preheat your oven to 475°F (245°C). If you have a Dutch oven or heavy cast-iron pot, place it inside to heat up — it creates steam that’s essential for that beautiful crust.
- Score and bake. Remove the dough from the fridge, carefully flip onto parchment paper, score the top with a sharp knife or razor to help it expand, then place it inside your hot Dutch oven. Bake covered for 20 minutes, then remove the lid and bake for another 20-25 minutes until golden brown.
In my kitchen, sourdough bread usually takes a full day from start to finish, but most of that is just letting the fermented dough work its magic with the wild yeast and starter culture. While the bread is baking, I often tidy up or start prepping dinner — the smell of baking sourdough bread always makes me smile and feel like home.
If you’re wondering about specific sourdough bread techniques, I recommend this great article on troubleshooting sourdough bread and FODMAPs — it helped me understand the science behind fermentation even better.
Oh, and if you need a little visual encouragement, the beautiful crusts on this Sourdough bread review from Suchali Bakehouse got me hooked on aiming for that perfect char, which you can read more about here on Instagram.
How I Love to Serve This Sourdough Bread
Here’s where the fun really begins — how we enjoy our sourdough bread as a family! My kids love when I slice it thick and toast it with a smear of butter and a drizzle of honey or their favorite jam. The tangy chewiness of sourdough bread pairs beautifully with sweet and creamy accompaniments. For dinner, I often serve it alongside soups or stews — it’s perfect for dipping into rich broths and sauces.
One of my go-to side dishes when serving sourdough bread is a fresh green salad with crisp apples and walnuts. The contrast of flavors and textures makes for a light but satisfying meal — something I’ve learned resonates well with my family’s taste buds.
This sourdough bread is perfect for weekend brunches, simple suppers after a long day, or even a casual gathering where friends always ask for this sourdough bread recipe because the crust and crumb are just that good. For holiday meals, it’s fun to add seasonal twists — try a pumpkin version inspired by my pumpkin zucchini bread that uses fermented dough to develop deep flavors and lovely texture.
For presentation, I love serving slices of warm sourdough bread in a basket lined with a linen napkin — it feels homely and welcoming. And if you have extra sourdough bread, don’t toss it! Leftover slices toasted with a little garlic butter make fantastic croutons for salads or soups.
Friends always ask what makes my sourdough bread stand out, and honestly, it’s that slow fermentation and tender care I put into nurturing the starter culture and letting the wild yeast and fermented dough do their thing over time. The result? Artisan bread that tastes like it took a little labor of love — because it did.
Your Sourdough Bread Questions Answered
I get so many sweet questions from readers and friends about sourdough bread, so let’s dive in and chat through some of the most common ones. I want you to feel comfortable and excited to bake your own artisan bread without self-doubt!
Q: How do I know if my starter culture is active enough to make sourdough bread?
A: A lively starter culture should double in size and be bubbly within 4-6 hours after feeding. I learned the hard way that using sleepy starter leads to dense sourdough bread. If it smells pleasantly sour and has bubbles on top, it’s ready!
Q: Can I speed up the slow fermentation process?
A: I used to be impatient, believe me. While you can increase room temperature slightly to speed things up, slow fermentation is what gives sourdough bread its flavor and texture. I recommend planning ahead and letting the dough rest overnight in the fridge — it’s a game changer.
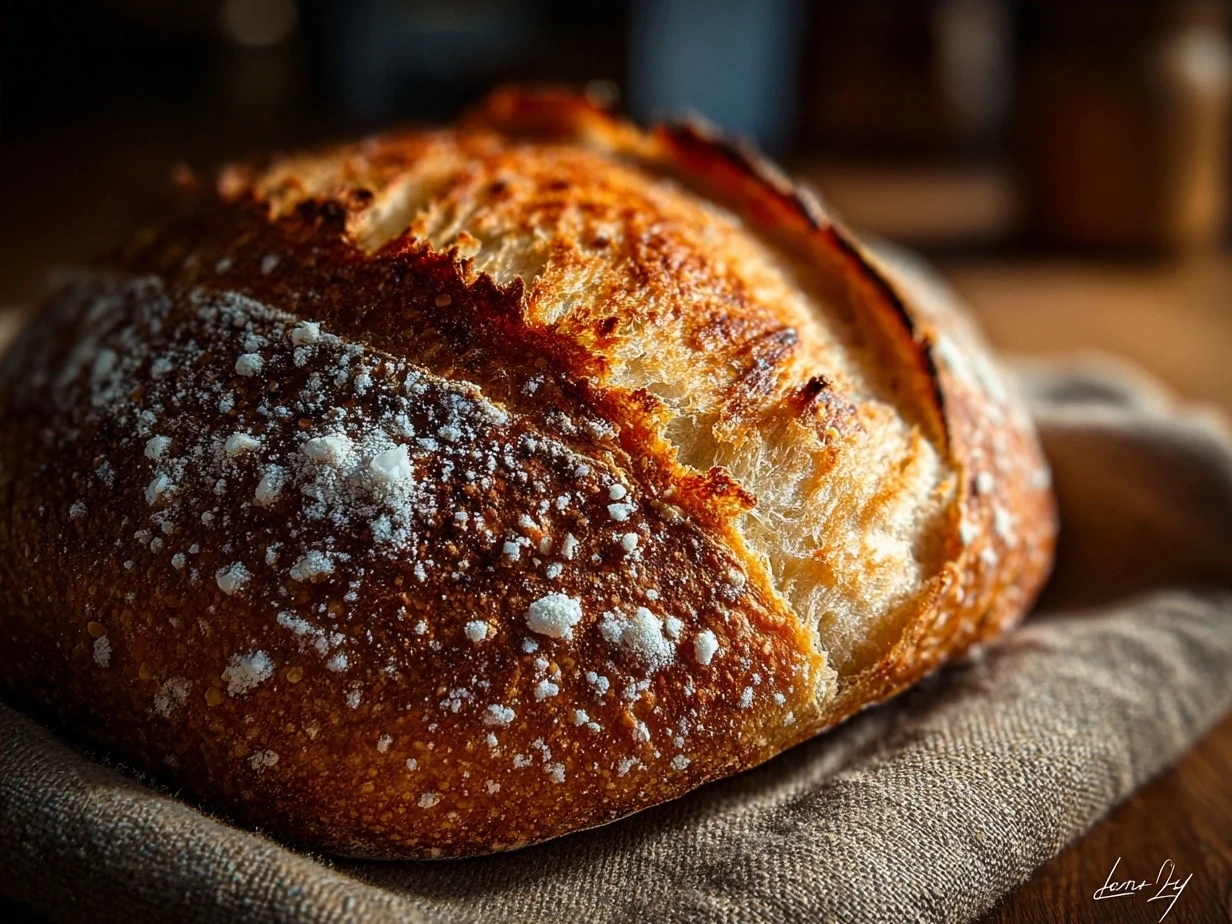
Q: My sourdough bread crust is too hard, what am I doing wrong?
A: Crust texture depends on baking temperature and steam. Covering the loaf during the first part of baking (like in a Dutch oven) traps steam and softens crust development early, then finishing with high heat creates that perfect crust. Don’t skip this step.
Q: Can I use whole wheat flour to make sourdough bread?
A: Absolutely! Whole wheat adds more flavor and nutrition, but you may need to adjust hydration slightly since whole wheat flours absorb more water. I often mix bread flour and whole wheat flour for a balanced artisan bread.
Q: How do I store leftover sourdough bread?
A: I like to keep mine in a paper bag at room temp for 2-3 days — this keeps the crust crispy. For longer storage, slice and freeze it, then toast directly from the freezer.
Q: What’s the difference between sourdough bread and other yeast breads?
A: The key difference is the wild yeast and starter culture in sourdough bread, which causes a slow fermentation. This slow fermentation not only creates a complex flavor but also makes it easier to digest.
Q: Any tips for troubleshooting dense sourdough bread?
A: Make sure your starter culture is bubbly and active, don’t skip the stretch and fold steps for gluten development, and give the dough enough bulk fermentation time to rise fully.
Feel free to peek at this Sourdough bread review from Suchali Bakehouse to get extra inspiration on perfecting your crust, and Kate Scarlata’s blog offers excellent tips on digestion and yeast health.
My Final Thoughts on This Sourdough Bread
I can honestly say this sourdough bread recipe holds a special place in my heart — it represents patient crafting, family warmth, and the joy of making something homemade and nourishing from just a few simple ingredients and a starter culture teeming with wild yeast. Every loaf feels like a little miracle, rising slowly with the care of slow fermentation, and creating artisan bread that my family loves biting into again and again.
My sourdough bread Pro Tips:
- Always keep your starter culture happy by feeding it regularly and storing it properly.
- Don’t rush the fermentation — slow is your friend for flavor and texture.
- Use a Dutch oven or heavy pot to bake sourdough bread for that signature crust and oven spring.
Over the years, I’ve tried variations like mixing in herbs or using whole wheat for a nuttier twist, and my daughter swears by a cinnamon-sugar swirl sourdough bread we made last fall — so fun! My husband prefers the classic tangy loaf plain with butter, and I’m always experimenting with seasonal spins like in my pumpkin zucchini or ginger persimmon bread recipes.
I truly hope you give this sourdough bread a go, make it your own, and find as much joy in the process as I do. Remember, every loaf carries a bit of your kitchen’s story, so embrace the imperfections and savor those little kitchen triumphs. Happy baking, my friend!
If you want more inspiration, don’t forget to check out my seasonal bread recipes here: pumpkin zucchini bread and persimmon bread.
There you have it — my all-time favorite sourdough bread approach, sharing all the love, tips, and stories that make this pantry staple truly special. Can’t wait to hear about your sourdough bread adventures!
sourdough bread

A naturally fermented, tangy sourdough bread with a crisp crust and chewy crumb, perfect for artisanal sandwiches and toasting.
- Prep Time: 20 minutes
- Cook Time: 45 minutes
- Total Time: 12 hours
- Yield: 1 loaf
- Category: Dinner
- Method: Baked
- Cuisine: American
Ingredients
- 500g bread flour
- 350ml water, lukewarm
- 100g active sourdough starter
- 10g salt
Instructions
- In a large bowl, mix the bread flour and water until just combined; cover and rest for 1 hour.
- Add the sourdough starter and salt to the dough; mix thoroughly until well incorporated.
- Perform a series of stretch and folds every 30 minutes for 2 hours to develop gluten.
- Cover the dough and let it ferment at room temperature for 4–6 hours until doubled in size.
- Shape the dough into a round loaf and place it in a floured banneton or bowl; cover and refrigerate overnight.
- Preheat the oven to 250°C (480°F) with a Dutch oven inside for at least 30 minutes.
- Carefully transfer the dough to parchment paper, score the top, and place it into the hot Dutch oven.
- Bake covered for 20 minutes, then remove the lid and bake for another 20–25 minutes until golden brown.
- Cool on a wire rack before slicing to set the crumb.
Notes
For a crispier crust, mist the oven with water before baking or bake on a heated baking stone without a lid.