
Oh honey, pull up a chair, grab a mug of coffee or maybe some warm cider, and let’s just chat for a bit. You know how much I adore sharing recipes that bring a little extra warmth and joy into our homes, especially those that whisper sweet memories into existence. Today, I’m absolutely giddy to tell you all about my journey with homemade graham crackers. Seriously, if you’ve only ever known the store-bought kind – and trust me, there’s no shame in that, we’ve all been there – then get ready for a game-changer.
My love affair with homemade graham crackers started, as many good things do, with a slightly disastrous attempt at a backyard bonfire and s’mores night. The kids, bless their hearts, were all sticky faces and hopeful eyes, clutching their marshmallows. But as I crunched into a s’more, I couldn’t help but think, “This could be better.” The store-bought crackers were fine, but they lacked a certain something – a depth, a tenderness, that true whole-grain goodness that just screams ‘homemade’.
That “aha” moment hit me like a spark from the fire pit: why not make them myself? I mean, I bake bread, I whip up all sorts of goodies, how hard could a crispy baked snack be? Turns out, my first batch of DIY graham crackers was, shall we say, a bit… hockey puck-like. Hard, dense, and frankly, not very enjoyable. My eldest, bless her brutal honesty, said, “Mom, these taste like a really tough cookie.” But I’m not one to back down from a kitchen challenge!
That little mishap fueled my determination. I spent weeks experimenting, tweaking ratios, trying different flours, and playing with honey levels. It became a personal mission to create the perfect whole wheat honey crackers. And when I finally nailed it, that smell, oh that smell! A warm, comforting blend of honey, cinnamon, and toasted wheat filled my kitchen, promising something truly special.
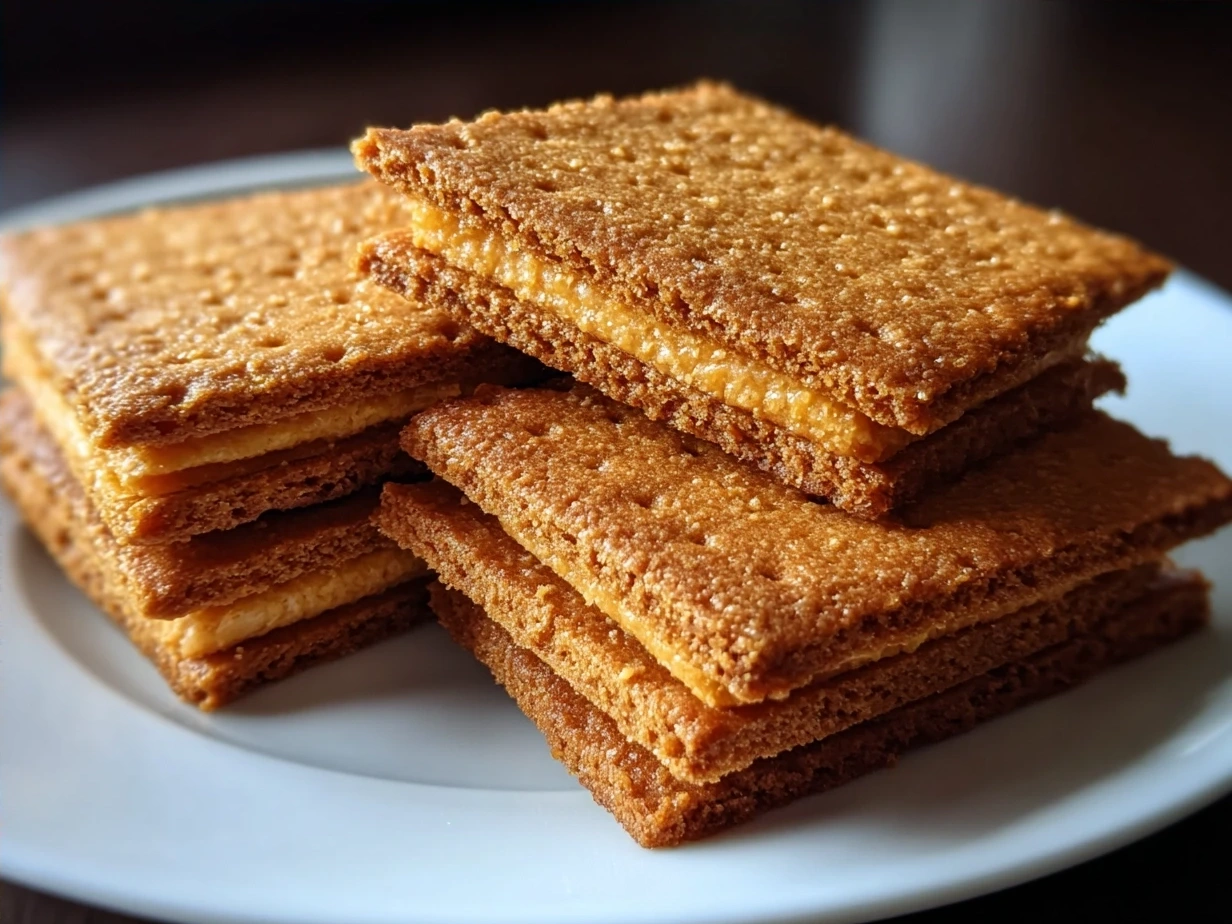
The kids, who had been skeptical after the “hockey puck” incident, lined up like little birds waiting for a treat. One bite, and it was pure bliss – crisp, slightly sweet, with that unmistakable earthy warmth of whole wheat. From that day on, these homemade graham crackers became a staple, not just for s’mores, but for snack time, lunchboxes, and even as a quick grab-and-go with some fruit.
It truly fits into our busy family life because I can make a big batch on the weekend and store them. It’s my little way of adding a touch of nourished, joyful goodness to our everyday, and I just know you’re going to adore them too. So, are you ready to embark on this delicious adventure with me? I promise, it’s worth every single moment!
What You’ll Need for This homemade graham crackers
Alright, friend, let’s talk ingredients! One of the things I love most about making homemade graham crackers is that the ingredient list is pretty straightforward. You likely have most of these in your pantry already, which is always a bonus when you’re trying to get a delicious treat on the table without a last-minute grocery run. Here’s what you’ll need to create these wonderful natural sweet biscuits:
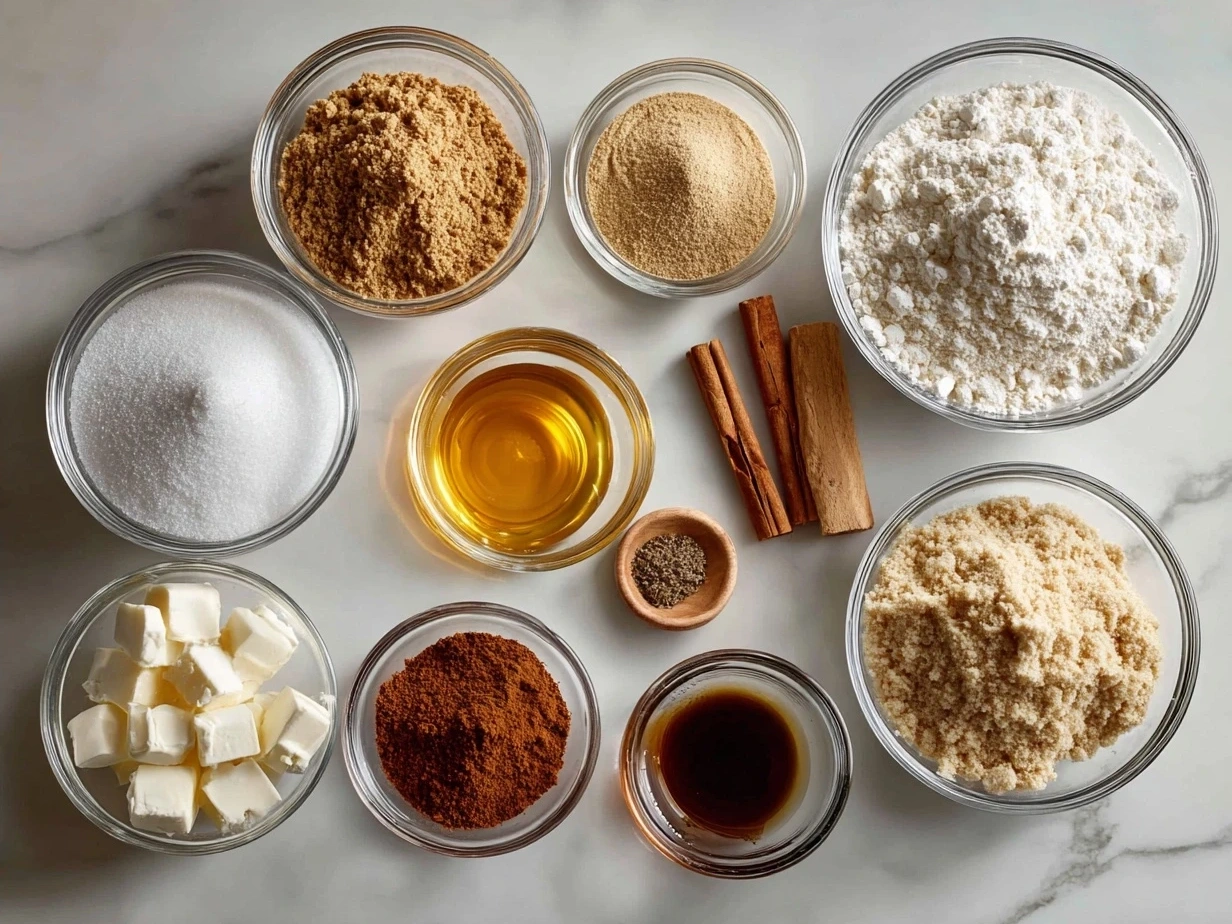
For Your Perfect homemade graham crackers:
- 2 cups (240g) whole wheat flour: This is the heart of our whole wheat honey crackers. Don’t skimp on this! It gives them that classic, earthy flavor and texture.
- 1 cup (120g) all-purpose flour: Just a bit of white flour helps lighten the texture, giving us that perfect snap without being too dense.
- ½ cup (100g) packed light brown sugar: For that deep, caramel-y sweetness.
- 1 teaspoon baking soda: Our leavening agent, helping them rise just so.
- ½ teaspoon salt: Balances the sweetness and brings out all the flavors.
- 1 teaspoon ground cinnamon: Absolutely essential for that warm, cozy graham cracker flavor.
- ½ cup (113g) unsalted butter, cold and cubed: Cold butter is key here for flaky, tender results.
- ½ cup (170g) honey: The star sweetener! I always go for a good quality local honey for my homemade graham crackers; it makes such a difference in flavor.
- ¼ cup (60ml) milk (any kind): Just enough liquid to bring the dough together.
- 1 teaspoon vanilla extract: A little extra warmth and aroma.
When making homemade graham crackers, you can usually find quality whole wheat flour at any major grocery store. Sometimes I like to splurge on organic stone-ground whole wheat flour from a specialty market – it has an amazing flavor. Here’s a homemade graham crackers trick I learned the hard way: make sure your cinnamon is fresh! Old, stale spices lose their potency, and you won’t get that wonderful aromatic kick. Give it a sniff; if it doesn’t smell vibrant, it’s time for a new jar.
For busy families like ours, I sometimes pre-measure the dry ingredients into a container the night before. Then, the next day, it’s just a matter of adding the wet ingredients and butter. It saves a good 10-15 minutes, which, let’s be honest, is golden when you have little ones tugging at your apron strings! Cost-saving tip: buying your whole wheat flour and honey in bulk can often be more economical in the long run, especially if you plan on making these DIY graham crackers often (which I’m betting you will!). And don’t worry about leftover ingredients; flour stores well in an airtight container, and honey practically lasts forever!
Let’s Make This homemade graham crackers Together
Alright, my dear friend, apron on, sleeves rolled up? Perfect! Let’s get to the fun part: making these incredible homemade graham crackers. This process is surprisingly therapeutic, and before you know it, your kitchen will smell absolutely divine.
- Whisk the Dry Ingredients: In a large bowl, combine your whole wheat flour, all-purpose flour, light brown sugar, baking soda, salt, and ground cinnamon. Give it a good whisk until everything is evenly combined. We want all those lovely flavors distributed perfectly throughout our future crispy baked snacks.
- Cut in the Butter: Now, add your cold, cubed unsalted butter to the dry ingredients. Use a pastry blender, two knives, or even your fingertips (just work quickly so the butter doesn’t get too warm!) to cut the butter into the flour mixture. You’re looking for pea-sized crumbs, maybe a few slightly larger. This step is crucial for that tender, flaky texture that makes homemade graham crackers so irresistible. I learned the hard way with homemade graham crackers that if your butter is too warm or you overwork it, the crackers can end up tough.
- Mix in the Wet Ingredients: In a separate small bowl, whisk together the honey, milk, and vanilla extract. Pour this wet mixture into your dry ingredients.
- Form the Dough: Using a wooden spoon or your hands, mix until a shaggy dough forms. Don’t worry if your homemade graham crackers dough looks a bit dry at first. Continue to gently knead it in the bowl for just a minute or two until it comes together into a cohesive ball. Be careful not to overmix! Overworking the dough can develop the gluten too much, leading to tough crackers.
- Chill Time: Divide the dough in half, flatten each half into a disc, wrap them tightly in plastic wrap, and pop them into the refrigerator for at least 30 minutes, or up to 2 hours. This chilling step is non-negotiable for DIY graham crackers! It helps the butter firm up, prevents the dough from sticking too much, and allows the flavors to meld beautifully. In my kitchen, this usually takes about 45 minutes, just enough time for me to unload the dishwasher and maybe sneak in a quick chat with you!
- Preheat and Prep: While your dough is chilling, preheat your oven to 350°F (175°C). Line two large baking sheets with parchment paper. This prevents sticking and makes cleanup a breeze.
- Roll it Out (The Tricky Part!): This is where a little patience pays off. On a lightly floured surface (I use a mix of whole wheat and all-purpose flour), take one disc of chilled dough. Roll it out as thinly as you possibly can, aiming for about ⅛-inch thick. The thinner you roll it, the crispier your homemade graham crackers will be. I often use two pieces of parchment paper – one under and one over the dough – to make rolling easier and prevent sticking. This also helps you achieve an even thickness.
- Score and Pierce: Once rolled, use a sharp knife or a pizza cutter to trim the edges and create even rectangles, typically about 2×4 inches. Then, using a fork or a skewer, pierce each cracker several times in even rows. This is important to prevent puffing and ensures your whole wheat honey crackers bake up flat and crispy. My kids love helping with this step – they get a kick out of the “polka dots”!
- Bake to Golden Perfection: Carefully transfer the cut crackers to your prepared baking sheets. Bake for 12-18 minutes, rotating the sheets halfway through. You’re looking for a beautiful golden-brown color, especially around the edges. Your homemade graham crackers should smell wonderfully of honey and cinnamon as they bake. Keep a close eye on them, as oven temperatures can vary!
- Cool and Crisp: Once baked, remove the crackers from the oven and immediately transfer them to a wire rack to cool completely. They will crisp up significantly as they cool. Don’t be tempted to try one too soon, that cooling time is essential for the perfect snap! While the homemade graham crackers are cooling, I usually put on some gentle music and tidy up the flour dust, maybe even get a head start on dinner prep.
Remember, don’t worry if your first batch isn’t perfectly uniform. The charm of homemade lies in its imperfections, and trust me, they’ll taste incredible no matter what!
How I Love to Serve This homemade graham crackers
Oh, the joy of serving these homemade graham crackers! Honestly, once you’ve made a batch, you’ll find yourself reaching for them constantly. My family loves this homemade graham crackers recipe in so many ways, it’s hard to pick a favorite! Of course, the classic s’mores base is always a hit, especially during those warm summer evenings when we light up the fire pit. There’s just something magical about a melty marshmallow and chocolate sandwiched between two of these natural sweet biscuits that takes me right back to childhood campfires.
But beyond s’mores, these crackers shine in countless other ways. They’re absolutely divine on a simple cheese board with a sharp cheddar or a creamy brie, offering a delightful contrast to savory flavors. For a quick afternoon snack, I often serve them with apple slices and a dollop of peanut butter – a hearty and delicious combo. They’re also fantastic crumbled over yogurt parfaits with fresh berries, adding a wonderful texture and touch of sweetness. And if you have a little one, they make a much healthier, tastier alternative to store-bought options for dipping into applesauce or even a little mashed banana.
This homemade graham crackers is perfect for school lunchboxes, family movie nights, or even just a quiet moment with a cup of tea. Sometimes, I’ll even serve them with a bowl of warm chili, like my favorite Chili’s Chicken Enchilada Soup Recipe, instead of traditional crackers, for a little sweet-and-savory twist. They also make a lovely base for mini cheesecakes, and if you crush them up, you’ve got the most amazing crumb topping for anything from a fruit crisp to my Triple Chocolate Pie.
I’ve discovered some fun presentation tips over the years too. Stacking them neatly in a clear jar on the counter makes for a beautiful, rustic display and keeps them fresh and accessible. Sometimes, I’ll tie a little ribbon around the jar if I’m giving them as a gift. If you have extra homemade graham crackers, they store wonderfully in an airtight container for up to a week, or you can freeze them for even longer.
As for seasonal variations, I’ve played around a bit! For autumn, I sometimes add a pinch of allspice or nutmeg to the cinnamon mixture, making them feel extra cozy. In the spring, a little lemon zest in the dough brightens them up beautifully. Friends always ask for this homemade graham crackers recipe when they come over, especially after they’ve tried them with their morning coffee. There’s something so comforting and special about knowing you made these wholesome, crispy baked snacks from scratch.
Your homemade graham crackers Questions Answered
My inbox lights up pretty regularly with questions about various recipes, and these homemade graham crackers are certainly no exception! It’s always a joy to hear from you and help troubleshoot any kitchen conundrums. Here are some of the most common questions I get, along with my honest, tried-and-true answers, as if we’re just chatting over the counter:
Q1: My homemade graham crackers turned out too soft, not crispy. What happened? Oh, I totally get it! I’ve been there. Usually, this means they didn’t bake long enough, or they were rolled too thick. Remember that crucial step of rolling the dough as thin as you possibly can, about ⅛-inch? That’s key for that signature snap! Also, don’t be afraid to let them get a really nice golden brown in the oven. Sometimes, an extra 2-3 minutes can make all the difference. And make sure they cool completely on a wire rack – they crisp up a lot as they cool.
Q2: Can I use all whole wheat flour for these DIY graham crackers? You absolutely can! I often do for a really robust flavor. Just be aware that using 100% whole wheat flour can make the dough a bit more delicate to work with and the final cracker a little denser and less “snappy” than with the all-purpose flour blend. It’s a personal preference, so give it a try! It makes for truly authentic whole wheat honey crackers.
Q3: My homemade graham crackers dough is really sticky and hard to roll. Any tips? Ah, the sticky dough dilemma! You know what I do when my homemade graham crackers dough is too sticky? First, ensure it’s been properly chilled for at least 30 minutes. If it’s still challenging, try adding a tiny bit more flour, a tablespoon at a time, until it’s more manageable. And remember my trick of rolling it between two pieces of parchment paper – it saves so much frustration and flour!
Q4: How should I store homemade graham crackers, and how long do they last? These crispy baked snacks store beautifully! Once they’re completely cooled, store them in an airtight container at room temperature. They’ll stay fresh and wonderfully crisp for about 5-7 days. If you want them to last longer, you can freeze them for up to a month in a freezer-safe bag or container. Just let them thaw at room temperature before enjoying.
Q5: Can I make these natural sweet biscuits gluten-free? I haven’t personally perfected a gluten-free version of my homemade graham crackers recipe, but I’ve heard from some Delilita readers who have had success substituting a good quality gluten-free all-purpose flour blend (one that includes xanthan gum) for both the whole wheat and all-purpose flours. You might need to adjust the liquid slightly, so go slowly! It does sound like a tasty challenge, though! For inspiration, you might want to check out this Homemade Vegan Graham Crackers! recipe, which could give you some clues on ingredient swaps.
Q6: What if I don’t have a pastry blender for cutting in the butter? No worries at all! My grandma always used two dinner knives, crossing them back and forth to cut the butter into the flour. You can also use your fingertips, but work really, really fast so the butter stays cold and doesn’t melt. Cold butter is key for those light, tender crackers.
Q7: Can I reduce the amount of honey or sugar in this homemade graham crackers recipe? You can certainly try to reduce the honey or brown sugar by a quarter, but keep in mind it might affect the texture and browning of the crackers, as both contribute to more than just sweetness. They also help with tenderness and achieving that lovely golden crust. My family prefers this amount, but always feel free to adjust to your taste!
Q8: Any tips for making the crackers uniform in size and shape? Oh, the quest for perfection! While I embrace the rustic charm of homemade, a pizza cutter is your best friend for neat edges. After rolling, you can use a ruler to help guide your cuts for more uniform rectangles. Some folks even use cookie cutters for fun shapes, especially when making DIY graham crackers with kids. For more amazing insights, you can often find fantastic tips on technique from experts like Zoë François, like this Homemade Graham Crackers Recipe – ZoëBakes.
My Final Thoughts on This homemade graham crackers
There’s a special magic that happens in the kitchen when you take simple ingredients and transform them into something truly delightful, something that smells of home and comfort. For me, making homemade graham crackers has become one of those cherished rituals. It’s not just about the delicious outcome, it’s about the process – the gentle kneading of the dough, the comforting aroma of cinnamon and honey filling the air, and the sheer joy on my kids’ faces when they pull a warm, crispy cracker from the cooling rack. These whole wheat honey crackers hold a special place in my heart because they represent those precious family moments, whether it’s a bustling evening baking session or a quiet afternoon snack.
Here are my homemade graham crackers Pro Tips, just for you:
- Don’t Fear the Thin Roll: Seriously, the thinner you roll the dough (aim for ⅛-inch!), the crisper your crackers will be. It’s the secret to that satisfying snap!
- Embrace the Chill: Chilling the dough isn’t just a suggestion; it’s a must. It makes the dough much easier to handle and improves the texture of the final cracker.
- Watch the Color, Not Just the Timer: Ovens vary, so bake until they’re truly golden brown, even slightly darker at the edges. That’s when you know they’ll be perfectly crisp.
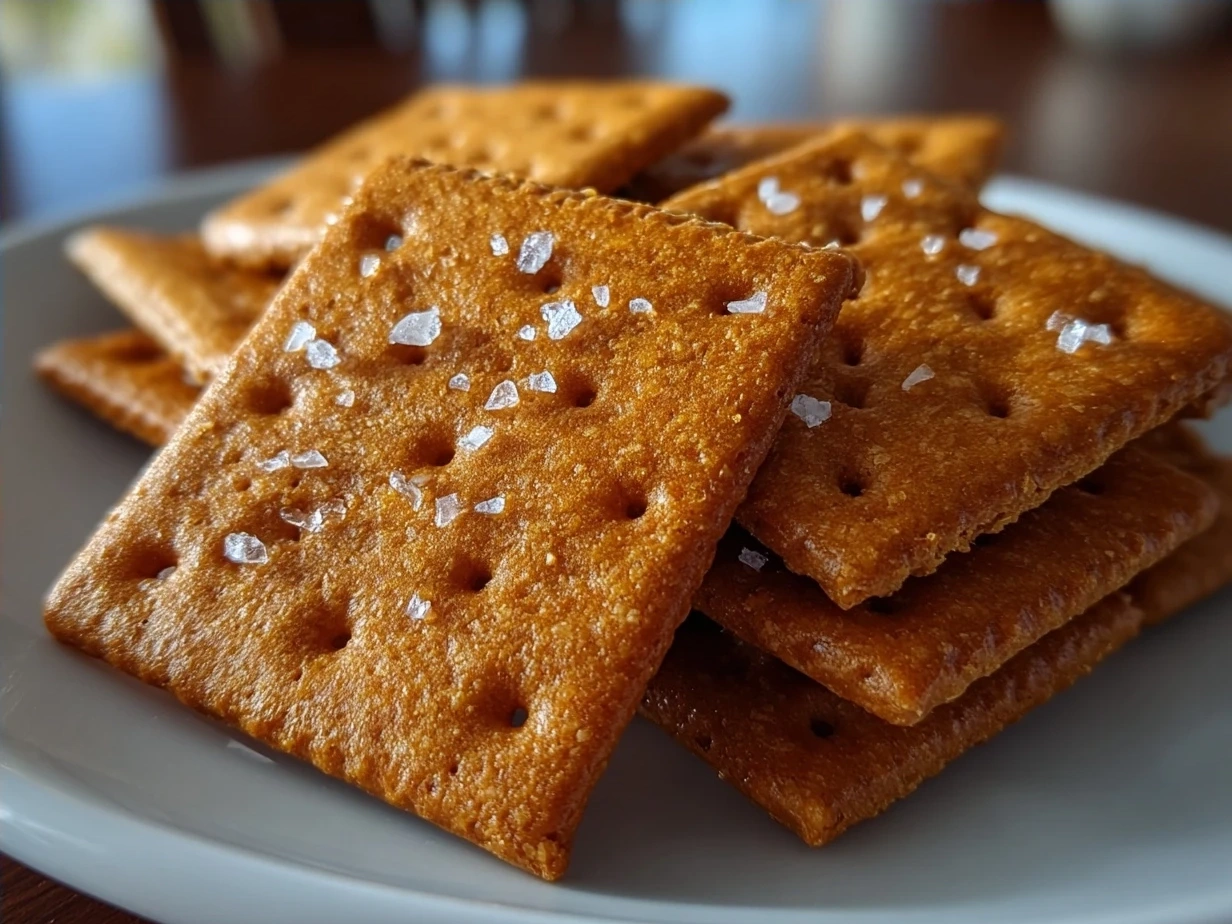
I’ve played with a few variations of these natural sweet biscuits over the years. We love a chocolate-dipped version, where I melt some good quality dark chocolate and dip one end of the cooled cracker – pure heaven! For a spicy kick, I’ve added a pinch of ginger and cloves to the cinnamon mix, which is lovely around the holidays. And my youngest, Leo, is a big fan of just a sprinkle of turbinado sugar on top before baking for an extra sparkly, crunchy texture. My husband, bless his savory-loving heart, sometimes asks for a sprinkle of sea salt and black pepper on a few, turning them into almost a savory cracker, which actually pairs really well with a strong cheese.
I truly hope you give this homemade graham crackers recipe a try. It’s an easy project that yields such incredibly rewarding results. Don’t be intimidated; cooking is an adventure, and every kitchen mishap is just a lesson learned. Make it your own, invite your family to help, and enjoy every single, delicious bite. I can’t wait to hear how your own batch of homemade graham crackers turns out! You’ve got this, my friend. Happy baking! And if you’re looking for another comforting classic to bake, my Beef Stew is always a winner! Also, check out what other sweet snack ideas people are sharing, like this one about Graham crackers with sunbutter.
\n \n Print
homemade graham crackers
Enjoy the wholesome, classic taste of graham crackers made from scratch with this easy recipe. Far superior to store-bought, these homemade treats offer a delightful honey and whole wheat flavor perfect for s’mores or a simple snack.
- Prep Time: 30 minutes
- Cook Time: 25 minutes
- Total Time: 90 minutes
- Yield: 24 crackers
- Category: Snack
- Method: Baked
- Cuisine: American
Ingredients
- 1 ½ cups (180g) whole wheat flour
- ¾ cup (90g) all-purpose flour
- ½ cup (100g) packed light brown sugar
- 1 teaspoon baking soda
- ½ teaspoon salt
- ½ cup (113g) unsalted butter, cold and cubed
- ¼ cup (85g) honey
- ¼ cup (60ml) milk (any kind)
- 1 teaspoon vanilla extract
- Granulated sugar and ground cinnamon for sprinkling (optional)
Instructions
- In a large bowl, whisk together the whole wheat flour, all-purpose flour, brown sugar, baking soda, and salt.
- Add the cold, cubed butter to the flour mixture. Using your fingertips or a pastry blender, cut the butter into the flour until the mixture resembles coarse crumbs with some pea-sized pieces of butter remaining.
- In a small bowl, whisk together the honey, milk, and vanilla extract. Pour the wet ingredients into the dry ingredients and mix with a spoon or your hands until a shaggy dough forms. Do not overmix.
- Gather the dough into a ball, flatten it slightly into a disc, wrap it tightly in plastic wrap, and refrigerate for at least 30 minutes (or up to 2 hours). This makes the dough easier to roll.
- Preheat your oven to 350°F (175°C). Line two baking sheets with parchment paper.
- Divide the dough in half. On a lightly floured surface or between two sheets of parchment paper, roll out one half of the dough to a thickness of about ⅛ inch (3mm).
- Trim the edges to form a rectangle, then cut the dough into desired cracker shapes (squares or rectangles, approximately 2×4 inches).
- Prick each cracker several times with a fork. If desired, sprinkle lightly with a mixture of granulated sugar and cinnamon.
- Carefully transfer the crackers to the prepared baking sheets, leaving a little space between them. Repeat with the second half of the dough.
- Bake for 12-15 minutes, or until golden brown at the edges and crisp. Baking time may vary depending on thickness.
- Let the graham crackers cool completely on the baking sheets or a wire rack. They will crisp up further as they cool. Store in an airtight container at room temperature for up to 1 week.
Notes
For extra flavor and a classic look, lightly brush the rolled-out dough with a little milk or water before baking and sprinkle evenly with a cinnamon-sugar mixture.