
Alright, come on in, grab a mug of something warm, and let’s chat! Today, we’re making something truly special – a Magic Candy recipe that’s not only delicious but also feels like a little science experiment in your own kitchen. I remember the first time I made this. My daughter, Sofia, was obsessed with all things sparkly and, well, “magical.” She was convinced that unicorns were real and that rainbows led to pots of gold! I wanted to create something that would capture her imagination, and that’s how my adventure with this Magic Candy recipe began. It was a complete flop the first time – I didn’t have my sugar to water ratio right and it was a sticky, sugary mess! But hey, we’ve all been there, right?
But after a few tries, a lot of patience, and a little help from my mom’s old candy-making tips, I finally cracked the code. This Magic Candy recipe is now a staple in our house, especially around the holidays. It’s become our go-to treat for school events, birthday parties, and those “just because” moments when we need a little sparkle in our day. It’s amazing how something so simple can bring so much joy. Sometimes, when I am making this recipe, I feel a bit like a mad scientist, which Sofia finds hysterical.
What I love most about this Magic Candy recipe is that it’s more than just a sweet treat. It’s an activity we can do together. Sofia loves helping me stir the sugar and watching the crystals form over the days. It’s a lesson in patience, too, because you really need to give those crystals time to grow! Plus, it’s a fun way to sneak in a little kitchen science. I like to call it my edible crystal recipe for those reasons.
Finding the perfect balance of sugar and water was my biggest hurdle, but once you get that down, the rest is pure magic – pun intended! Honestly, even with my busy schedule, I always find time to whip up a batch because the look on Sofia’s face when she sees those shimmering crystals is absolutely priceless. I sometimes sneak a few candy corn pretzel bites while I am waiting!
If you are looking for a fun and different project, this is it! I’ve tweaked my Magic Candy recipe over the years to make it as foolproof as possible for busy families like ours. Think of this as a blank canvas. You can use different food colorings and extracts to customize the look and flavor. I encourage you to try this Magic Candy recipe yourself and experience the joy of creating something truly magical! It’s a great project with kids, but be prepared to oversee the boiling process. It is very hot. Now, let’s get started!
What You’ll Need for This Magic Candy recipe
Okay, friend, let’s gather our ingredients. This Magic Candy recipe is pretty straightforward, but quality ingredients make all the difference, trust me!
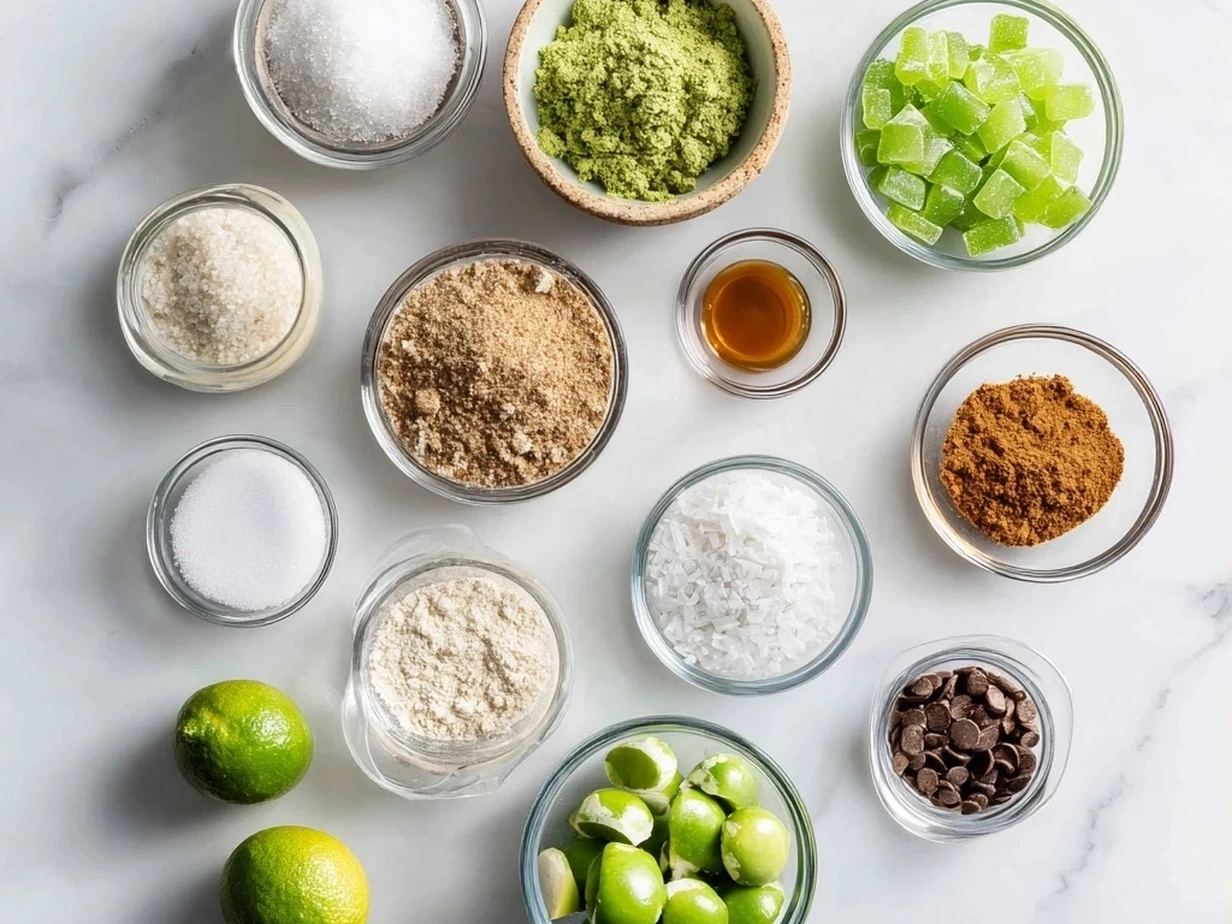
- 3 cups granulated sugar: I always use a good quality, name-brand sugar for my Magic Candy recipe. I’ve tried the cheaper stuff, and it just doesn’t dissolve as well, which can affect the crystal formation.
- 1 cup water: Filtered water is best! It’ll ensure your crystal candy recipe turns out clear and beautiful.
- Food coloring (gel or liquid): Gel food coloring gives you more vibrant colors, but liquid works just fine. I always have a rainbow of colors on hand!
- Flavoring extracts (optional): A few drops of your favorite extract can add a fun twist. I love using vanilla, lemon, or even peppermint extract, especially around the holidays.
- Wooden skewers or candy sticks: You’ll need something for the crystals to grow on. I prefer wooden skewers because they’re sturdy and easy to find.
- Clothespins: To hold the skewers in place while the crystals grow.
- Tall, narrow glasses or jars: These will help the crystals form nicely. Make sure they are clean!
Shopping Tips: When making homemade rock candy, you can find wooden skewers and flavoring extracts at most grocery stores or craft stores. Gel food coloring can usually be found at baking supply stores or online. I have seen some amazing crystal candy recipe creations online!
Kitchen Wisdom: Here’s a Magic Candy recipe trick I learned the hard way – don’t stir the sugar mixture once it starts boiling. Stirring can cause the sugar to crystallize prematurely, and you’ll end up with a grainy mess instead of beautiful crystals. Trust me on this one! For more kitchen wisdom, I recommend checking out external resource for advanced sugar work: Homemade Rock Candy – SugarHero.
Ingredient Prep Shortcuts: For busy families, pre-measuring your ingredients can save a lot of time. I like to measure out the sugar and water the night before so everything is ready to go when I am ready to make this magic candy recipe.
Cost-Saving Tips: Buy sugar in bulk if you make candy often. It’s much cheaper that way! You can also save money by using generic flavoring extracts. They taste just as good as the name-brand ones.
Storage Tips: Leftover flavoring extracts should be stored in a cool, dark place to preserve their flavor. I keep mine in the pantry. You might even be able to use your extracts on some Christmas cracker candy!
Let’s Make This Magic Candy recipe Together
Alright, let’s get our aprons on and dive into making this Magic Candy recipe together! Don’t worry, I’ll walk you through every step.
- Prepare Your Jars: Start by wetting the wooden skewers and then rolling them in sugar. This gives the sugar crystals a “seed” to start growing on. Let them dry completely. This is important! It takes about an hour.
- Make the Sugar Syrup: In a large, heavy-bottomed saucepan, combine the sugar and water. Stir over medium heat until the sugar is completely dissolved. Make sure there are no sugar granules left at the bottom of the pan. This usually takes about 5-7 minutes.
- Boil the Syrup: Once the sugar is dissolved, stop stirring and bring the mixture to a boil. Use a candy thermometer and heat to 300°F (149°C), or the “hard crack” stage. I learned the hard way with Magic Candy recipe that a candy thermometer is essential for getting the right consistency.
- Add Color and Flavor: Remove the saucepan from the heat and let it cool for a few minutes. Then, add your food coloring and flavoring extract (if using). Stir gently to combine. Be careful, the syrup is very hot!
- Pour into Jars: Carefully pour the hot syrup into your prepared jars, leaving about an inch of space at the top.
- Insert Skewers: Gently insert the sugar-coated skewers into the jars, making sure they don’t touch the bottom or sides. Use clothespins to hold the skewers in the center of the jars.
- Wait for the Magic: Now comes the hardest part – waiting! Place the jars in a cool, undisturbed place and let the crystals grow for 7-14 days. The longer you wait, the bigger the crystals will be. In my kitchen, Magic Candy recipe usually takes about 10 days to get those beautiful, chunky crystals we love.
- Harvest Your Crystals: Once the crystals have reached your desired size, carefully remove them from the jars. Let them dry completely on a wire rack before enjoying.
Personal Magic Candy recipe Cooking Tips: I learned the hard way with Magic Candy recipe that humidity can affect the crystal formation. On humid days, it might take longer for the crystals to grow, or they might not grow as large. I like to run the air conditioner on those days to keep the humidity down.
Reassuring Notes: Don’t worry if your Magic Candy recipe crystals don’t turn out perfectly the first time. It takes a little practice to get the hang of it. Even if they’re not perfect, they’ll still taste delicious! This is the perfect project for school science. Some people report difficulty with growing the crystals, here is a facebook group that talks about it Homeschool science experiment with rock candy growth issues.
While the Magic Candy recipe is cooking: While the Magic Candy recipe is cooking, I usually do the dishes or start preparing dinner. It’s a great way to multitask and make the most of my time.
Sensory Cues: Your Magic Candy recipe should smell like sweet, caramelized sugar with a hint of whatever flavoring extract you used. It’s a heavenly aroma! My daughter loves this part.
Family-Tested Shortcuts: If you’re short on time, you can speed up the crystal growth by placing the jars in a warm oven (around 200°F) for a few hours. Just be sure to keep a close eye on them and don’t let the syrup boil.
How I Love to Serve This Magic Candy recipe
Serving this Magic Candy recipe is almost as fun as making it! There are so many ways to enjoy these sparkly treats.
My family loves this Magic Candy recipe when I serve it as a special dessert after dinner. Sofia loves to dip them in chocolate sauce or sprinkle them with edible glitter for an extra touch of magic. I also like to package them up in cellophane bags and give them as gifts to friends and neighbors during the holidays.
Go-To Side Dishes: This Magic Candy recipe doesn’t really need any side dishes, but if you want to make it a more substantial dessert, you can serve it with a scoop of vanilla ice cream or a dollop of whipped cream. The cold, creamy texture of the ice cream complements the sweet, crunchy crystals perfectly.
Occasions: This Magic Candy recipe is perfect for birthday parties, holiday gatherings, or any special occasion where you want to add a touch of whimsy. It’s also a fun project to do with kids during school breaks or summer vacation.
Presentation Tips: For a beautiful presentation, arrange the Magic Candy recipe crystals on a platter with other colorful candies and treats. You can also use them to decorate cakes or cupcakes. Get creative and have fun with it! This makes the perfect homemade rock candy.
Leftover Ideas: If you have extra Magic Candy recipe, you can crush it up and use it as a topping for ice cream, yogurt, or even toast. You can also melt it down and use it to make hard candy or lollipops.
Seasonal Variations: For a festive twist, try making this Magic Candy recipe with different food colorings and flavorings to match the seasons. For example, you can use red and green food coloring and peppermint extract for Christmas, or pastel colors and lemon extract for Easter.
Guest Reactions: Friends always ask for this Magic Candy recipe recipe when I make it for parties. They are always impressed by the beautiful crystals and the unique flavors. It’s a guaranteed crowd-pleaser!
Your Magic Candy recipe Questions Answered
I’ve gotten so many questions about this Magic Candy recipe over the years, so I thought I’d put together a little FAQ to help you out.
Q: My crystals aren’t growing. What am I doing wrong?
A: This is the most common question I get! There are a few things that could be causing this. First, make sure your sugar is completely dissolved before you bring the mixture to a boil. Any undissolved sugar can interfere with the crystal formation. Second, make sure your skewers are completely dry before you insert them into the jars. If they’re still wet, the sugar coating might dissolve and prevent the crystals from growing. You know what I do when my Magic Candy recipe doesn’t grow? I usually dump it out and start again to make sure that my ratios are correct.
Q: How long does it really take for the crystals to grow?
A: It really depends on the temperature and humidity in your kitchen. In my experience, it usually takes about 7-14 days for the crystals to reach a good size. But on humid days, it can take longer. Just be patient and let the magic happen!
Q: Can I use honey or other sweeteners instead of sugar?
A: I haven’t tried it myself, but I’ve heard that you can use honey or other sweeteners. However, it might affect the crystal formation and the taste of the candy. If you do experiment with other sweeteners, let me know how it turns out!
Q: My crystals are too small. How can I make them bigger?
A: The best way to make your crystals bigger is to simply wait longer. The longer you let them grow, the bigger they’ll get. You can also try using a higher concentration of sugar in your syrup.
Q: Can I reuse the syrup after I’ve harvested the crystals?
A: I wouldn’t recommend it. The syrup will be full of impurities and it won’t produce good crystals the second time around. But you can always use it to sweeten your coffee or tea!
Q: What kind of food coloring is best for this recipe?
A: Gel food coloring is my favorite because it gives you more vibrant colors and it doesn’t dilute the syrup as much as liquid food coloring. But liquid food coloring works just fine too. Just be sure to use a good quality brand.
Q: My crystals are cloudy. How can I make them clear?
A: To make your crystals clear, use filtered water and make sure your jars are perfectly clean. Any impurities in the water or jars can cause the crystals to be cloudy. This is what friends have told me about my Magic Candy recipe.
Q: Can I add edible glitter to the syrup for extra sparkle?
A: Absolutely! Edible glitter is a great way to add some extra sparkle to your Magic Candy recipe. Just be sure to use edible glitter that is specifically designed for food.
Q: Do you have any tips for making this recipe with kids?
A: Yes! First, be sure to supervise them closely when you’re working with hot syrup. Second, let them choose the food coloring and flavoring extracts. It’s a fun way to get them involved in the process. And third, be prepared for a little mess!
Q: Can I make this magic candy recipe into rock candy recipe pops?
A: Absolutely! You can use lollipop sticks instead of skewers, and a silicone mold to hold the syrup and stick in place. You’ll have edible crystal recipe treats in no time. And for more variations on flavors, check out Kohakutou Crystal Gummy Candy (Flavored Recipe) – Sugar Geek ….
My Final Thoughts on This Magic Candy recipe
This Magic Candy recipe isn’t just about making a sweet treat; it’s about creating memories. It’s about the look on Sofia’s face when she sees those sparkling crystals, the laughter we share as we experiment with different flavors, and the joy of sharing something we made together with friends and family. It really has become a family affair. And this crystal candy recipe is so much fun to do with kids!
My Magic Candy recipe Pro Tips:
- Patience is key: Don’t rush the crystal growth process. The longer you wait, the bigger and more beautiful your crystals will be.
- Use a candy thermometer: This is essential for getting the right consistency and preventing your syrup from burning.
- Don’t stir the syrup once it starts boiling: Stirring can cause the sugar to crystallize prematurely.
Variations: Over the years, we’ve tried so many variations of this Magic Candy recipe. Sofia loves the strawberry flavor, while my husband prefers the classic vanilla. I’ve even made a spicy version with a pinch of cayenne pepper for a fun kick!
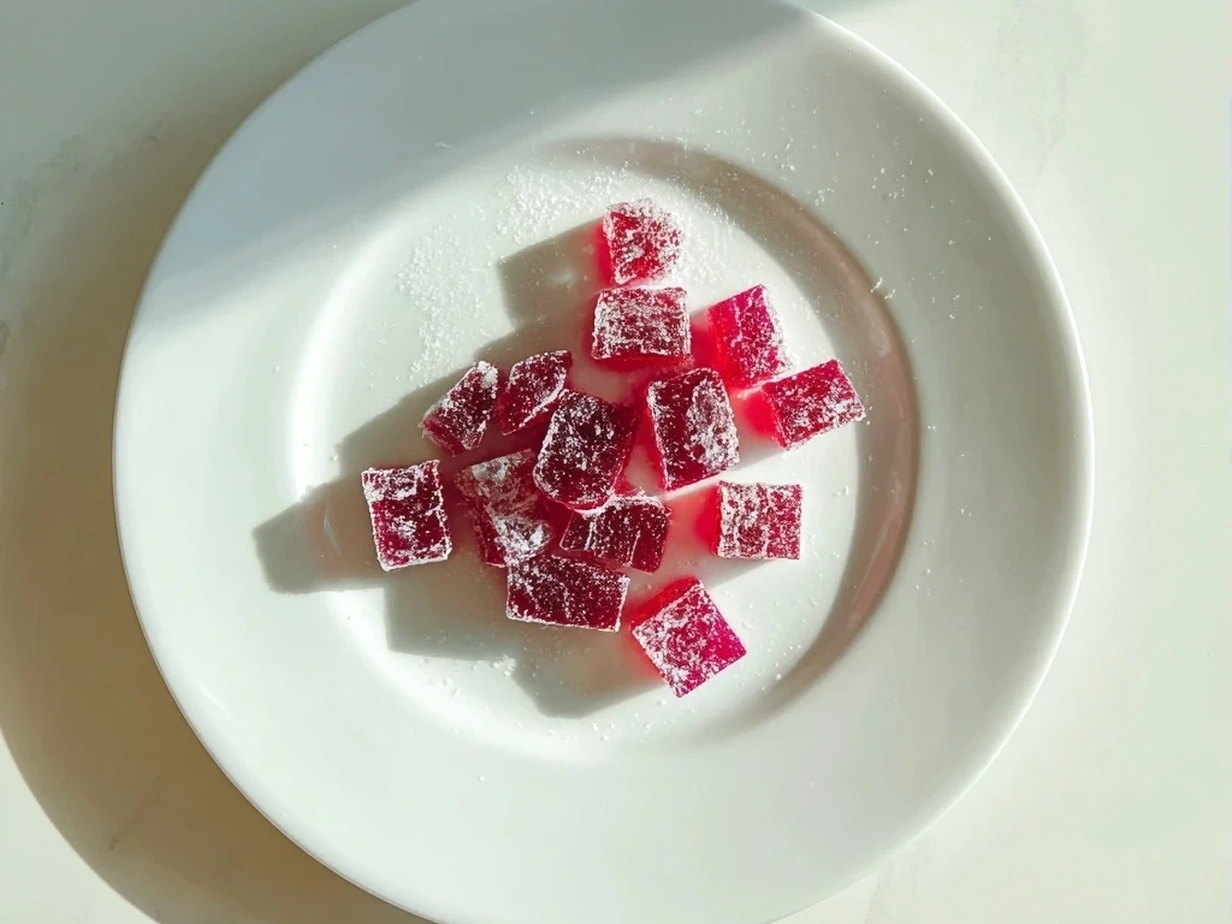
- Strawberry Magic Candy: Add a few drops of strawberry extract and pink food coloring.
- Lemon Magic Candy: Use lemon extract and yellow food coloring.
- Peppermint Magic Candy: Add peppermint extract and red and green food coloring for a festive holiday treat.
I really hope you’ll try this Magic Candy recipe and make it your own. Don’t be afraid to experiment with different flavors and colors. The possibilities are endless! I like to also try my hand at a candy corn poke cake every once in a while!
Remember, cooking is all about having fun and creating something delicious to share with the ones you love. So, grab your ingredients, put on some music, and let’s make some magic together! The next time you want to make edible crystal recipe treats, give this a try.
\n \n Print
Magic Candy recipe
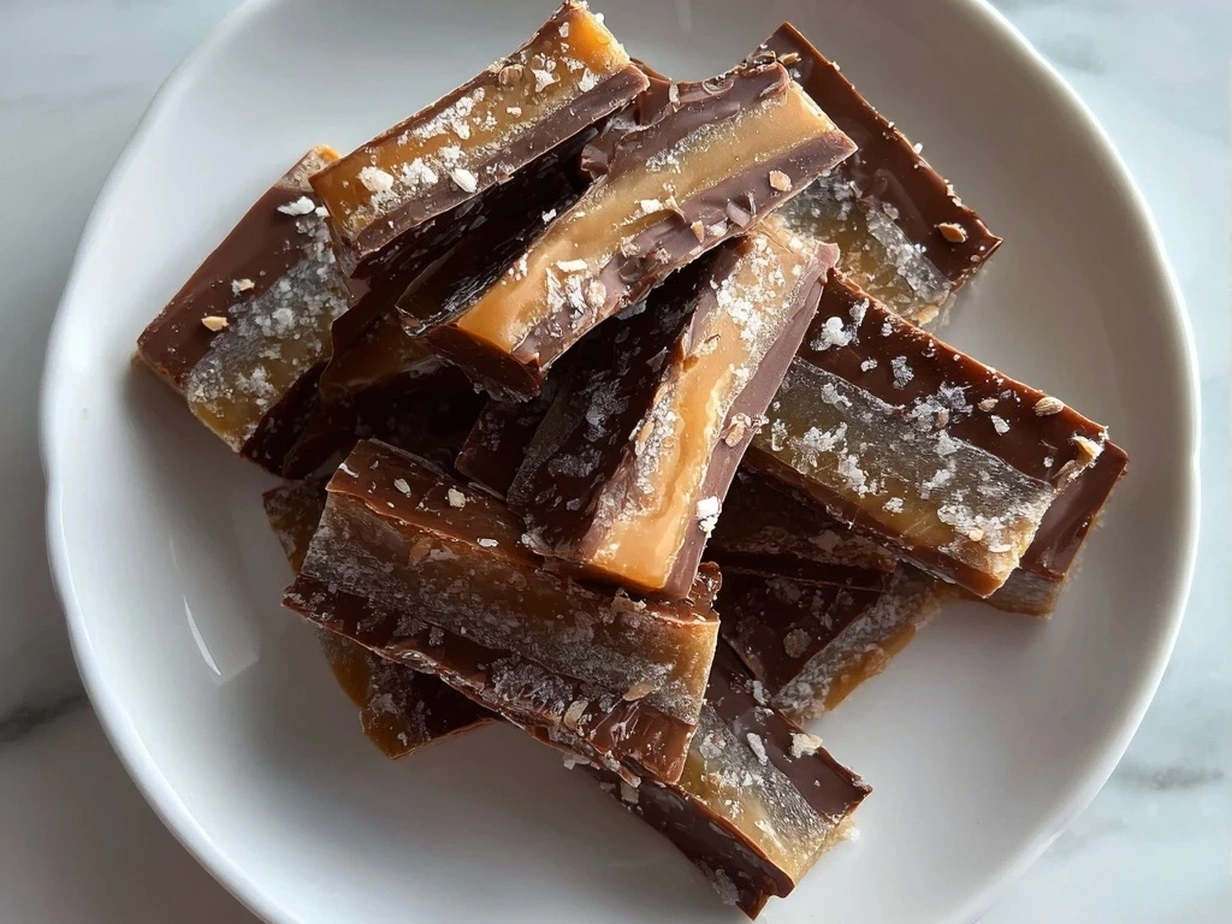
This magic candy is a delightful treat that melts in your mouth! With just a few simple ingredients, you can create a colorful and whimsical dessert perfect for any occasion.
- Prep Time: 5 minutes
- Cook Time: 15 minutes
- Total Time: 20 minutes
- Yield: 20 pieces
- Category: Dessert
- Method: No-Cook
- Cuisine: American
Ingredients
- 1 cup granulated sugar
- 1/2 cup light corn syrup
- 1/4 cup water
- 1 teaspoon flavoring extract (vanilla, almond, or peppermint)
- Food coloring (gel or liquid)
- Powdered sugar, for dusting
Instructions
- In a heavy-bottomed saucepan, combine the granulated sugar, corn syrup, and water.
- Cook over medium heat, stirring until the sugar dissolves.
- Once the sugar is dissolved, stop stirring and let the mixture come to a boil.
- Use a candy thermometer to monitor the temperature. Cook until it reaches 300°F (149°C), or the hard-crack stage.
- Remove from heat and quickly stir in the flavoring extract and food coloring.
- Pour the mixture onto a lightly greased baking sheet or silicone mat.
- Let the candy cool completely.
- Once cooled, break the candy into pieces.
- Dust with powdered sugar before serving.
Notes
For extra fun, use different colors and flavoring extracts to create a variety of magic candy pieces. Store in an airtight container at room temperature.